
Water damage can quickly steal the equity from a home. One way to protect this investment is by having a well maintained and properly draining gutter system. There are professionals that will install guttering but, by following a few simple steps a homeowner can accomplish the task of gutter installation.
Tools Needed:
• Ladder
• Tape Measure
• Pencil
• Chalk Line
• Caulk Gun
• Hacksaw
• Drill with Screwdriver Bits
Materials Needed:
• Gutter Sections
• Gutter Components ( drop outlets, elbows, end pieces, and corners)
• Gutter Straps
• Gutter Connectors
• 1 ¼” Rust Resistant Deck Screws
• Silicon Caulk
Steps for Installation:
1. Layout the gutter system. Remember that the water needs to be carried away from the home. Plan the downspouts accordingly. Once the guttering has been planned, a material list will be compiled. Measure the distance for the gutter trough. Add ten to fifteen percent to this calculation. The extra will allow for waste created from cuts made during the installation. Calculate the number of components needed for the project. Rust resistant screws and silicon caulk should also be on the material list.
2. The first step in the actual installation is to measure and plan for the slope that is needed for the guttering. The general rule of thumb is to allow 1/16 of an inch for every 1 foot of guttering. Start at the end opposite of the downspout. Mark the fascia board at ½ inch below the edge of the shingles. Calculate the drop of the gutter trough by measuring the length of the fascia and multiplying it by 1/16 inch. At the end with the downspout, mark the measurement for the gutter. Use a chalk line to mark the fascia board between the two measurements. The chalk line will be used as a reference line for hanging the gutters.
3. Gutter hangers should be installed to help support the weight of the gutters. Install them every eighteen to twenty-four inches. Use the 1 ¼ rust resistant deck screws.
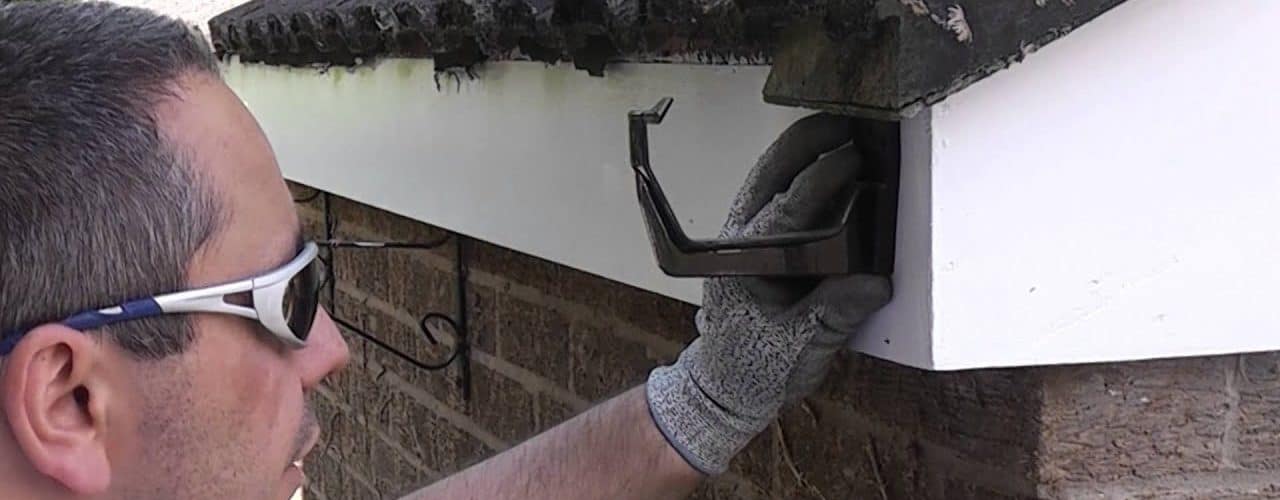
4. It is easier to assemble the components of the gutters before installing them. Incorporate the drop outlets, end pieces, corners or elbows to the appropriate section of guttering. Because home lengths will not always fall in even ten foot sections, a hacksaw will be needed to cut down the length of the guttering to make it fit the home. Make any necessary cuts before installing components to the section that will need to be shortened.
5. Begin hanging the gutters a section at a time. The assistance of another person will be helpful.
6. The sections will fit into the gutter hangers and will then be connected with gutter connectors. Continue installing the sections for the length of the home.
7. After the gutter sections are joined, run a bead of caulk at the joint. This will prevent water from leaking at the joints.
8. After the overhead sections have been installed, install the downspouts. Be sure to secure the downspouts with gutter straps.
9. To finish the project, inspect the location of the downspouts. To ensure that the water is channeled away from the home, flexible pipe may be need to direct the water flow further from the home. To prevent erosion from the water flowing out of the end of the downspouts, position splashblocks on the ground. This will also help to channel water away from the home.
The first step in protecting a home from water damage is to install an effective guttering system. Well maintained gutters should provide the homeowner with years of trouble free service.

