
Although installing a privacy fence may not be the easiest home improvement job to complete, the addition of a privacy fence will add security and privacy to any yard. With some hard work and persistence, even the novice will be able to complete this project. Homeowners should expect to spend a minimum of two to three days on this project. The cost for the project will depend on the size of the yard and the type of privacy fencing material used.
Tools and Materials Needed for the Project:
- post hole digger
- post driver
- drill
- tape measure
- string
- level
- large container (to mix concrete in)
- can of spray paint
- fence panels
- fence posts
- lag screws
- concrete mix
This project will require hard work and some preplanning, but the steps for installing the fencing material are fairly simple.
Steps for Installing a Privacy Fence:
1. Examine the area that the fence is to be installed in. Locate all property markers. Observe the legal setback laws and neighborhood restrictions for your area. When the location for the fence is determined, measure the perimeter of the area to be fenced. With measurements in hand, purchase the needed panels and posts. Do not forget the screws that will be needed to attach the wood panels. Purchase fast setting concrete to anchor the posts used in the fence.
2. After acquiring the materials, it is time to layout the fence. Begin this process by determining where the four corner posts will be located at. Mark the spots with the spray paint. Use the post hole diggers to dig the holes for the posts. Dig each hole approximately two feet deep. Make the circumference of the hole approximately four inches wider than the post. The added width allows space for concrete to be poured around the post. After the corner posts are put into place, mix only enough concrete to pour around the four posts. Before pouring the concrete around the post, use the level to verify that the post is standing perpendicular in its hole. Allow a couple of hours for the concrete to begin to cure.
3. Run a string from post to post to form the intended enclosure. After verifying the length of the panels, measure and mark the location of the remaining posts. Dig the holes, position the posts, and concrete the posts in the same manner as with the original four corner posts. Use the string to insure that the posts are placed in line with the corner posts. Although the concrete should begin to rapidly cure, it may be wise to wait until the next day to attach the privacy fence panels.
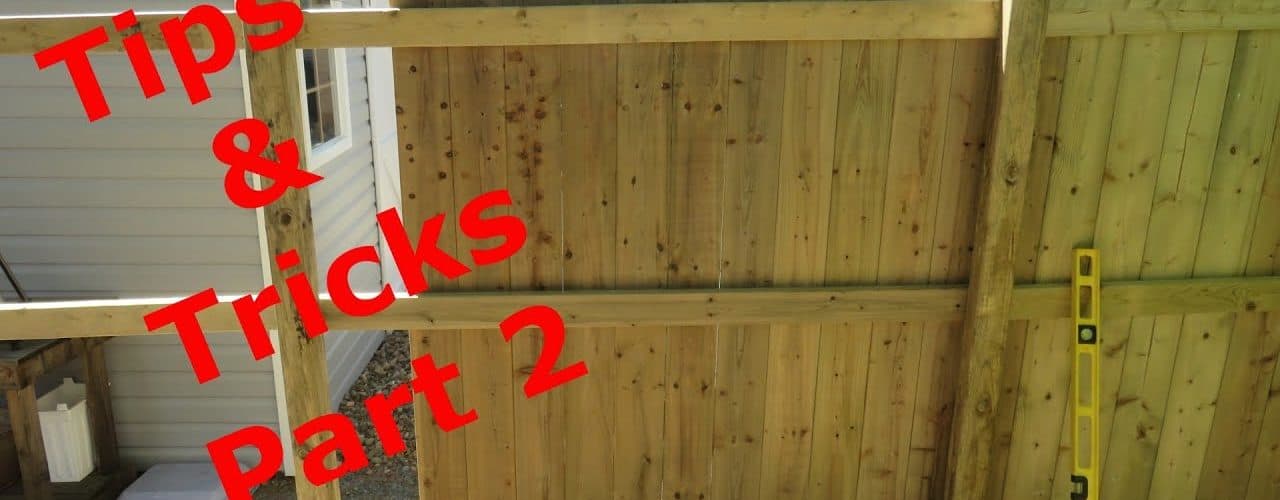
4. After the concrete has had adequate time to dry, it is time to install the fence panels. Installation of the posts should start at a corner. The fence commonly begins at the corner of a house or porch. Before mounting the panels, make sure that the panels are turned the same way. There is an outside and an inside. The finished, smooth side is the outer side. The side with the cross piece should be on the inside of the fence. Mount the panels using the screws. Each end of the panels should mount into a post. The joints between the panels should break evenly on the fence post.
5. Proceed mounting the panels in an end-to-end manner until the fence is completed.
6. Dispose of concrete bags, rinse tools and containers used to mix and pour concrete, store the tools, and prepare to enjoy the newly installed privacy fence.

