
In the natural world, mildew is a mold that tends to grow in damp caves and on plants. However, the world indoors has become a breeding ground; bathrooms, basements, and windowsills especially. Continuous moisture and a lack of airflow are the ingredients for a mildew infestation.
While it appears that the only damage mildew causes is the aesthetic appeal of the bathrooms, it can harm the home and its inhabitants. When mildew is left unattended, it weakens the surfaces and structure of the walls. People can be affected by the allergies many have to mildew, but more recent studies have shown that the affects go beyond that. It can produce mycotoxins that may result in respiratory problems and may even contain carcinogens. Removing the mildew without bringing additional dangers into the home is a necessary precaution for the safety of everything involved.
MATERIALS NEEDED
Many professionals would recommend avoid using bleach and other cleaners based in chlorine to remove mildew. They are effective, but they also contain dangerous vapors. Removing the hazardous mildew with a hazardous product is counterproductive. These are the simple products needed:
• Empty spray bottle
• Distilled white vinegar
• Baking soda
• Abrasive sponge
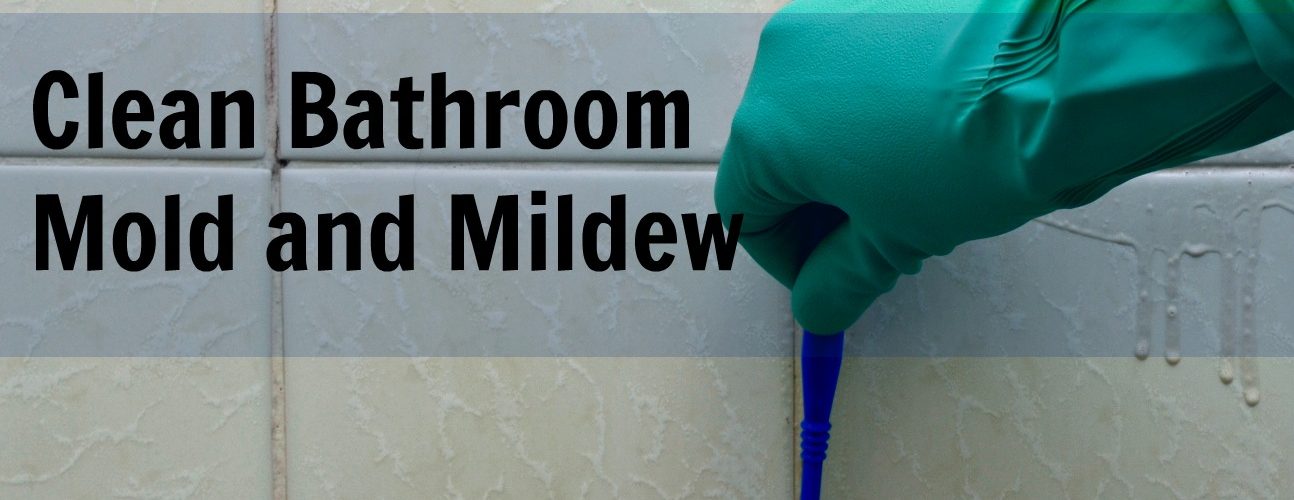
• Gloves
• Mask (optional)
The vinegar also removes the pungent mildew odor, and the baking soda removes the visible stains. Depending on how sensitive you are to the allergies and the risk you would like to take with the mildew, a mask is optional. If the mildew infested area is larger than ten square feet, an additional item is needed: a professional.
PREPARATION
Begin by filling the spray bottle with the distilled white vinegar. Do not dilute it with water. Generously spray everywhere that is affected with mildew. Allow the vinegar to sit for about 2-3 hours. This ensures that the vinegar is penetrating the mildew, killing the live mold.
REMOVAL
After the vinegar has sat for a couple hours, grab the sponge and baking soda in addition to the spray bottle. Give the affected area one last layer of vinegar and put on the gloves (and mask). Dampen the sponge with hot water, and then liberally fill it with the baking soda.
While the vinegar and baking soda are the active ingredients in allowing the mildew to be removed, the most important is elbow grease. Mildew it much tougher than it appears, and if any is left behind, the chances of it coming back quicker are increased. Also, make sure to dispose of the sponge afterwards to prevent a new breeding ground.
• Bonus Tip: at this point, you may want to clean the rest of the soap scum and dirt with the vinegar and baking soda as they are eco-friendly.
MILDEW ON CAULK
If the mildew problem has been left untreated for quite some time, the caulking needs to be removed as well. Since mildew is impossible to remove from caulk, it will deteriorate and allow moisture to enter the walls. If mildew begins growing in the walls, an entire renovation will be needed.
While this is an additional hassle in the fight against mildew, but it is not difficult. The materials needed are vinegar, mask, gloves, caulk and gun, and flat head screwdriver.
1. Spray the vinegar on the caulking.
2. Scrape the caulking off using the flat head screwdriver.
3. Put the removed caulk pieces into a sealed garbage bag. Do not let them flow down the drain.
4. Allow the room to fully dry for a day or two with a fan. Do not allow any moisture in the room during this time.
5. Apply the fresh caulk.
6. Allow another day for the caulk to dry fully.
Simple household products can be used to make any room free of mildew, and thus, safer for the home and everyone in it. While it may not be the most pleasant task, the long term benefits are worth it.

