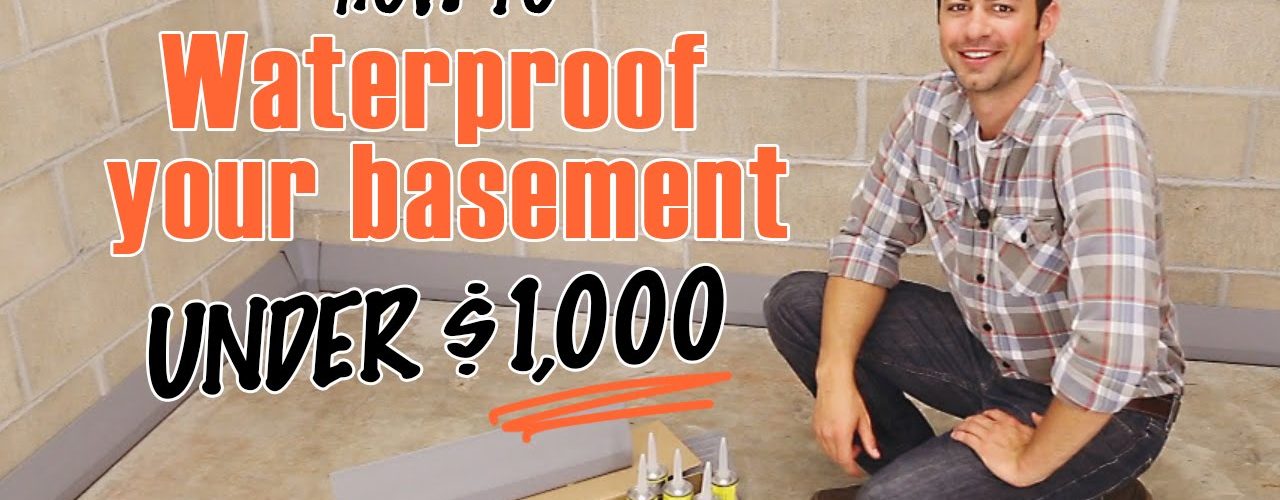
Most basements are used for a variety or reasons, from entertainment rooms to extra storage areas. Based upon the build of your house, years of settling may sometimes cause cracks in the foundation and lead to leaks in your basement walls and or floors. Here are some tips and steps that you can follow to assist in waterproofing your basement.
LEAKS
There are three basic reasons for cracks to appear and leaks to start making their way into your basement. The first main cause may have been the construction of your basement. The framework and material they used to build around the original concrete may not have been sound and in turn may lead to leaks. The second cause may be based upon the age of the house. Due to settling into the ground, the movements of the house may have started cracks to appear in either the floor or walls of both the basement and possibly other walls. The third and final common reason may be an increase in water pressure caused from outside sources may have built up and in turn forcing water up against the walls. This pressure may be penetrating the walls and forcing cracks to form to alleviate. To determine cracks and leaks in the walls, areas of cracks and leaks will have moist areas and possibly puddles forming in and around the walls and the basement floor.
REPAIRS
In a perfect world, there would be no cracks in your basement and you would be able to catch leaks before they start by waterproofing the walls with a special compound. As we all know, however, nothing is perfect so therefore all cracks need to be filled in and fixed before you have the opportunity to water proof the walls and floor.
Most hardware stores sell cement mixtures containing epoxy and latex ingredients to repair small cracks in the cement. Larger fixes may require a mortar specially mixed with cement, sand and water to form a strong compound to completely fill and seal up the crack before any waterproofing can be done.
A majority of cracks will be very small and may only require the epoxy/latex mixture to be supplemented into the broken area and run over with a putty knife to smooth out the work. The hardening may take a bit but in the end you will find that these repairs are quite easy in comparison to a leak caused by outside pressure on the walls of your basement. If outside water pressure is causing the leaks, a chisel would need to be used to form a grooved cut into the cement to allow for the mortar to stay strong and seal correctly around and in the crack. There may be even an instance where the pressure may be too much to bare on the wall and piping may have to be looked into to prevent further damages to the wall.
Holes and major cracks not caused by water pressure should be done in the same way at smaller cracks but on a larger scale fix. This usually requires an extensive chiseling job to be done surrounding the entire crack until a square or circle radius is created to a specific depth. Once everything has been cleaned out of the newly created crater in the wall, the mortaring compound for larger fixes as listed above should be generously used, smoothed out accordingly and allowed to harden for the proper amount of time.
WATERPROOFING
Once all holes and cracks have been properly repaired, the waterproofing procedure can then begin on areas of leaking in the basement. The walls and floor areas that require waterproofing should be dampened and all walls should be stripped of any old paint or wallpaper before use of the epoxy mixture. Once everything is clear and damp, a wire brush should be used to add the waterproofing mixture starting from the bottom of the area to the top in a circular motion. This motion is most effective because it allows for all pores in the wall to be filled accordingly. Allow the waterproofing to dry for a few days and then add another coating to the affected area to secure that no leaks will being seeping through the areas again.
References:


