
Vinyl flooring in the bathroom can look outdated and worn out. You can easily give your bathroom floor an elegant and updated look simply by tiling the floor. Having a professional install new tile flooring can be extremely expensive and time consuming. With the right tools, installing bathroom tile yourself can look just as good as a professional installation. Even if you have no prior experience, tiling the bathroom floor does not have to be a long and difficult task.
Getting Started:
Be sure to remove the toilet and any objects that may be on the bathroom floor, such as bath mats, plungers, etc. Before removing the toilet, turn off the water valve and flush the toilet, emptying it of all water.
When recovering existing flooring, make sure the floor has been cleaned. The tile will adhere best on a clean surface. If the floor is vinyl, check to see if it is still enough to be recovered with tile. If the flooring is not stiff, you will have to add a layer of underlayment before beginning the tiling process. You do not have to recover the existing floor; you can remove the floor, but this can be difficult. It is important to check when you vinyl floor was installed. Those floors installed before 1980 are likely to contain asbestos, which can be extremely dangerous to the lungs. If you suspect your vinyl floor to contain asbestos, do not remove it yourself. Either seek a professional to remove the floor or recover it with tile.
Tiling the Bathroom Floor:
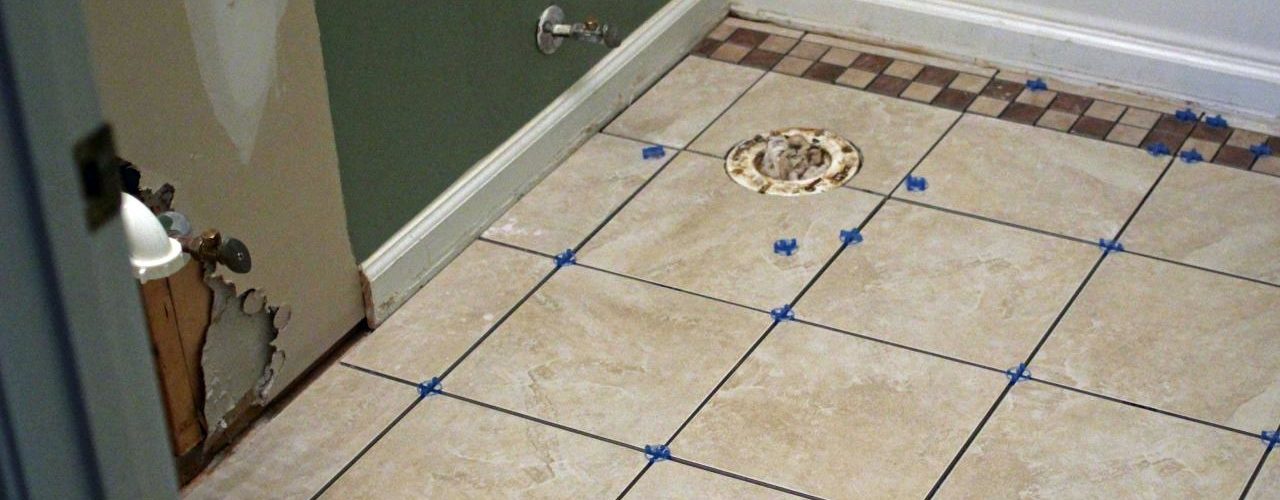
Start by removing the molding around the base of the wall and around the old floor. Next, lay out the tile in the design of your choice. Be sure to examine it closely to see if any parts are crooked, are not laying correctly, or if the design is not what you want. You need to be sure the tile design you have laid out is the exact one you want in your bathroom before you begin to set the tile.
Mix the mortar and water outside, as it can be a messy process. Apply the mortar to a small portion of tile, usually in 2 to 3 foot sections, spreading the mortar evenly with a trowel. Use the flat edge of the trowel to lay the tile onto the bathroom floor; make sure to press firmly and evenly. Continue to place the tiles on the bathroom floor, creating the pattern you desire. If you use larger tiles, use a spacer in between the tiles to them evenly spaced.
Once the tile has been laid, apply the grout. Mix the grout with water and apply to the spaces in between the tile with a rubber grout float. If you accidentally get grout on the tile you can easily remove it with some water. After the grout has been places in all the spaces of the tile, use a damp sponge or cloth to clean the surface. Allow the bathroom tile to dry overnight. You can apply a sealer after the mortar and grout have had time to completely set. Now you are ready to enjoy your new and improved bathroom floor.


