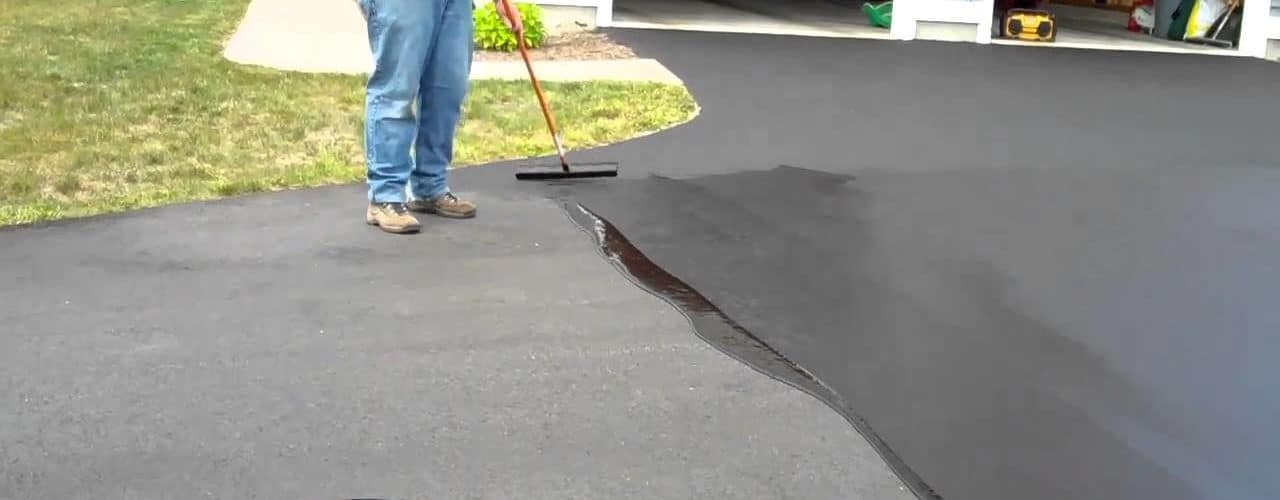
Any reader with an asphalt driveway should know that his or her driveway will one day begin to crack up and break down as a result of the combination the vicious elements of sunlight, heat, salt, and wear and tear. In staying on top of such cracks before they begin to widen, and then putting on a coat of asphalt sealer, you will be able to extend your driveway’s natural life. A freshly sealed asphalt driveway provides a sharp looking appearance for a house. This article goes through the step by step directions for sealing up an asphalt driveway.
Materials and Items Necessary for the Project:
– A Paint Stick
– An Asphalt Sealer
– Empty Drums
– A Wide Squeegee
– A Two by Four Board
Removing the Weeds from the Existing Asphalt Driveway
The first thing that you have to do is to take out any weeds or grass which is growing up along the driveway and inside of the cracks. For the driveway’s sides, you can employ a trimmer or an edger, alternatively. To get the pesky weeds out of the cracks, either pull them out by hand, or spray a good weed killer on them.
Cleaning the Oil and Gas Stains Off from the Asphalt Driveway
Utilizing detergent, clean off every oil and gas stain found on the driveway. Combine the water and detergent together in a bucket. Mix the solution up well and then apply it to the stained areas of the driveway. Scrub the areas well, using a brush for the task.
Patching the Asphalt Driveway
To seal up cracked area, you will need to utilize a good patch or crack sealer. Obtain a dispenser or can form of sealer in order to fill up cracks which are less than a half inch. Utilize asphalt for bigger repair jobs. You will need a trowel to work in the patch. Be certain to read the package’s instruction to learn the proper amount of time needed for drying.
Cleaning the Asphalt Driveway
Get a garage styled broom. Sweep up all of the debris and dirt. Then take a good garden hose. Wash down the driveway with water, thoroughly. It is important to have it as clean as possible before you start sealing the asphalt.
Sealing Up the Asphalt Driveway
Get your asphalt sealer bucket handy. Open it up and be sure to stir it well to get a good consistency. Paint sticks do a good job for this task. Now you are ready to begin sealing the driveway.
Pour a sufficient quantity of the sealer out of the drum to work on small sections using a wide squeegee. Utilizing the squeegee for the task, move the sealer back and forth. It is important to make sure that the sealer coat is both even and thin. This part of the project is much like using a roller to paint a wall. Thoroughly cover the whole driveway with the sealer.
Finishing the Asphalt Driveway Sealing Project
When you have finished with the squeegee, be sure to rinse it well with water in order to get it good and clean. You ought to leave the driveway undisturbed for a full twenty-four hours minimally. Do not touch it or walk on it in this period of time. To help accomplish this, you might get two big drums and put a two by four board over the top of them, to discourage individuals and cars from coming on to the driveway.
Additional Information:
About.com: Driveway Sealer
Latexite: How To Seal .
<>


