
Assembling a bed frame does not have to be difficult; even if you’ve never put together a frame before, it can usually be done within an hour as long as you follow some basic instructions. As bed frames will vary, depending on the specific design of the manufacturer and the size of the bed, it is best to consult specific instructions provided by the manufacturer when putting together the bed frame. However, if, for whatever reason, you have no access to specific instructions for your bed frame, you can use this basic guide to assist you. Before any construction, ensure you have the necessary tools and a clear space in the room where you intend to install the bed.
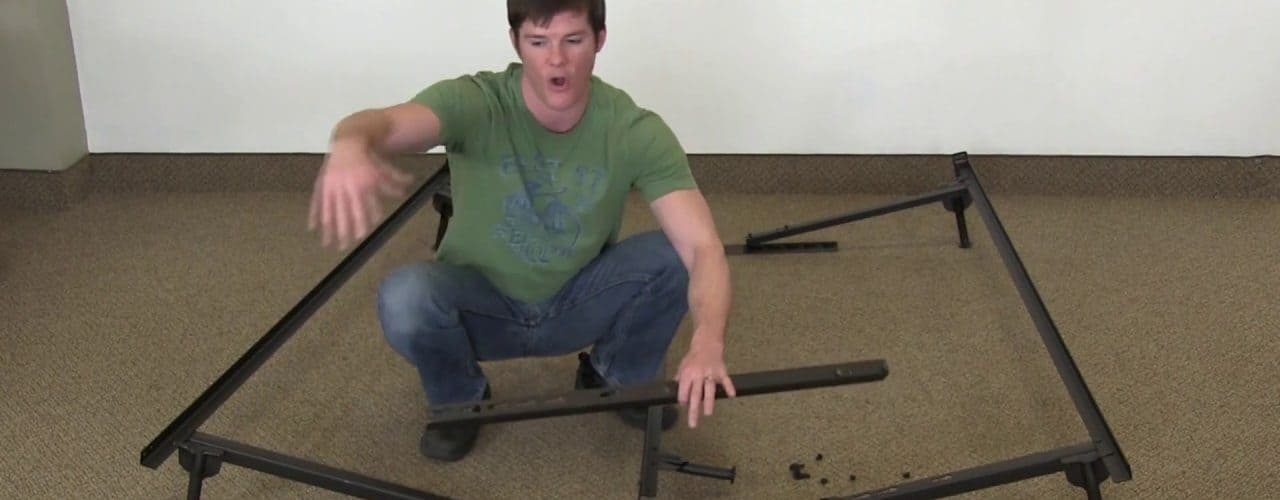
First, lay out the materials provided with the bed frame. You will see two bed rails, identifiable as the longest parts of the bed frame. Place them parallel to each other on the floor in the location you have chosen for the bed.
Connect the headboard brackets of your bed frame, if present, to the top ends of your bed rails; you can use screws or bolts to do this. Ideally, they should be included in the bed frame equipment.
Find the cross arms and lock them together. If there are no cross arms, there may be cross rails; these may be attached via screws or bolts. Typically, there are three or more cross rails per bed frame. One set is located at the head of the bed, another is located at the foot of the bed (both combine to form the bed frame), and the third is located in the center of the bed; this rail provides stabilization to the bed frame.
Should cross wires be included in the bed frame, they should be pulled diagonally from one bed rail to the next, and attached to the appropriate slots in each frame. You can then test the sturdiness of the bed frame by placing stress on the sites where the bed rails and cross rails meet. Lock the cross rails and bed rails in place, and ensure there is no bending on wriggling at these points in the frame.
Next, break out the measuring tape. Use a tape measure to check the frame, ensuring the mattress comfortably fits inside the rails. If the measuring tape indicates the bed frame’s measurements are not at expected lengths and widths, it is easier to make adjustments now than before the remaining parts of the bed frame are assembled.
Locate wheels, glides, or casters, and snap them into their fitting brackets. Different bed frames may have different locations and types of attachments; however, no matter which type or size of rail you use, the parts you insert should be tightened and locked securely into their respective brackets.
Ensure the brackets are secured to each end of the bed rail; you will need screws or bolts to do so. You may test the brackets through stressing the contact points on the brackets. This ensures the brackets support the mattress you will use.
If you have a headboard, now is when you will attach it to the headboard brackets on the bed frame. If you don’t have a headboard, of course, you will not need to attach it to headboard brackets.
Attach end caps to the bed rails on each end. The end caps will allow you to use sheets on the mattress without them snagging on the bed rail itself.
Finally, take your mattress and sit it on the assembled bed frame!
This site includes assembly instructions for several bed frames of different sizes: The Sleep Shop: Bed Frame Assembly Instructions.


