
Orchids have a reputation of being one of the most loved flowers worldwide for their beauty. That’s why it is no surprise that their popularity grows every year. For those of you that are planning to have orchids of their own you should not learn only how to take care of it but also how to best plant the plant so it can grow to a healthy plant. It is also the requirement of any orchid that is planted to be repotted. Once you have learned how to plant an orchid, repotting it will be no problem since the technique that is applied is the same in both cases.
The steps to planting an orchid are as follows:
• The first step in planting an orchid is to have a medium that you are going to put in the pot. The biggest mistake that most people do is to use ordinary soil from the garden as their potting medium. The soil is harmful to the orchids as it will lead to their death almost immediately. This is attributed to the fact that orchids at the start of their growth do not grow in soil.
• The most suitable potting medium would be one that is porous and fibrous. The best examples of this would be a bark, coconut shell e.t.c. The biggest problem with these materials is that their decomposition rate is quite high and thus when this happens it would be best to repot the orchid. However, there is a warning on repotting the plant too frequently.
• The second step to consider is the choice of the pot. Here am not talking about the course nor the color of the pot but the pot size. It is common mistake for most beginners to want huge sized pots. One should choose a pot whereby the plant will be able to reach most of the moisture in the pot. So it is common sense that the larger the pot the more problems that the plant will have in getting its moisture thus it might lead to the plant not growing in the best way possible.
• If you find choosing the pot size quite a difficult task, I would advise you to check out the size of other pots where orchids have been grown. Then now choose a plant approximately the size of the plant you have seen and choose a similar pot size.
• The third step after having the right pot size is to fill it with the potting mix and make a drill a hole at the center. At first do not use all the material for potting. You can fill the pot to just about half.
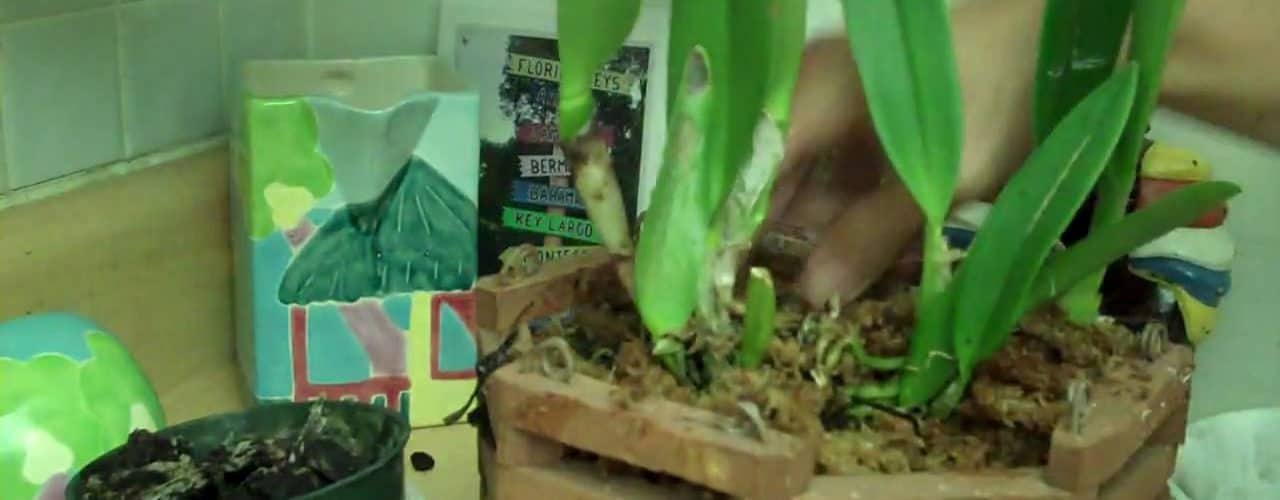
• The last step, after sometime, proceeding with much care and at a slow pace is to get the orchid out of its original pot into a new one. This is not as simple as it sounds, some of the roots will definitely cling to the pot. One can use a sharp tool to cut off some of the roots but should be careful not to overdo it.
Fill the new pot with the rest of the potting material. Do not make it too lose nor too tight. If there are any bulbs that are too weak, you can have the bulbs supported.

