
Simply painting the walls of a room can dramatically change its ambiance. Go from mundane white to refreshing with blue, vibrant with red, or calming with pastels. It is also the cheapest, easiest, and quickest ways to achieve such a desired effect without entirely redecorating. Unfortunately, the nooks and crannies of textured walls provide a slight difficulty and nuisance to the painter. Thankfully, there are ways to avoid the problems. Here are a few tips on painting textured wells, and a few alternative ideas.
MATERIALS NEEDED
• Paint brush of high quality
• Large paint roller or wall brush
• Semi-gloss paint
• Primer
• Dropcloth
• Painter’s tape
• Ladder (depending on height)
Semi-gloss paint is ideal for textured walls for a couple of reasons. First, it is not absorbed as easy by the textures like flat paint. Second, the semi-gloss finish is much easier to clean. While most people do not scrub their walls as part of a weekly cleaning routine, the texture tends to grab dirt and grime with a vengeance. To keep it looking fresh without much hassle, opt for the semi-gloss paint.
PREP THE SURFACES
The importance of priming does not change with the wall type; textured walls need it just as much as non-textured. Use the painter’s tape to protect surfaces from dripping, such as baseboards and window sills, and cover the floor with the drop cloth. It is also a good idea to bring the ladder in before the painting begins to avoid tracking paint through the rest of the house to grab it later.
BEGIN THE PAINTING
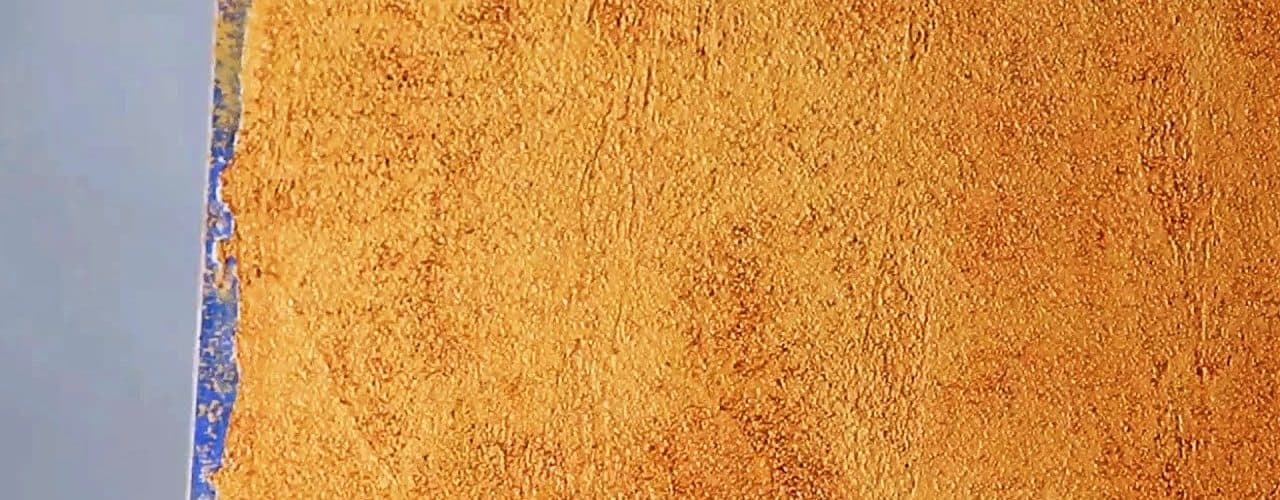
In the beginning of the paint job, start with a regular paint brush. This is used to get into the edges of the texture that a paint roller would miss. To ensure total coverage, wiggle the paint brush back and forth to feed the paint into every crevice.
FULL COVERAGE PAINTING
Now it is time to switch brushes. Using the large wall brush, cover the entire area in “X” patterns or diagonally back and forth. This gives more even coverage. By not using regular, neat up and down strokes, the crevices are more likely to receive paint. Also, the random pattern that is created helps to hide the brush strokes. Paint rollers can be used to paint the whole area, but they are more likely to glide over the bumps of a textured wall resulting uneven coverage.
TOUCH UPS
After the paint has fully dried, take a good hard look at the wall. Keep an eye out of areas that look thin on paint and spots that were completely missed. These mistakes can be touched up individually or a second coat of paint can be applied. Once you are certain that the painting is complete and dry, it is safe to remove the painter’s tape with great caution. Check to make sure that there are no white spots left between the new color and the painter’s tape.
OTHER TIPS
• Before committing to a color, try it out on a small portion of the wall. Textured walls tend to reflect and shadow colors differently that may be attractive on paper yet disappointing on the wall.
• It is better to have less paint on the brush even though it means dipping more. Paint drips can easily gather in the crevices of the textured wall and dull its beauty.
• Because the texture creates small shadows on the wall, paint samples will often appear darker when applied.
Painting textured walls does not have to be the great hassle that many make it out to be. When done properly with the appropriate tools, it can be relatively simple.
Related Posts
<>

