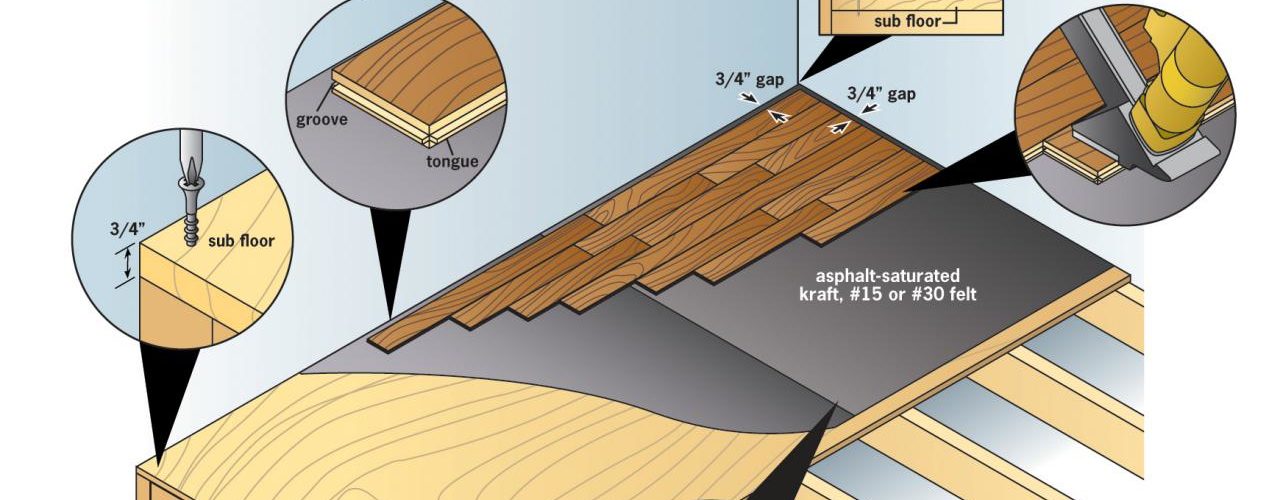
The carpet in your living room is getting dingy and just not worth the effort in cleaning anymore. A nice alternative to this would be to implement a hardwood flooring solution to your home. Most hardwood flooring today comes in planks that are extremely easy to install and require little to no cutting to fit. The planks themselves connect quite easily to each other through a groove locking system and in the end will provide a seamless looking floor that is quite easier to take care of in the long run. Here are a few steps to follow when properly installing hardwood flooring.
1. Everything that is currently on the floor now will have to be removed. The carpet is going to come up quite easily but the debris itself will still be a nuisance. Carpet nails, padding for the carpet and any dust or debris will have to be removed with a shop broom so that the entire area is cleaned and level.
2. A foam layered material should then be laid and attached to the floorboard. Usually this will have a tape surface on the bottom that will adhere to the floor. This product is usually placed on the floorboard to allow for the flooring to have a cushion and prevent cracks or breaks in the hardwood flooring planks.
3. Starting with any one of the corners of the room in question, you will place one plank even with the side of the room. The next plank will be placed immediately to the side of the plank through the groove locking system that was spoken of earlier. You will run the planks along the entire floor until you reach the other end of the room. Any modifications for the last plank to be fit would have to be done using a saw that will provide a straight edge similar to the planks you have laid that were not modified.
4. The next row of planks should not be even with the previous. There should be a difference of about an inch from the edge of one plank above it to the one below it. The difference will be beneficial in the long run by keeping all planks sturdy for years to come. Once you have made the one inch measurement adjustments, you can then begin to lay down the next row of planks. The groove locking system can be found at the top and on the sides of the planks so therefore you can lock this next plank below one of the top ones and continue on the same way to the other side as before.
5. Once all of the flooring has been laid down and locked, the baseboards for the wall can then be placed back in their previous spots.
6. Depending on the type of floor you have chosen, it is best to check with a hardware store representative to determine the best treatment for your hardwood flooring. Specifically you would probably be looking for treatments that would prevent against scratches as well as provide a gloss finish for better presentation.


