
Installing vinyl flooring is one of those projects that most homeowners feel comfortable doing themselves. Before you begin, the base floor needs to be smooth and clean. This might mean sanding it down first if it is wood, either by hand or with a floor sander. Check for evenness in the subfloor by using a straight edge across the baseboards and corners of the room. Use a flashlight to check the straightedge against the floor and the baseboards. If high spots are found, you will need to sand or trim them down.
If trimming is needed, use a small saw and a ruler, being careful to only cut away the exact amount needed. For very small pieces of flooring, a putty knife or flathead screwdriver can be used to trim the excess away. Check the subfloor for nails, and remove them if any are found. In some cases, a new subfloor may need to be added over the existing subfloor to provide a good base for the roll covering. After the floor is ready, a roll covering should be applied. This will ensure the stability and smoothness of the vinyl once it is laid. You start at one edge of the wall and roll it out smoothly from one side to the other.
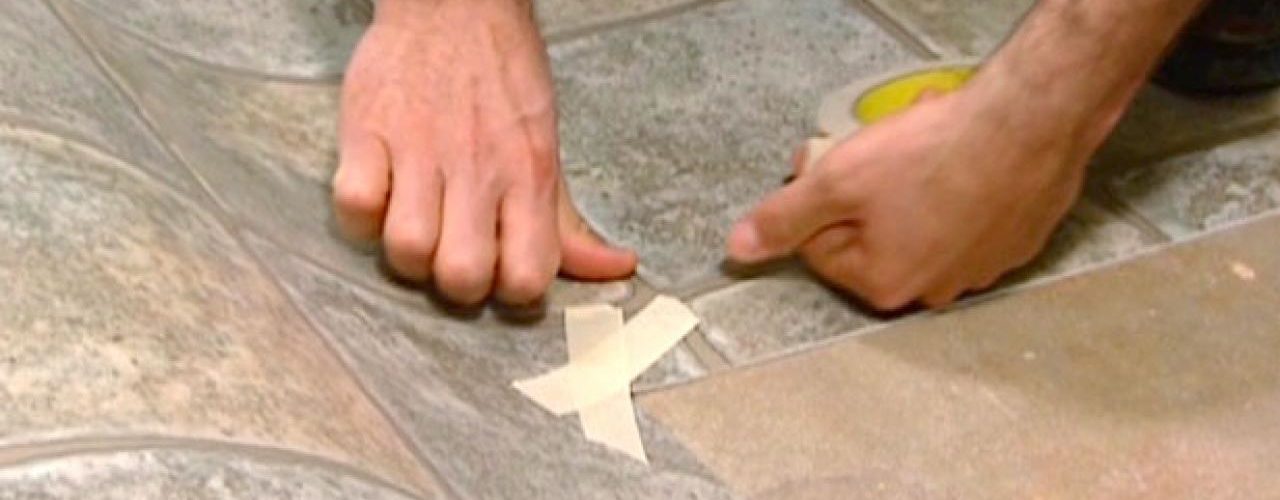
For out of the way areas which need covering, such as around cabinets and other fixtures, pieces of the adhesive flooring can be cut out as needed. For this reason, measurements should be taken first, and when cutting out the roll flooring, a ruler should be used in order to get the exact footage. Once the floor covering is laid, check for smoothness, evening out any air pockets. If laid correctly, there should not be any air pockets in the covering. The next step is the vinyl floor itself.
There are two approaches to laying vinyl. One is to use an adhesive, usually on the back of the squares of vinyl. Lay each piece down one at a time like a puzzle, smoothing it out with a small hand tool. The other method of laying vinyl is to staple it to the subfloor. Better quality vinyl will require this method instead of the adhesive method. This is advantageous if you decide to remove the flooring later. The adhesive method is harder to get up if you want to remodel in the future.
Most roll flooring is sold in twelve foot widths, so if your room is bigger than this, you will need to cut additional flooring from the roll, creating a seam along the edges. If you are stapling or nailing the new flooring to the existing subfloor, do so carefully. These can be finished over later so they will not diminish the look of the new floor. Use a recommended cleaner to remove any adhesive. There should be no furniture or other objects moved onto the new floor for the first twenty-four to forty-eight hours after the floor is completed.
For a detailed demonstration of how this project is done from start to finish, you can watch the video at this link:
The steps above should be followed carefully and with safety in mind. This is a relatively safe and simple solution to laying vinyl floors, but if you have a friend who can help you tackle this project, remember that two heads are often better than one. After one or two days, your floor is ready to use. You should be able to walk on it and feel the smooth and even surface adhering to the roll covering and subfloor or subfloors below the surface.
<>

