
The one job that is very intimidating to homeowners is the replacement of siding. Though it appears to be a complex project and can appear very daunting, the installation of house siding is a project that can be undertaken by anyone with a even the most basic knowledge of construction. While it may not be as simple as just nailing vinyl panels to your house, it is a job that can be undertaken with a little planning. All that is required to get the job done is to gather the proper tools and follow the step-by-step instructions in this guide.
Step One: Since vinyl siding has to be able to be able to expand and contract with changing temperatures, you are going to need a few materials to make sure that the siding is not only functional, but also retains its appearance. Besides the siding panels, you are going to need a number of additional trim pieces. These include J-channels, starter strips and the inside/outside corners.
Step Two: You want to make sure that the surface that the siding is going to be attached to is in good condition. After all, you don’t want to attach siding to a surface that is damaged. Do a spot-check and look for rotting wood or any other signs of damage and promptly address these issues. It is also a good time to replace any old caulking that may need to be replaced.
Step Three: Determine your insulation needs. Before you even begin the project, it is probably a good idea to see if there might be any additional insulation that you need to install. The most popular insulation for vinyl siding is an insulation that has a foil backing. This type of insulation is not only a good insulation but it also prevents moisture build-up between the siding and the exterior walls.
Step Four: Now is the time to install trim pieces. Wherever the siding touches another object then trim pieces have to be added. Install these trim pieces around doors, windows and exterior vents.
Step Five: Apply your starter strip. The starter strip is a piece of siding that is place around the entire exterior of the house and is used to hold the first siding units snugly to the exterior walls. Measure for the soffit at each end and use a chalk like to mark it. Using the chalk line as a guide, install the starter strip. The starter strip is nailed at ten-inch intervals right in the center. Be sure to leave a quarter-inch gap between the end sections of the starter strips to ensure that there is room for proper thermal expansion.
Step Six: Now is the time to install the J-channel around the windows in preparation for the siding to be installed. Be sure to miter the corners of the J-channel so that have a forty-five degree angle. This is important so that moisture is drawn away from the window.
Step Seven: It is now time to attach the first siding panel. This first panel is the bottom panel and it is locked into the starter strip. Make sure that the panel securely locks into the starter strip and then add nails every sixteen inches to hold it in place.
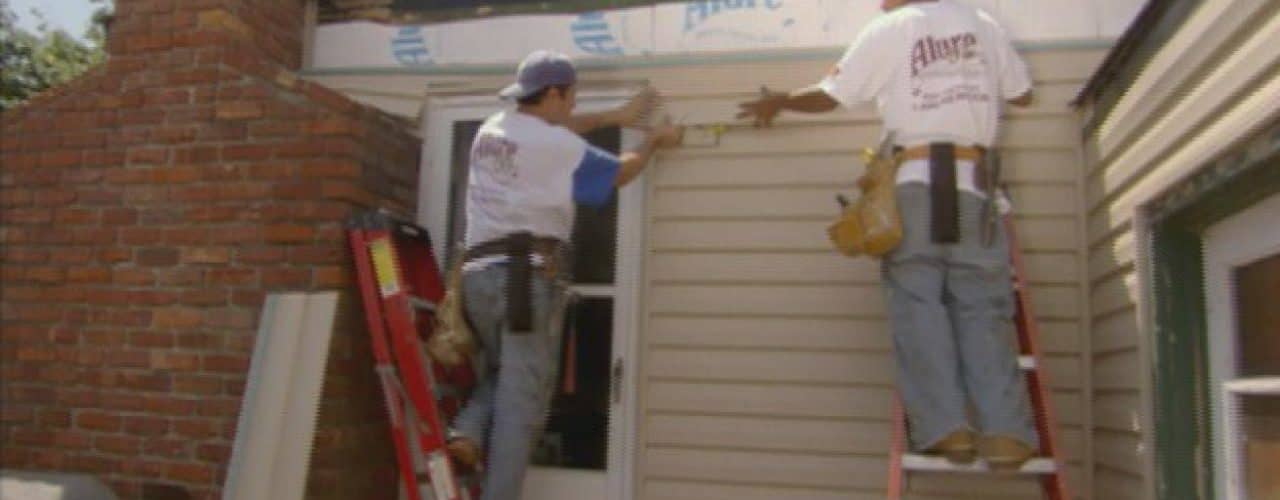
Step Eight: Install each layer of siding by attaching it to the layer below it, slowly working your way up the wall. Keep in mind that horizontal panels have to have at least a one-inch overlap. Also make sure that the panels are a quarter-inch away from the corners of the house and the windows. These end pieces will be tucked under the trim pieces, so don’t worry the gaps won’t be seen. Be sure to check the level on the siding after every five or six panels.
Step Nine: After the siding has been placed, now is the time to secure it. Drive nails into the siding at a straight angle, making sure that you leave a gap between the siding and the nail head that is about the thickness of a quarter. This ensures that the siding has the room it needs for thermal expansions and contraction. Remember, if the siding doesn’t have room to move then it will buckle. And that’s not a good thing.
Step Ten: Clean up and give yourself a pat on the back. Not only did you save yourself the trouble of finding someone to install your siding, but you also saved yourself a good deal of money in the process.

