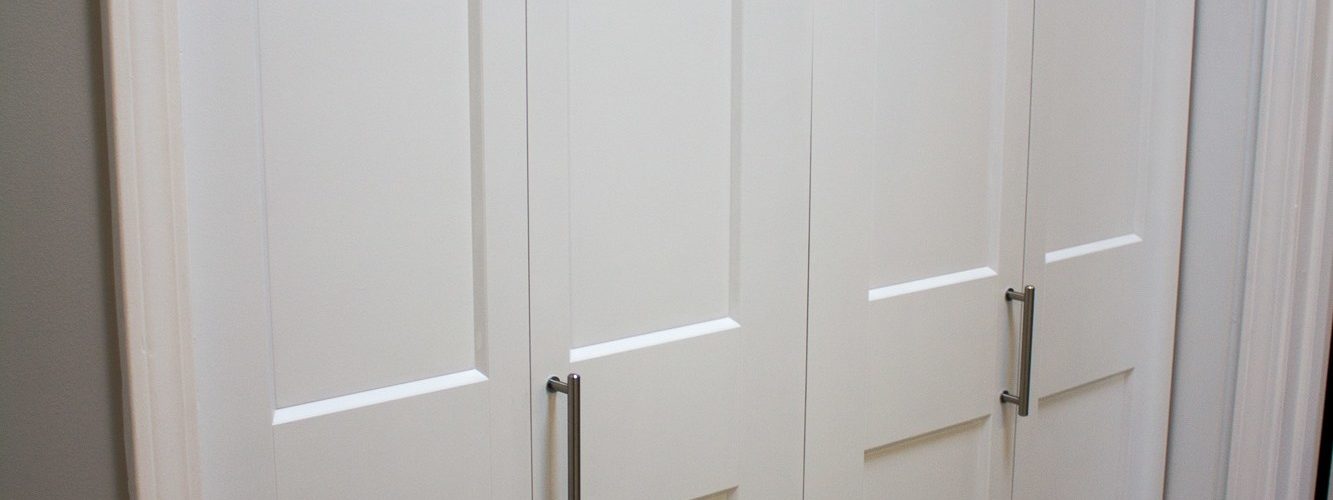
Bifold closet doors allow you to see fully inside your closet. Installing them is relatively easy, and can be done by most home owners. Plan on the project taking a few hours, and you will want to have certain tools on hand. The most important thing you can do is read through the manufacturer’s instructions on your doors ahead of time. This simple step will help the project go more smoothly.
Contents
You Will Need:
- The right door
- Measuring tape
- Drill
- Self-Centering drill bit
- Builders Square
- Plumb bob
- Flexible bit extender
Careful Measuring
The door depends on properly placed hardware to function. The track, pivots and hinges have to be placed corrected and facing the right way. As you work through this project, take your time and make careful measurements.
Prepare the Door
If you will be painting the door or staining it, now is the time to do that. Once the doors are painted, label them to show which end is up and which end will face up. You can do this easily by placing a piece of masking tape on the top edge of the door with an arrow pointing to the front.
Next you will mount the hinges. Begin with the door piece that will sit along the outer edge of the closet. Mark the hinge placement as follows:
- 11 inches up from the bottom
- 7 inches down from the top
- Center the third one between the two
Lay the lower half of the first edge and line the bottom of it up with the lowest line. The knuckles should face to the back of the door with that edge flush with the edge of the door. The self-centering bit is used to drill the holes before the hinge plate is screwed on. Repeat with the top and middle hinges, lining the bottom of the hinges up with the marks.
Next, take the inner door and place the two doors back-to-back, the way they will be when finally hung. Be sure the doors are perfectly aligned to each other using a square. Put the hinges together, and then screw them into the inner door.
Repeat with the second set of doors.
The track hardware can now be attached to the doors. Each door will have a pivot plate at the top and bottom outer corners and locking arms along the top of the inner doors. Your kit will have instructions showing exactly where the pivot plates and locking arms should be placed. Take the time to double-check all measurements.
Mounting the Track
The track can be cut to fit the closet opening using a hacksaw. Place the hanging hardware into the track before slipping the track into position. Be sure that the small stops are in the middle, the hangers with wheels are on each side and the pivot sockets are on the outside. The track is then attached to the door header using screws. It should be placed with 1 inch between the track edge and the front of the header to allow the door to open and close easily. Do not tighten the track hardware until the door is actually in place.
Floor Brackets
Find the proper location for the floor bracket by using the manufacturer’s directions, and hanging a plumb bob from the center of the track to fine tune the exact spot. The pin hole of the floor bracket should be aligned with the plumb bob for the door to work smoothly. Screw the bracket in place for position, then remove the screws and bracket and set them to the side.
Hang the Doors
Lift the jamb side of the door to hook the pin into the pivot plate socket. Once the pin is in fully, push the lever up to secure it. Attach the leading door pin into the locking arm on the hanger. This can be twisted to secure it. Close the doors, and then swing them forward enough to slip the lower bracket onto the pin. Holding the bracket carefully in place, put the doors in position. Open them slightly to expose the holes that were drilled for the lower plate. Screw the lower plate firmly in place. A flexible bit extender can be used to secure these screws. Next, hang the other door.
Adjust the Doors
With the doors closed, you can move them around along the track to achieve an even spacing around them. The wrench included with your set can be used to tighten the end pivot sockets. You are now ready to attach the door aligner on the inside of the doors. They should be placed on the leading doors, about 6 inches up from the floor. The aligners will catch to keep the doors flush with each other when they are closed.
You are now ready to attach the door pulls of your choice and enjoy your new bifold closet doors.


