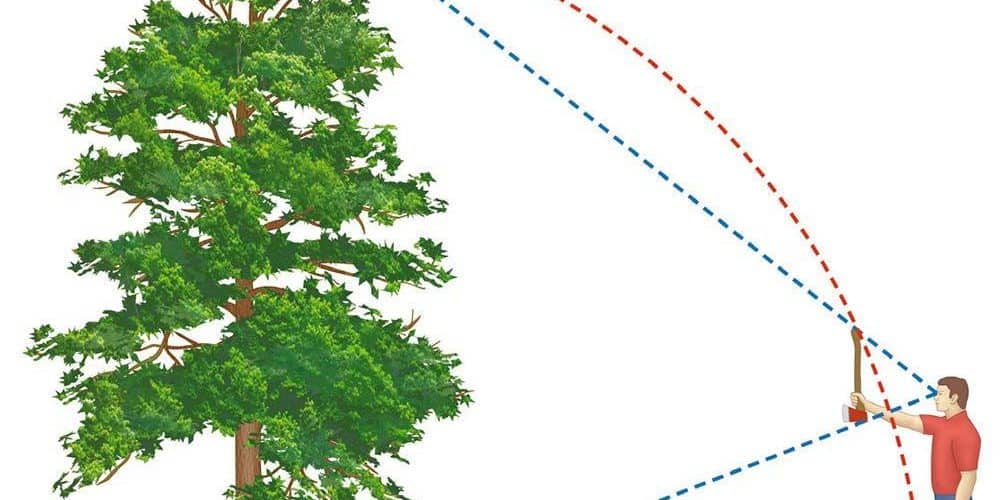
Trees beautify our home landscaping, cool us with their shade and help to clean the air. There are circumstances that sometimes require the removal of a tree and in those instances a tree is no longer a thing of beauty or a provider of gifts. A tree that must be cut down becomes a large and dangerous obstacle that must be carefully dealt with.
Most of us are not in the lumber or paper business so our reasons for cutting down a tree rarely have to do with some of the traditional needs for wood or pulp products. Sometimes a tree will simply become a nuisance. A tree’s roots may begin to lift or crack the sidewalk. Mature trees can begin to have many surface roots that begin to destroy a lawn or play area. Tree roots can also cause problems in septic fields. Water flowing from old and leaky pipes may encourage roots to grow towards it. Roots then penetrate and further crack the pipes. Sometimes a tree is cut down simply for esthetics; it may be overgrown and block a view or constantly leave a home in shade. On occasion a tree will become damaged by storm, disease, insects or accidents.
Once you have determined that cutting down a tree is the best course of action you will need to plan carefully to ensure you precede safely. Tools you will need are a chainsaw, a rope, work gloves, goggles and a helper. The first step must be to assess the trees health, looking for root instability or anything that can lead to sudden unplanned failure of the trees structure. If all looks normal your next step should be to determine where you want the tree to fall and ensure that there is sufficient space and a clear path for it to land. Check to be sure no power lines are in the area or that other nearby tree branches cannot hold up or deflect the falling tree. If possible select a flat area so the falling tree will not roll from its intended place of rest. Look around the area of the tree to plan an escape route for when the tree begins to fall. You do not want to be slipping and sliding so try and clear any loose brush or obstacles from the immediate area. Use your ladder to tie a rope on an upper part of the tree; this can help if the tree is not falling in the correct direction.
Now is the time to begin making your cuts. The first cut will be on the side of the tree which is in the direction you would like the tree to fall. Choose a comfortable height and saw downward into the tree at a 45 degree angle about 1/3 of the way into the diameter of the trunk. Start you second cut about a foot below the first and saw upwards at a 45 degree angle to intersect your initial cut. This should create a notch in the tree facing the direction of the path you have chosen. You helper should keep tension on the rope during this part of the procedure.
The next cut will fell the tree so a final check of the area is needed. Tension should be kept on the rope during this time. The last cut will be made directly opposite the notch. The cut will be made horizontal to the notch. If the cut is made slightly above the notch the tree tends to stay attached in a sort of hinge as it falls. When the cut is made below the notch the tree will tend to break free as it falls. As you cut you will have signs that the tree is beginning to give way including pops and cracking sounds. The rope can be used to guide the tree if it appears to be moving away from the direction you have chosen it to fall. The saw should not be allowed to cut completely through the trunk. The few inches of wood that form the hinge will help guide it as it falls. When there is movement and cracking sounds you will want to clear away quickly but carefully. Once the tree falls you can cut it into manageable pieces.


