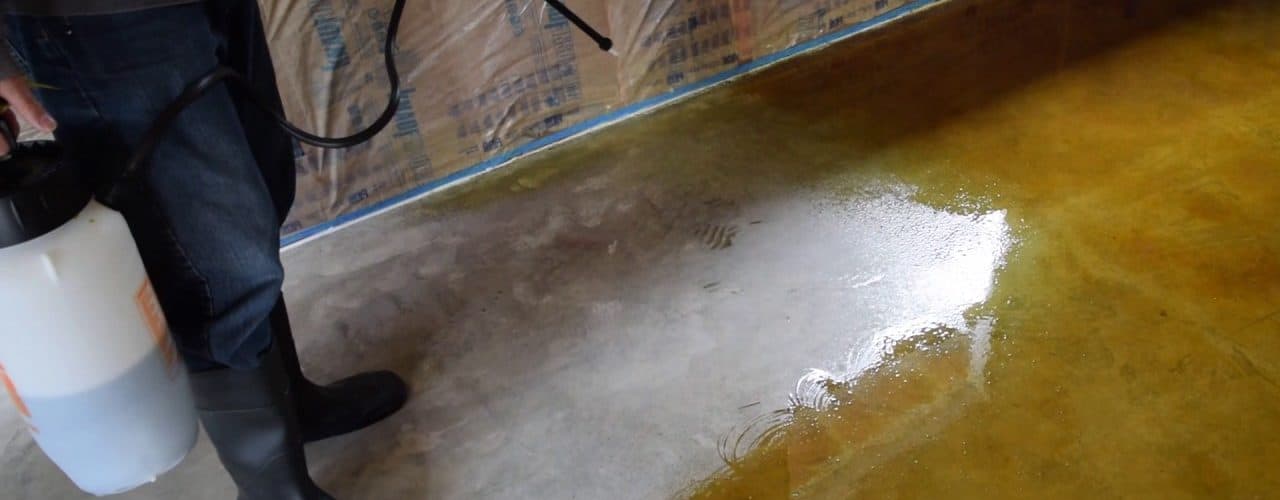
Staining a concrete floor or patio can give it a new look, and is much less maintenance than painting since stain won’t peel, crack, or fade. When most people think of a stain, they think of a wood stain. In the case of a concrete stain it is actually a chemical reaction. This is important because the stain that is chosen may not look exactly the same once applied to your concrete surface since all concrete is not the same. For this reason, applying a color sample is essential to knowing what the outcome of the process will be. The first thing we will discuss will be the general list of supplies necessary for this project, and then an outline of the process itself.
Supplies
· Safety equipment (heavy-duty gloves, appropriate shoes/boots, safety goggles, and ventilated face mask)
· Cleaning supplies (broom, warm soapy water, and mop for cleaning surface)
· Repairing supplies (available at most home improvement stores, if necessary)
· Tape and plastic (for covering baseboards, lower walls, and other surfaces that need to be protected during this process)
· Muriatic Acid, scrub brush or broom, and acid resistant bucket (for “etching” the concrete to prepare for staining)
· Concrete stain (acrylic based is easiest for beginners) and applicator of choice. A sprayer is suggested for even coverage, but a mop or roller can also be used.
· Concrete sealant and applicator (See manufacture’s suggested method of application for best results)
Once, all the supplies have been gathered, the first step is to clean the surface thoroughly. If doing this project on an indoor floor, also make sure to vacuum around baseboards to remove any dust or debris under the baseboard. The next step is to mop with warm soapy water, remove any excess water and allow the surface to dry completely. At this point, any major defects should be repaired since the stain will magnify defects, but hairline cracks are generally not an issue. Once repairs are made, then clean again. Once the surface is dry, and then it can be treated with a solution of 20:1 water and muriatic acid, will rough up the surface so that the concrete is able to accept the stain. This needs to be done to smooth concrete. The way to best tell if this step needs to be done is to compare the floor to 120-grit sandpaper. If the surface feels the same as, or is rougher, than the sandpaper, then this step can be skipped. The solution can be applied using a broom, left on for about 20 minutes, then washed off thoroughly. After the concrete has dried, then the stain can be applied. Professionals suggest using a sprayer to apply the first coat to get a good even color. Since the stain will sink into the concrete, a second or even third coat may be needed to achieve the desired color. Be careful not to let anything come in contact with the surface while the stain is drying. The color won’t be set until sealant is applied and has dried. For a glossy finish, either a polyurethane or wax can be applied after the sealant. This will also further protect your new fashionable floor or patio.
Related Video:
How To Stain Concrete Floors-Concrete Stain-Do It Yourself Concrete Stain
<>
<>
<>


