Installing a new interior exhaust fan in your restroom is a very easy project which takes only a few hours and greatly improves air circulation in small to large rooms. However since the exhaust fan requires electricity and working with wire connections you must use extreme caution if you are not comfortable working with electrical power. If you have no knowledge working with electric current please stop here and contact a qualified electrician for the wiring part of this project.
1. Purchase the desired exhaust fan from your local hardware store.
2. Most exhaust fans come with a “Template” to correctly mark the hole size and opening in your ceiling. Before marking the hole you will need to ensure that there will be no framing or conduits, wiring etc in your way. You may have to enter the attic to find the proper location for your new fan. (Use caution while moving around in the attic and stay on the framing only)
3. Now that you are sure you have the correction location and are between studs in the ceiling
4. Place your template on the ceiling in the correct area and mark all 4 corners with a pencil
5. Take a small drill bit and drill a hole on each mark (Make sure hole is square with room)
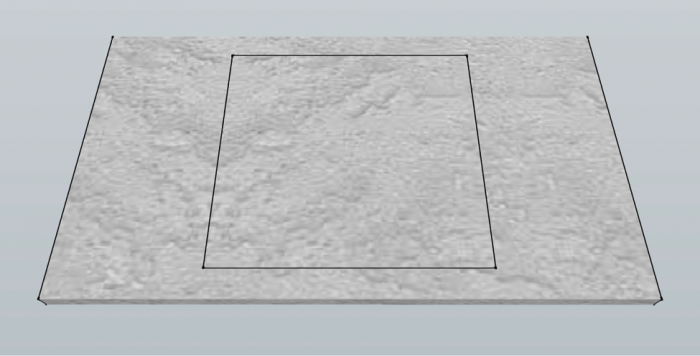
6. Now draw a line from one hole to the next till you have a box shape drawn on the ceiling
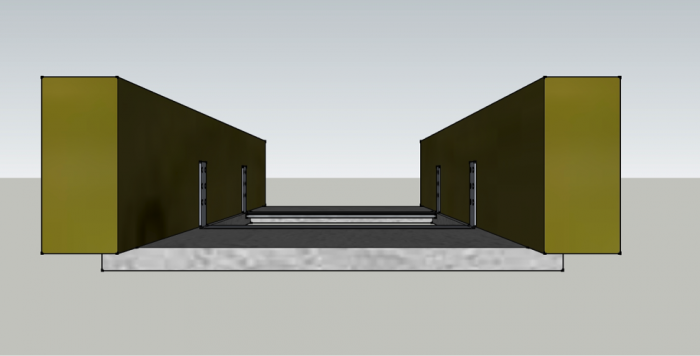
7. See diagram below:
8. Carefully cut the opening out with a keyhole or draw wall saw
9. Make sure you are wearing safety glasses to prevent dust from getting in your eyes
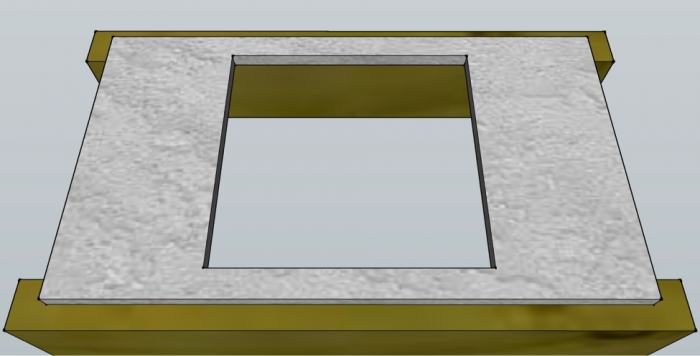
10. Remove the piece of drywall from the ceiling and discard
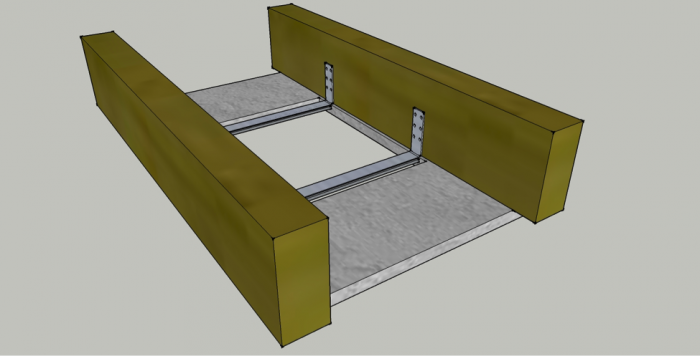
11. The ceiling should look like the figure below now:
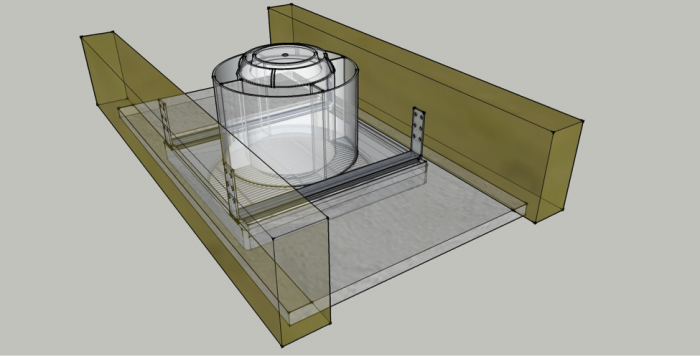
12. Next you will install the exhaust fan from the attic space
13. Each exhaust fan comes with adjustable brackets that will span from one rafter/ceiling joist to another.
14. These brackets are very import since they carry the weight of the fan and allow the fan to run without making noise and vibrating.
15. The brackets can be screwed or nailed to the studs
16. Now place the fan and brackets in place and in line with the hole in the ceiling and between the studs, make sure that everything lines up correctly
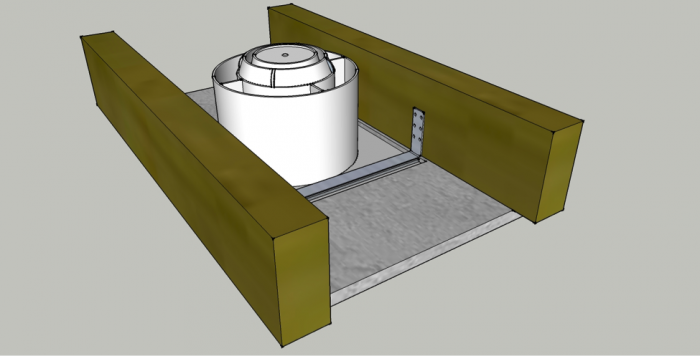
17. See image below (Attic view of installed fan)
18. After everything is secured in place (Wiring comes next)
19. Make sure that all power is off and you are comfortable with this step – IF NOT STOP AND CALL A QUALIFIED ELECTRICIAN
20. After wiring is connected test the unit and switch
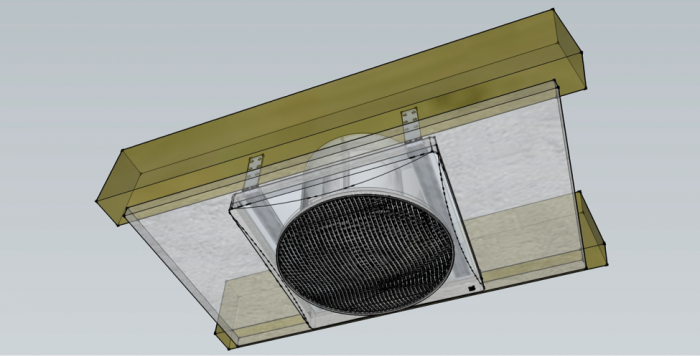
21. Install the interior cover on the fan
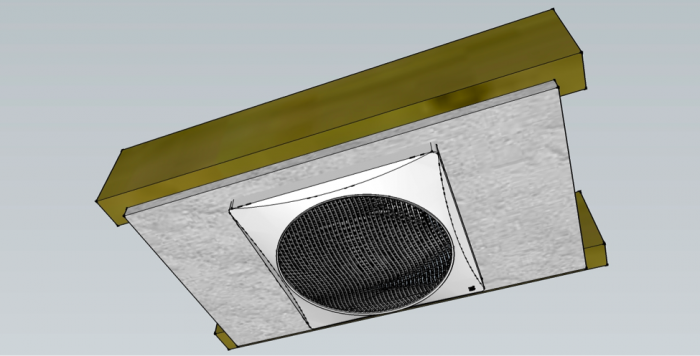
22. Your new exhaust fan should look similar to the image below:
The following images are for quick reference and may assist you in installing your new fan.
<>

