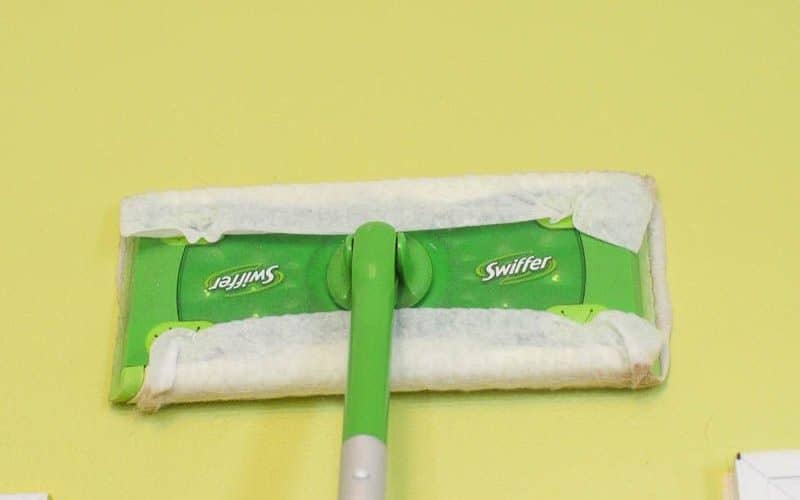
To insure one of a beautiful paint job, walls and ceilings should always be prepped first by cleaning and repairing before the painting process begins. All walls tend to hold a small layer of dust, and if not removed, the paint will have a hard time adhering to the wall. This may also result in a bit of a textured look.
Contents
Repairing Walls
Some walls may have cracks or small holes in them. These imperfections should be fixed before painting begins by using painter’s putty or spackle. Plaster of Paris can be used for deeper cracks. When repairing wood walls, one should use a wood filler.
Materials Needed for Cleaning Walls
Pre-painting cleaner such as TSP (tri-sodium phosphate) or other mild cleaners such as soap and water, just not one that will leave a residue. If there are smoke-stained walls to be cleaned, a solution of 50/50 percent water and bleach can be used.
A few other needed materials include buckets, preferably 2; sponges or rags; old clothes; a water-proof drop cloth; and a ladder.
Cleaning Walls
Before cleaning starts, make sure to lay down a water-proof drop cloth so the solution doesn’t drip onto the carpets or flooring, ruining them. Using a ladder, always start cleaning from the top of the walls and work downward.
When cleaning the walls, it is best to use two buckets. One bucket will be used for the cleaning solution and one bucket filled with plain water for rinsing. Using a sponge or rag, dip it into the cleaning solution and wring out. It is best if one doesn’t saturate the sponge too much to cause dripping. Sponge-bath the walls and then rinse them by using a rag that has been dipped into the plain water bucket. Make sure to always allow the walls to dry before painting begins.
Always use caution when cleaning around receptacles and light fixtures. It may be beneficial to turn the power off when cleaning these areas begins.
Cleaning Mold and Mildew
When trying to clean mold or mildew off walls, one should consider using a mold and mildew killing solution in combination with a cleaning solution. It is a good idea to use the solution throughout the entire room instead of just in the area where the mold or mildew is located. This is because spores can travel and can be found anywhere in the room, not just in one location. Additional areas to treat include the ceiling, trim, and the baseboards.
Always cover the flooring and furniture with protective sheeting to prevent mold and mildew cleaners from causing damage.
It is important to be safe while using a cleaning solution of this type. Always read the instructions and pay attention to the warnings before using these types of products. It is recommended to wear a N95 respirator mask, goggles, gloves which are chemically resistant, and protective clothing when using a mildew or mold cleaner. Be sure to turn off the power if cleaning around electrical receptacles and light fixtures. And always make sure the room is well ventilated.
Mold and mildew cannot be removed from unsealed wood or drywall. Because of the permanent damage which has been caused, these items will need to be replaced.
The cleaning solution of one cup of household bleach to one gallon of water will usually clean mold and mildew growth, as will a commercial mold or mildew cleaner.
To start the cleaning process, always begin with the ceiling first. Use a sponge to apply the cleaner to small sections at a time. Once dry, apply solution a second time and then scrub with a soft bristle brush. Each section should be rinsed with clean water. The same method should be applied to the walls, working from top to bottom. Be sure to include the trim and baseboard in the cleaning process.
Cleaning Ceilings
Walls are not the only surfaces that need to be cleaned before painting, and though it can be a messy job, ceilings should be cleaned too.
An important material needed for ceiling cleaning is a non-skid drop cloth to cover the flooring. It is best to find a waterproof cloth so the wet material will not leak through onto the floor or carpet. Other materials include old clothing, preferably long sleeves, and a hat. This will protect one from dripping cleaning chemicals. Eye protection is also a good idea and goggles or a pair of old glasses would work well. Make sure to have a sturdy ladder, a cleaning solution of mild detergent, and a sponge or squeegee.
When cleaning the ceiling, always work in small sections at a time. This will ensure that the entire ceiling gets clean. Be sure not to over-saturate the sponge or squeegee because this will cause drips that may cause problems when painting.


