
The cost of heating and cooling our homes is going up. There’s no denying it and no escaping it. But that cost can be reduced by taking the time to weatherproof our homes. One area that can lose a lot of heat is exterior doors. Luckily, when you know how to weather strip a door, you can quickly seal that door and save money on your utility bills.
The first step is to check your door and make sure it still sits tightly in place. To do this, simply grab your open door by the doorknob and lift. If the door moves, your top hinges may be loose. Tighten the hinges and you may find that the seal is corrected.
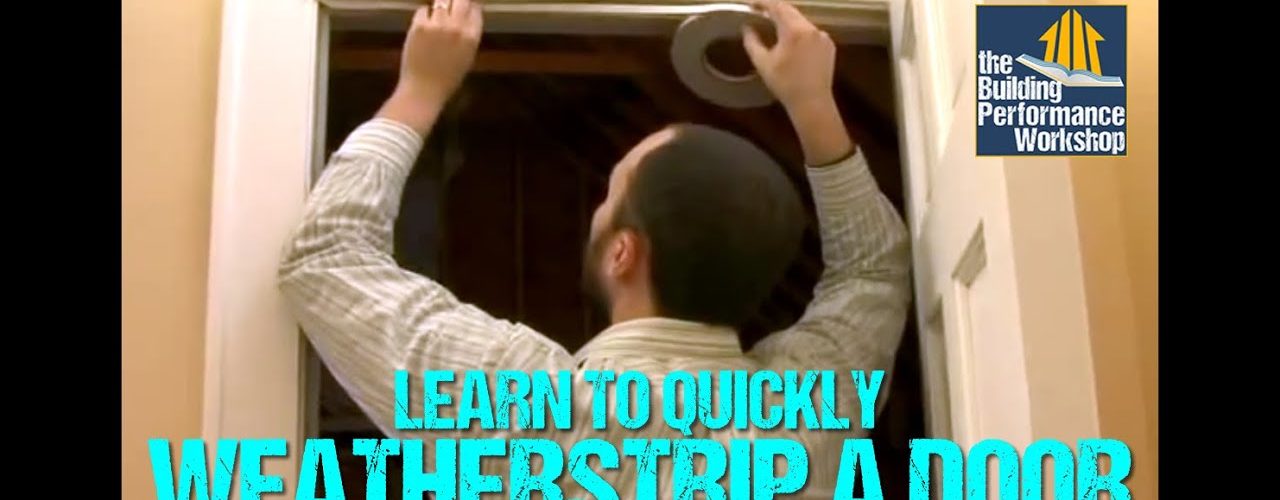
If your door already has weather stripping, you should be able to slide the old stripping out. Take it to your hardware store and purchase some that has the same shape and design. Simply push the new weather stripping into the old channels, and you are ready to go.
However, you may find that your door is older and does not have weather stripping, or the stripping and its mounts are so damaged that you have to install all new weather stripping. Here are the steps you need for doing that.
The first step to weather stripping your door is to measure the jamb. These measurements are taken with the door closed. The first measurement is taken across the top of the frame. Mark this measurement on one of the short sections of weather stripping that came in your kit. This is the first piece to be installed, and the other measurements will not be taken until it is in place.
The foam on your weather stripping can be cut using scissors. The wood flange can be cut using a hacksaw. The cuts for the top piece of weather stripping will be straight, vertical cuts. The strip should be positioned so that it just slightly touches the door and compresses. You don’t want the strip to pinch too tight, or the door won’t want to latch when you close it. When the strip is nailed in placed, the end nails should go about two inches in from the outer edges and the other nails should be placed about twelve inches apart. Do not drive the nails in fully at this point; just tap them in far enough that they will hold in place.
The side pieces will be cut with a coping saw so they will fit flush against the top piece. Measure the side jamb from the outer edge of the top weather stripping to the bottom of the door. Using a scrap from the top piece; mark the profile that will be cut from the side pieces. Be sure that you reverse the scrap for each side jamb so that the curved cut goes in the right direction. Coping saws can be used to carefully follow that line and make the cut on the side pieces. Nail them in place using the same directions as for the top piece.
Before the nails are driven firmly home, open and close the door a few times. The door should open smoothly, close flush, latch easily, and just touch the weather stripping all the way around. Once you are satisfied with the location of the weather stripping, you can hammer all the nails in or finish driving in the screws.
The final step needed is a door sweep. Measure across the bottom of your door, and cut the door sweep with a hacksaw. The easiest sweeps to use attach to the front of the door with screws. The sweep should just touch the threshold. Use a drill bit to drill pilot holes where the screws will go so that you do not crack your door. Screw the door sweep in place and you are ready to face the winter with a draft free door!

