
As easy as it may at first appear, spray painting is in fact an art in itself. There are appropriate steps that must be taken and techniques which should be followed in order to spray paint various surfaces and material types effectively. In this article, we go through the proper directions to correctly spray paint.
Prep Work
You begin by taking off the item or part that you have to paint. Although you might alternatively tape around it to safe guard it, you will still have to be mindful of possible over spray. Next you will need to sand down the item itself. Use a 300 grit sand paper for this task, and keep at it until the item’s surface feels a bit rough. In order for the paint primer to bond properly to the surface, this has to be done effectively. Once you have sanded down the piece, wipe it good utilizing a micro fiber cloth.
Priming
Begin applying the primer to the item, but lightly. It is better to utilize several lighter coats of primer than a single heavier one. Remember that you have to let each coat of primer dry properly before moving on to the next one. Once the several light layers of primer have been put on and dried, then use 800 grit sandpaper to wet sand the item. Following the wet sanding procedure, use the micro fiber cloth to wipe it down again.
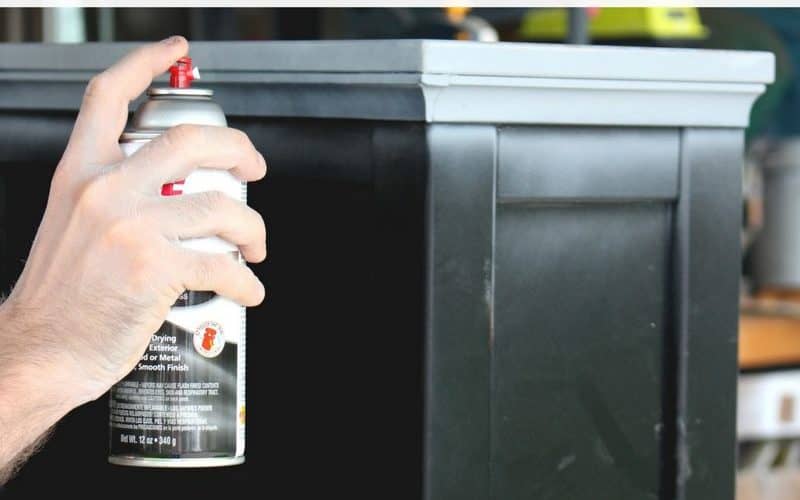
Spray Painting
At last you are ready to put on the actual color. In the process of laying down the spray paint, ensure that you properly utilize consistent and smooth passes over the item that you are painting. Never begin your spray painting at the top of the item, since this will cause the paint to sit too heavily in that section. In the actual painting process, you ought to push and then release the button off to the side of the item on which you are working. Remember our mantra, several lighter coats are smarter than a single heavier one. Never forget to let each coat dry before you move on to the next one. Once you are happy with the consistency and color, utilize 800 grit sandpaper to wet-sand the item. Once again, you will employ the micro fiber cloth on the item afterwards.
Clear Coating
Now you are ready to apply the clear coat. In the same manner as you applied the spray paint color, do the clear coat spraying. You will only require either one or two lighter coats of clear coat to properly do the job. Remember to let the clear coat layers dry, especially since this final layer is the one that you and others will see most obviously. Watch out for fingerprints; they look bad in the final layer!
Once again, let the item dry sufficiently. Then find your 800 grit sandpaper one more time for the wet sanding procedure. This time though, you will also use a 1,000 grit, then 1,200 grit, next 1,500 grit, and finally a 2,000 grit sandpaper. In such a way, any overdone portions of the clear coat will be taken off and your item will be beautifully polished.
Finishing Touches
Lastly, you will want to take off any scratches which were made when you used the 2,000 grit sandpaper. To do this, you will have to buff the surfaces using a rubbing compound. Then you will want to use a medium cut polish and buff the surface another time. And finally, you might choose to put on several layers of wax. The wax serves as a protector for the clear coat layers and also aids in keeping dirt off of the item.

