There are two types of driveways covered in this guide: concrete driveways and asphalt driveways.
Sealing A Concrete Driveway
Water can cause a great deal of damage to concrete driveways. When water is absorbed into the concrete during freezing periods it can cause flakes, pits and cracks in the concrete. By sealing concrete driveways this type of damage can be avoided. When completed this type of sealer can provide many years of protection for your concrete driveway.
Step 1. You will need to gather the supplies and tools necessary for completing your sealing project on your concrete driveway. For this project you will need the following items:
- Broom
- Pressure Washer
- Siloxane sealer
- Sprayer, paint roller or large paint brush
Step 2. Curing The Concrete Driveway
If you are planning on sealing your driveway right after it is laid you will first need to make sure that the concrete is cured. You must wait twenty one to thirty days after the concrete is poured before you can apply any type of penetrating sealer to the concrete surface. It is important to make sure that the driveway is free from any loose debris like leaves, dirt, mud or stones. You can use a pressure washer to remove unwanted oil or grease stains that may have built up over since the concrete was laid.
Water from cleaning must be allowed to thoroughly dry from the concrete surface area because water can dilute the siloxane sealer and provide poor results. After cleaning wait twenty four hours for the surface to dry. If it rains at all or there is humid conditions allow an additional twenty four hours for drying.
Step 3. Sealing the Concrete Driveway Surface
Using a sprayer, paint roller or large paint brush apply the siloxane sealer directly to the concrete surface. As you apply the sealer you will notice a small white coloring will appear on the driveway which is what you want to happen. However if there are puddles of sealer on the concrete spread them out before they dry.
Make sure that the concrete does not get wet for twenty four hours following the application of the sealer. The driveway should not be used for twenty four hours by cars or people while it is drying.
Sealing An Asphalt Driveway
Sealing an asphalt driveway can provide many years of protection for your driveway. Using just some simple tools and materials you can complete this project in a very little amount of time. However, you should do this type of sealing when you first lay the asphalt driveway or when you first notice cracks, pits or holes in the surface.
Step 1. Eliminating cracks, holes and pits.
Before you can begin sealing your entire asphalt driveway you will first need to make sure that all cracks, holes and pits are filled in. The easiest way to do this is to use a broom to remove any debris or dirt that may be around the area that you are repairing. Pre-load a caulking gun with asphalt patching material. Place the nozzle of the caulking gun at the deepest part of the hole, crack or pit and squeeze out enough patching material for the area. Make sure that the patching material is tightly packed in place. Using a sprayer, brush or roller apply the asphalt sealer over the areas you just repaired. This creates a barrier from water and other weather elements that can be damaging to the asphalt surface.
Step 2. Sealing the Entire Asphalt Driveway
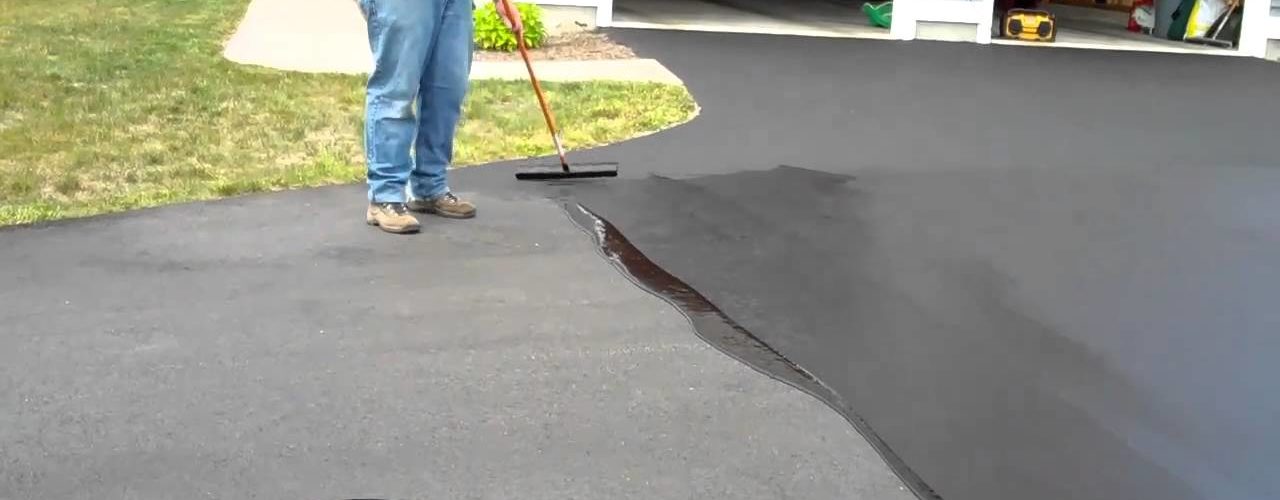
Using your sprayer, roller or paint brush apply the asphalt sealer to the entire surface of your asphalt driveway. Make sure that the sealer does not pool or gather into one area of the driveway. If this does begin to happen you will need to spread it out before it can dry properly. Allow a full 24 to 48 hours of drying time. Apply a second coat of sealer to the asphalt driveway surface and allow it to set for an additional 24 to 48 hours before driving your vehicles over it or allowing people to walk on it.
This should be reapplied every 1 to 2 years. By doing this you can extend the life of your asphalt driveway for many more years than expected.


