
Are your wood floors looking dingy? Maybe you’ve just found a beautiful wood floor hidden under that old carpet? Here are the basics on how to refinish wood floors.
Contents
Step 1: Make sure the floor is a good candidate to be refinished.
The floor needs to be made of solid wood, not laminate. There needs to be enough wood thickness to be sanded.
Evaluate the condition of the wood? Look for stains, gouges, holes, gaps, glue and warping. Are you able to make the necessary repairs?
Keep in mind that finishes applied before the early to mid 1970s most likely contain lead and would need to be dealt with accordingly. Here is an excellent article that explains more fully how to handle this health hazard: About.com: Lead Paint Hazards.
Step 2: Prepare the floor.
This is an absolute necessity. Don’t even think about skimping on this step. If the prep work is done well, the refinishing will be much easier.
The floor will need a very thorough cleaning. Old carpet will need to be scraped off with a putty knife, being very careful not to gouge. Use pliers to pull out any staples or nails used to hold down the carpeting.
Remove the stains. If the floor has been sealed, removing the stain in relatively simple. A soft clothe and mild cleaning solution should take care of it.
If the floor is unsealed then it could be harder or even impossible to remove completely. Small shallow stains may be removed with fine steel wool or even rubbed away. Deeper stains may need sanding, but do this later when you sand the rest of the floor. A mild bleach solution sometimes helps in the removal of dark stains.
Get rid of pet odors. There are many excellent pet urine neutralizers on the market. Check at your local pet or hardware store.
Gouges, holes and gaps can often be repaired with wood filler if they aren’t too big. If the area is large you will probably have to replace the board.
Glue is tough to remove. Sometimes softening it with hot, damp cloth and scraping with a putty knife, being extremely careful not to gouge, will work, if not you’ll need to sand it down.
Save all the sanding, other than the lumps of glue, to do at the same time rather than spot sanding. This will keep the floor appearance and wood depth consistent.
Sweep up all the debris.
Protect the walls and the rest of the house from flying sawdust by covering everything.
Step 3: Sanding.
Wear a mask or breathing apparatus.
A big floor sander can be tricky to use, but not impossible, once you get the hang of it. Move slowly, go with the flow of the machine, sand in one direction, with the grain, not against it, and never let the machine stay in one place on the floor while it’s running. Here’s some advice from the experts at This Old House: Sanding Floors.
Step 4: Clean up the saw dust.
Take down and dispose of the protective coverings.
Use tack clothes to remove every bit of sawdust. You don’t want bumps under the new finish on your floor.
Step 5: Stain
Pick your day to stain and polyurethane. The humidity should be relatively low so the products dry properly.
Follow directions on the container to apply stain evenly. Several lighter coats are better than one heavy coat.
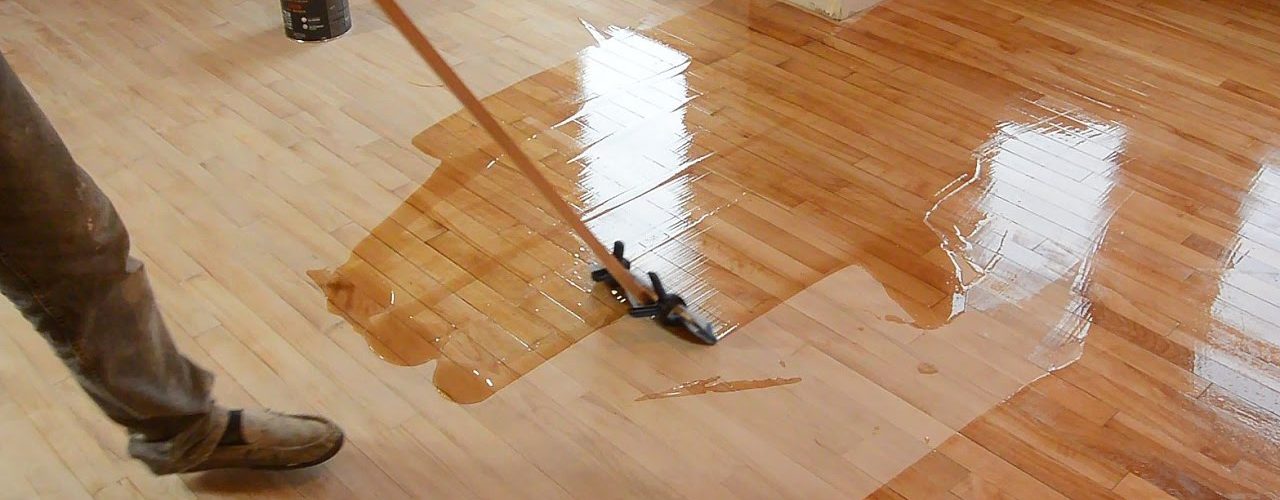
Step 6: Final finish.
Finish off your lovely hardwood floors with clear polyurethane. Allow at least 2 hours between coats, longer is better. Apply at least 3 coats for optimum protection.
Enjoy your properly finished wood floor for years to come.

