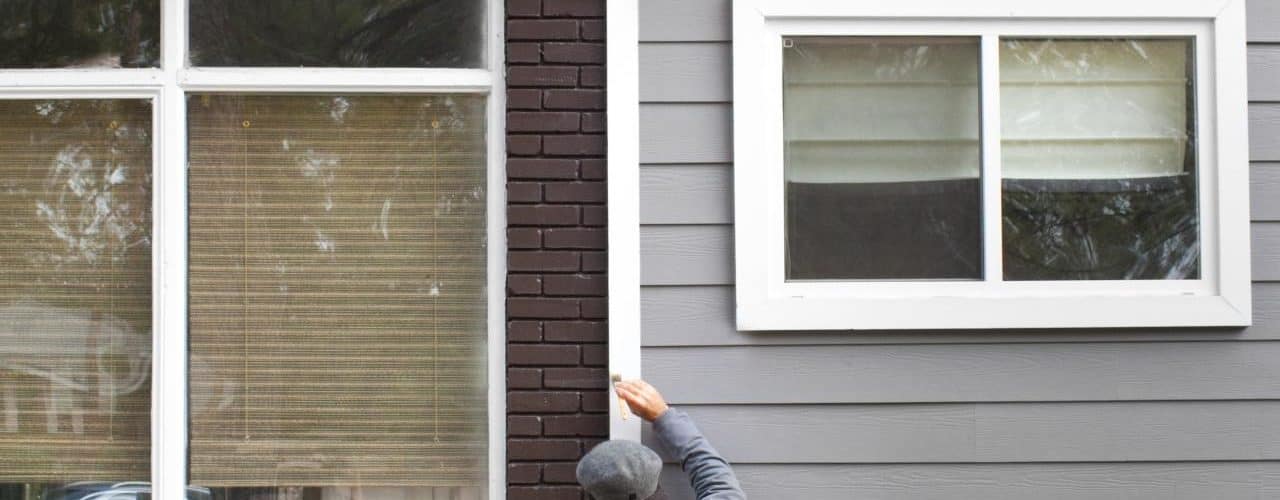
In the lifetime of every house, the time comes for the outside of the house to need improvement. This results from the elements’ prolonged and continuous effects on the exterior of the house’s paint. This article offers step by step instructions on the proper means of preparing and painting the exterior of a house.
The first thing to keep in mind with this type of project is that it is a major endeavor. If you do not do this undertaking well, then all of your neighbors, along with any persons driving through the neighborhood, will see it and know. It is important to understand that the prep work and type of paint needed will be different for various house exterior surfaces, such as masonry, metal, stucco, or wood. Be certain to talk with the professionals at your paint supplier to make certain that you buy the proper paints for the job at hand.
Preliminary Work
The first things that you have to do involve some basic and even intuitive preparation work. Before you pick up a paint brush or mix a can of paint, you must replace or repair possibly damaged places, regardless of whether they are wood, metal, masonry, or stucco. Once this is completed, it is important to wash all of the surfaces to be painted. This should be done with a high pressure power washer, which you can rent, in order to save time and effort. Allow all of the relevant surfaces to dry well before you start wielding your paint brushes.
Scraping, Patching, Repairing, and Sanding Prep Work
You have still more things to do in advance of beginning to actually apply paint. You must utilize a paint scraper or sandpaper in order to loosen and take off any old chipped or cracked paint remaining. Get this all the way to the bare surfaces if you need to. Should you determine that your house exterior requires sandblasting services, make sure that you engage a licensed and insured expert.
There is more prep work to be done still. Next, you will want to patch and cover any screw or nail holes, along with any cracks or dents to the surfaces. After that, you should use caulk for any areas like corners and seams which are over windows and doors, and any place that sidings meet trim, or even any location where different types of materials meet, like trim meeting masonry. Next, to repair major imperfections in the wood, utilize an epoxy filler. Following the epoxy, you ought to attempt to cover up any dark stains that you encounter, such as older paint, wood stains, etc. Employ a stain covering primer for this job. If you see molded or mildewed places, then you should get a mildew blocking primer also.
You will have to sand down any glossy or rougher surface areas. Paint requires a little bit rougher surface to adhere to. Alternatively, you might buy and utilize a special paint deglosser on any such glossy surface area. Also get off any debris or dust while you are at this.
Cover up every plumbing outlet, lighting fixture, house number, or electrical cover. You will also need to take off any and all screens. Should you allow paint to get on them, you will find it nearly impossible to get it off of them. Furthermore, you ought to employ drop cloths for covering up anything that should not be painted, like walkways, cars, plants, and especially anything belonging to your neighbor next door.
Finally to the Actual Painting Process
Put down a good layer of paint primer on all bare surface areas. It is important to remember that various surface types need differing types of primers. Wood, paint, stucco, and metal all utilize different kinds of primers. Once the primer has thoroughly dried, you will start putting on the paint. Use minimally two good, full coats of paint for exteriors. Each layer of paint must be allowed to dry as the paint maker directs. Although you can utilize a spray paint machine for all other surface types, wood requires a good old fashioned brush.


