
As you drive by houses in your neighborhood, you may notice that some gardens are level while others seem to careen off into the abyss. You wonder why they even bothered to put plants there as it doesn’t appeal to the eye to see the garden at such an awkward slope. Then you look at other homes that seem to have multiple levels to their garden but it overall is level. This is the proper way to level a garden.
If you live on any type of slope, it will take some work to level a garden. This is why you will see some homeowners have an unlevel garden as they did it themselves and didn’t take the proper steps. This is also why you’ll see those who paid to have them professionally landscaped have a garden that is level and looks exquisite. But if you don’t want to pay a landscaper to do all the work for you, there are ways that you can make your garden level and look just like the one professionally landscaped. Ensure there is some type of slope away from your home so rain water can properly drain. Otherwise you might find yourself having a flooded garden or worse the drainage water seeps into your home. If you need to take this route, you might need to install some drains throughout your garden so the water flows away properly.
The first step to creating a level garden is to take the garden ax to try to level out the ground. This is because what is underneath the top level of soil is clay or rock and the ax will help you be able to remove the layers more efficiently. Note that this can really only be used if the incline is a couple of inches. While you could spend a lot of time to get it level by hacking away until you get down to the lowest point, this would be a grueling task and not look very professional at the end of it. If your house is on a downhill slope, you would be hacking away at the ground closest to the house, which can mess with the foundation and can open up a whole other can of worms.
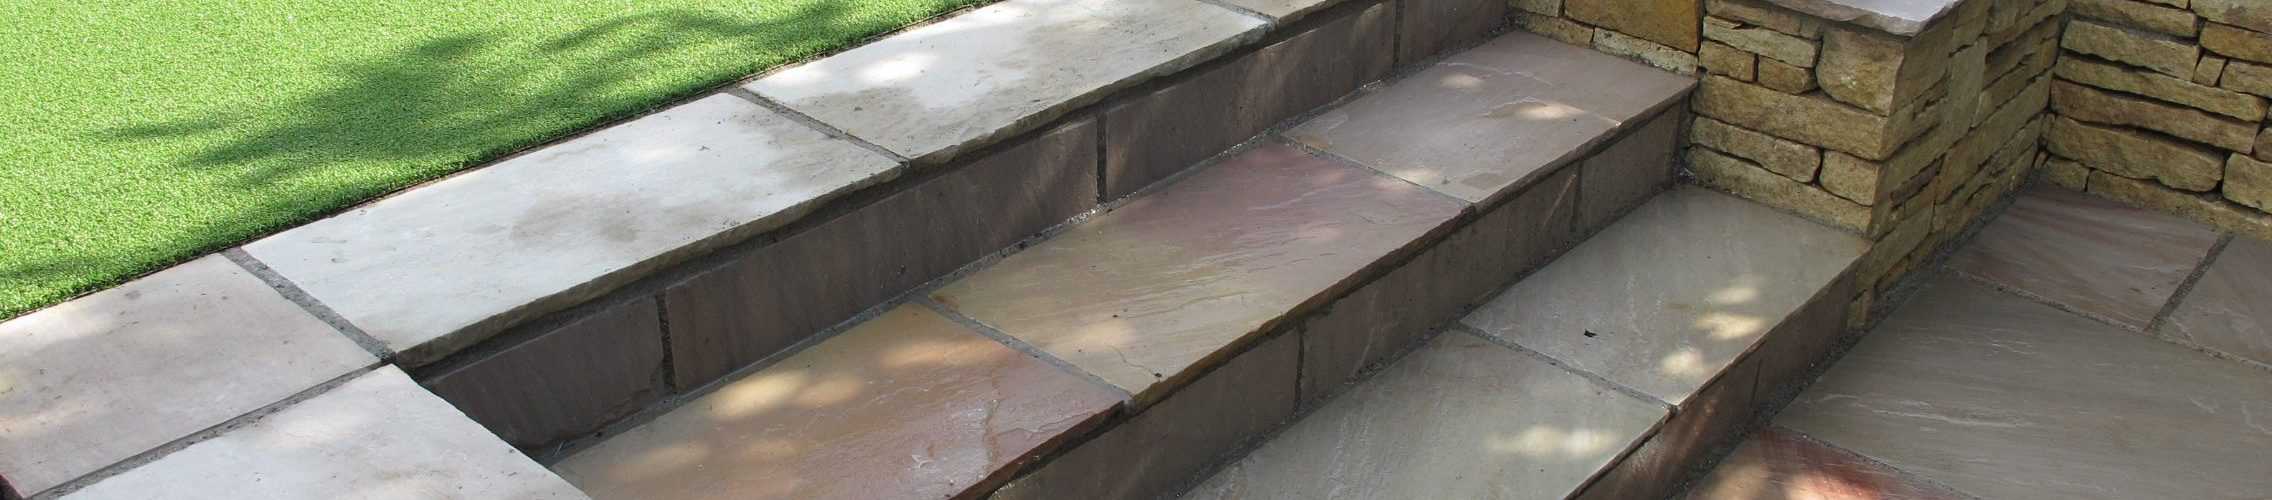
The way to create a level garden is to use landscaping stones or wood to build up multiple levels across the garden bed. If you’re using landscaping timbers, use the garden ax to get the surface area level. The first landscaping timber you will drive a large nail into the ground to hold it into place. The idea is to build a boxed area for the whole area of garden at that particular ground level. Build up the landscaping timbers until that becomes level with the rest of the ground. It is a good idea to start at the highest part of the land so you know how tall you need to build the levels of timbers to make it level across your garden. If you use stones or flagstagg instead of timbers, the same steps will need to be taken to ensure your multiple levels are all even.
After laying the foundation work, level it off with top soil. You will notice some people might just lay a border of foundation and trick themselves into believing that is all that they need. However, over time the top soil will wash away and their mistake of not building a proper foundation will soon show. You do want to ensure you have enough room between the landscaping timbers to be able to put at least an inch of top soil into the ground so you give your garden the nutrients it needs to grow.
When you decide on the plants you want to plant, it’s always a good idea to try to keep the balance of the plants to make your garden appear level as well. This means starting out with the smallest first and build outward with plants increasing in size. This could also mean ensuring the different plants are virtually the same height so your garden doesn’t look disproportionate. The last step is to top your newly planted garden with mulch. This will complete your professionally landscaped garden and have everyone appreciate the look of all your hard work.

