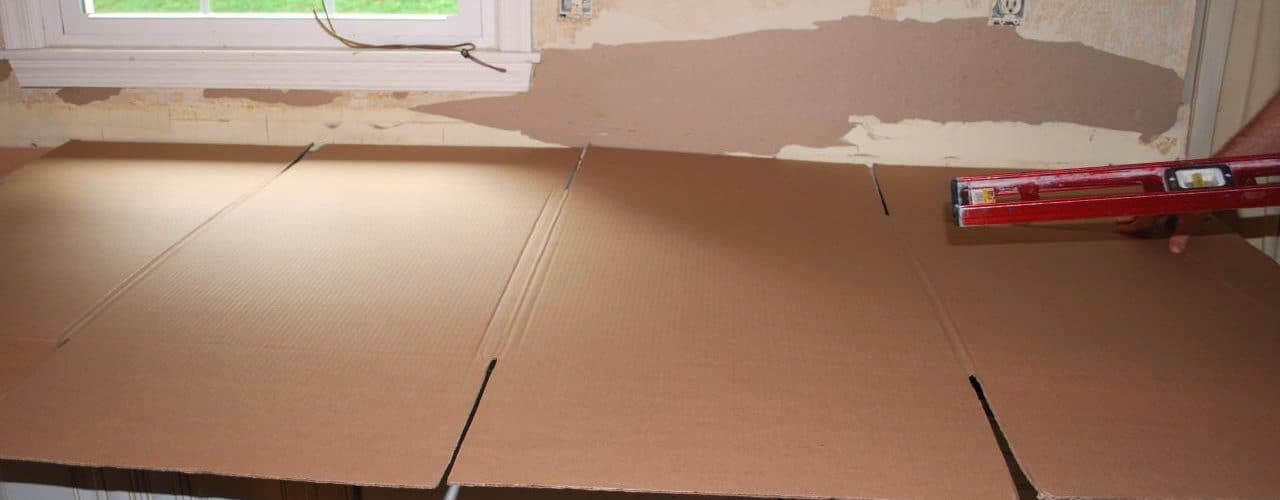
As a do-it-yourself person you might be intrigued by the possibility of installing your own kitchen countertop. Using the right sequence of steps, it is, in fact, easy to do. However, if you don’t approach the installation with a clear plan of action, it can be a frustrating experience, where one mistake after another can begin to compound until you have completely ruined the entire project. By thinking through everything before you start, everything will go remarkably well.
The Five Step Plan Of Action
Installing a kitchen countertops can be done in six steps: first, disconnect the plumbing; second, remove the screws that hold the old countertop in place; third, remove the old countertop; fourth, install the new countertop; and fifth, install the new sink. All of this can be done in less than one day.
The Five Steps In Detail
Begin disconnecting the plumbing by first turning off the water supply then turning the faucet on again to check that the shut-off valve has worked. If there are no drops from the faucet, then place a plastic basin under the pipes to catch the water that is going to gush out from the water line. With the basin in place, loosen the connection with a wrench. This will disconnect the water line. Now take out the P-trap.
With the plumbing disconnected, begin removing the screws that hold the countertop in place. These are usually found on the edges and in the corners. You may have to pull out the drawers to find all the hidden screws. There can be a dozen or more of them. You will know when you have found all the screws because the countertop will finally be loose.
Now comes the task of removing the old countertop. This can be tricky if there is caulking. You also have to do this slowly and carefully, especially near painted walls or wallpaper. Moving too quickly can cause damage. By using a sharp knife, you can remove the caulk, cutting your way across the top. Once this is done, slip a putty knife before the pry bar. This will protect the surface of the wall as you loosen the countertop and pull it away from the wall. Now, after clearing the drains under the sink, begin removing the clips that fasten the sink. Finally, lift off the sink. Carry the old countertop out of the kitchen so that you still have plenty of room to move and work in.
With the old countertop gone, it’s now time to install the new countertop. Often the sink opening is partly cut out for you, but be sure it is a good match for the new sink before beginning installation of the new countertop. You can, if you wish, use some makeshift clamps to reinforce the cutout before sawing. These can be wood pieces fastened by screws. Finally, after the clamps are in place, cut out the sink opening with a jigsaw, place the new countertop, and attach it with screws from below.
The final phase is installing the new sink. Begin by applying putty to the drain cutout edges. This will give the sink baskets a watertight seal. Connect as much of the plumbing as you can to the sink. Then, before dropping the new sink in, create a watertight seal with the countertop by using a silicone sealant. Once the sink is in place, the sealant will be squeezed out, and this can be wiped away with a damp cloth. Now fasten the clips that bind the countertop and the sink. Finally, connect the remaining plumbing.
Your new kitchen countertop has been installed!


I love these