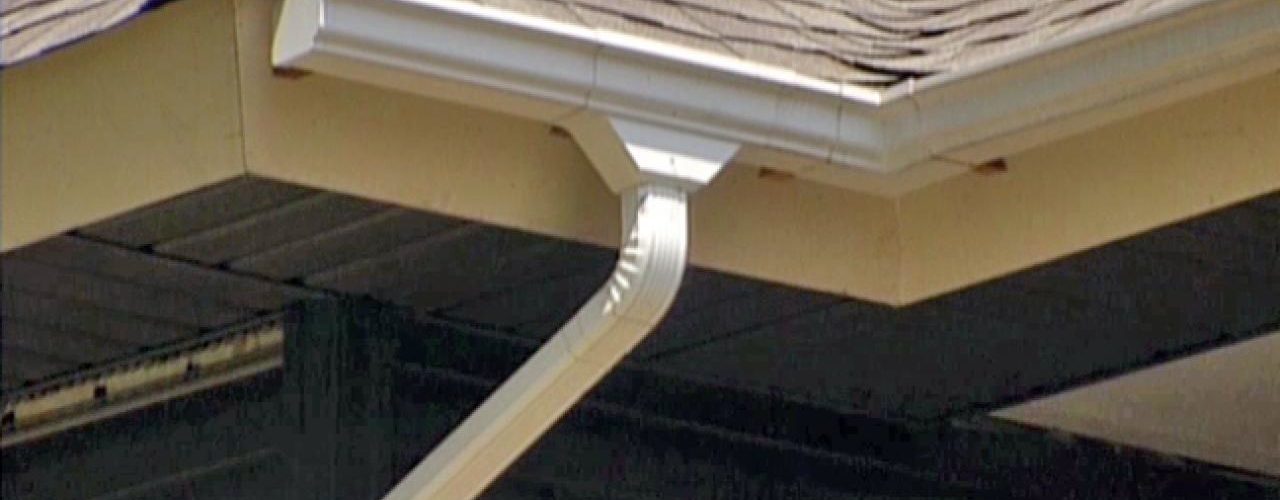
Among the many projects that homeowners are able to do by themselves, avoiding the expensive services of a professional contractor, is installing their own gutters and downspouts. This is not so difficult a project as one might first assume. In this article, we cover the step by step instructions for effectively completing the gutter and downspout installation project.
Tools and Materials Necessary for the Project:
Ladders with Ladder Bumpers
Aviator Snips
Pencils and Tape Measures
A Metal Crimping Tool, if One May Be Had
Rivet Gun and Caulk Gun
Cordless Drill with a One Quarter Inch Hex Head Bit
A Four Foot Level, A Torpedo Level, and a Chalk Line
Prep Work
Setting up your pitch at minimally one inch of fall for every thirty lineal feet involved, snap lines on the fascia utilizing a chalk line for the task. You are able to place the higher end of your chalk line to be flush against the bottom part of the drip, so long as your roof’s shingles extend a little beyond the dripping edge. To ensure that your lines demonstrate a little bit of a drain down towards the downspout, check out these lines using a level. You might simply substitute the chalk line in favor of the torpedo level and set up the drain as you work along, if this is not uncomfortable for you.
Setting up the Gutter Hangers
Next, you must put in hidden hangers inside the gutters at intervals of each two feet. Begin six inches away from the end cap, or alternatively against the open end of a mitered corner. Screw each hanger to its place by tightening it only enough to punch through the gutter’s back end. Then affix end caps and be sure to seal them up with a proper gutter seal. You can utilize rivets or zip screw to affix the end caps, should you not be able to locate a crimping tool.
Downspout Outlets
Measuring back off of the fascia corner for hip roofs, or from a shingle’s outside edge for gabled roofs, figure where your downspout outlet tubes will be placed. Transcribe such measurements over to the gutter. Be sure to mark the outlet location along the bottom and continue tracing it inside the outlet itself. Next, use a screw to punch a pilot hole. Using aviator snips, cut out the hole so that you are able to put in the outlet from the gutter’s inside. Finally, affix it using rivets or screws, and seal it all up with a good gutter seal.
Hanging and Aligning the Gutter Properly
Hanging the gutter itself is not so difficult. Simply align the back of the gutter to the existing chalk line on the fascia. Use screws to attach it to the hangers. In order to properly line up the gutters from left to right, hook the inside of the end cap to the outside of a roof shingle. If you are working with a hip roof, then pre-install the first box miter and attach it to the fascia corner. You could opt to put in your box miters as you work, or you might simply wait until you have successfully installed all of the gutters themselves. Whichever route you go, be certain to have the gutters correctly located in advance of totally screwing them in. A benefit to using screw-in hidden hangers lies in the capability that you gain of simply taking off a gutter in order to adjust its location or even pitch as necessary without injuring the gutter involved.
For more information on installing your own gutters and downspouts, simply navigate to the following website links at: DIY Today or DIY.com.
<>


