
There is nothing more frustrating than a faucet that, no matter what you do, won’t quite shut off. The annoying little drip – drip – drip is enough to drive anyone insane. Here are some handy little tips to help you fix that faucet, saving water and your sanity.
The first step in fixing a leaky faucet is to determine exactly where the faucet is leaking. Not all faucets leak out of the spout. Yours may be leaking around the base or where the handle attaches to the faucet. If your faucet is leaking anywhere besides out of the spout it’s a good idea to just shut the water off and get ready to tear it apart. Leakage anywhere but the spout indicates an internal problem and will necessitate taking the faucet apart. If your faucet is leaking out of the spout, your fix may be as simple as a loose handle.
First, check all handles and fittings for tightness. If a handle is loose it may not be shutting the internal valve off all the way. Be sure not to overtighen anything. This can cause stripped screws or fittings and may force replacement of the entire faucet.
If snugging everything up doesn’t fix the leak, it’s time to look deeper. Most faucets keep water from leaking around seams by the use of rubber O rings. A cracked or broken O ring is a common cause for leaky faucets. Begin by turning the water off at the supply tube. Before taking anyhing apart, be sure to open all the handles to relieve any residual water pressure. This will prevent you from being sprayed when taking everything apart.
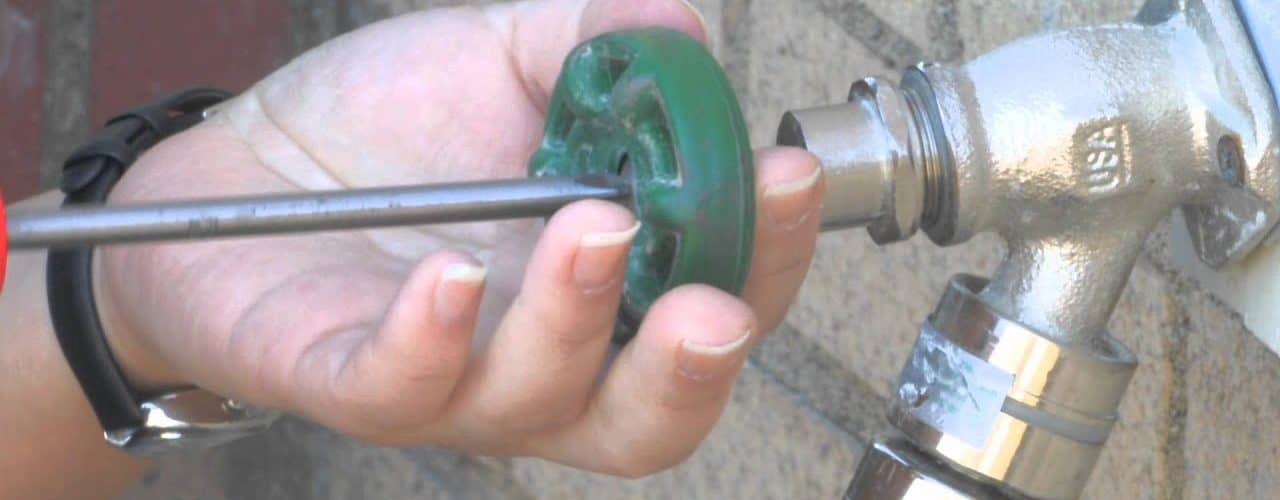
Next remove the handles. Handles will be attached to the faucet body in a couple different ways. There may be plastic caps on them, pry these off with your fingernail or a small pen knife and you will usually find a bolt head underneath. Once this is removed, the handle should slide off. Other handles, especially those on single handle faucets may be attached by the use of a set screw recessed into the handle. This will require an allen wrench for removal. Once the set screw is removed, these handles should slide off as well.
Once the handles are removed you should have access to the valve body of the faucet. Depending on the faucet there may be an additional shield but this will usually be able to be screwed off. The valve body is what keeps the water pressure in pipes when shut off and allows flow to the faucet spout when opened.
Many faucet manufacturers sell rebuild kits for their faucets. If you know the manufacturers name and model of your faucet you can visit a plumbing supply store and get all the parts necessary to rebuild your faucet. This makes it easy to avoid getting the wrong size O rings. If you can’ find a kit, make sure to replace any rubber or plastic pieces that are able to be removed.
Once all pieces are replaced it is time to put the faucet back together. This is basically the tear down procedure described above in reverse. Be sure when putting everything back together not to over tighten bolts or screws. If something doesn’t seem to fit right take it back apart and examine it to make sure you are assembling it correctly. Faucets are engineered to fit well together and everything should go back the way it came apart.
Once your faucet is back together, turn the supply line on very slowly and check for obvious leaks. If everything looks good, finish opening the supply line then turn the faucet handle on. If you still don’t have any leaks its time for the real test. Turn the handle back off and see if your leak is truely fixed. If the water stop completely, congratulations, you have just solved your problem.

