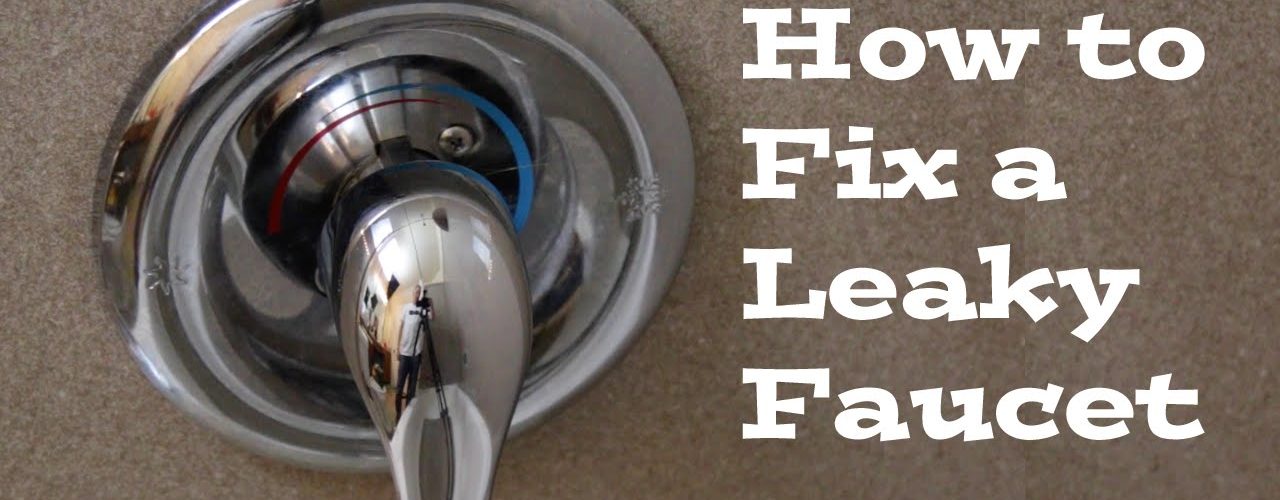
Drip! Drip! Drip! That leaky bathtub faucet will not only eventually stain your bathtub, but you will soon start noticing higher water bills as all those leaking drops quickly accumulate into gallons of wasted water. Most leaking bathtub faucets can be fixed without having to install all new fixtures or plumbing parts and only require some basic tools, some time and patience and an investment of funds that is likely to be one-quarter of what you might pay a professional plumber for their services.
Most bathtub faucet leaks occur because the rubber washer, seal or gasket inside the valve becomes hardened or worn out and no longer creates a tight enough seal to prevent water from dribbling through even when the valves are in the shut position. The first step in repairing a leaky bathrub faucet is to find the shutoff valve located near the bathtub faucet or your main water valve and shut off the water supply to the bathroom. Now you’re ready to remove the faucet handles. If time and age make them difficult to remove, use a special handle puller so that you don’t break the faucets. A Phillips head screwdriver is also an essential repair tool to remove any screws holding the handles or faucet in place.
Remove the faucet by unscrewing or lifting off the decorative cap. Now you’re ready to unscrew the stem assembly unit that controls the temperature and amount of water allowed to flow through the bathtub faucet. Usually a bath socket wrench comes in handy for removing the stem assembly. Unscrew the packing nut, and rotate the stem assembly counter clockwise until it threads out.
Inspect the stem assembly and clean it to remove any dirt or grime that has built up. If the threads on the stem assembly have become corroded over time by water or have become very worn by age, take the entire assembly to your local hardware supply store to purchase a new unit that will match the one you’ve just removed. It’s important to get an exact match, so don’t waste your time or money simply guessing. Take the part with you to the hardware store and ask for help if you’re not sure what type of stem assembly will match the part you want to replace.
If you don’t need to replace the stem assembly, look toward the lower end of the stem at a washer held in place by a brass screw. If the washer is hardened, mishappen or is marked by a grove, you’ve found your leak culprit. The washer needs to be replaced and it’s a good idea to get a new brass screw for attaching it into place at the same time. Take the washer with you to the hardware store to get an exact match.
A swiveling washer is the best time of washer replacement to purchase because it will shut with a straight up and down action causing no friction every time you shut off the water flow. This type of washer will last much longer than a fixed washer, cutting down on leaking faucet repairs in the future.
It’s a good idea to spread a little bit of petroleum jelly on the stem assembly threds once you have it out of the faucet to add lubrication to its operation once it’s positioned back into place. Replace the handles, restart your water flow and run both hot and cold water for a minute or so, then shut off the water and see if any dripping occurs.
Make sure that that washer you have replaced is not loose or it will cause the faucet to be noisy when water is running. Check to make sure that the stem doesn’t move once you’ve threaded it back into the faucet or else you need a completely new faucet assembly.
Whenever you replace any part of a bathtub faucet assembly, it’s a good idea to keep the original packaging so you can refer to it the next time any repair is required.


