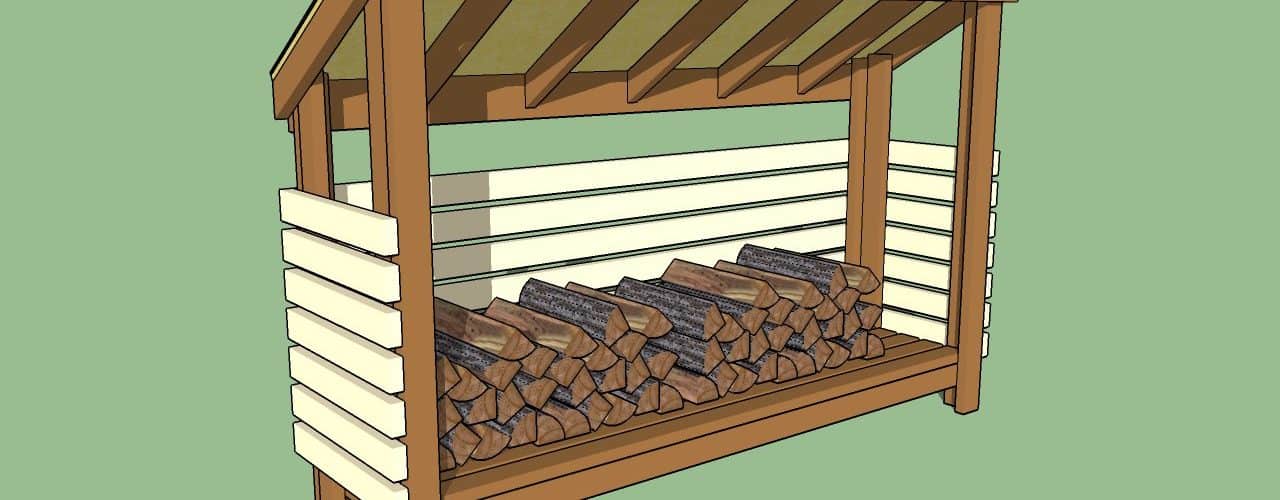
If you are planning on heating your home by burning wood this winter, then you are probably going to need a wood shed. When it comes to building a wood shed, you have two choices. You can have someone build it for you or you can build it yourself. The latter choice is usually your best bet if you want to save a little cash. Today, we are going to be discussing how to build a wood shed. Building your own wood shed can not only be done over the course of a weekend, but can be done in a very cost-effective manner. All it takes is a little bit of planning and a few simple tools.
Contents
Materials that are needed for this project:
Cinder blocks
Flat rocks-each a foot in diameter
Six inch diameter log beams
Two-by-Four wood planks
Plywood
Pipe Strapping
Asphalt shingles
1-1/2″ galvanized nails
Level
Band saw
Caulk
Step One:
The first step that you are going to need to take is cutting the wood. Take six logs beams, cut three of them to a length of eight feet and three of them to a length of six feet. These are the posts for the shed, so the ends need to be completely flat.
Step Two:
Take the eight foot long logs and attach them to a twelve foot log perpendicularly using the pipe strapping. Use the galvanized nails to complete the junctions. Work on one side at a time while the pieces are on the ground. This will form the front of the wood shed. Repeat this step again to make the back of the shed. Set the pieces aside.
Step Three:
Take the flat rocks and place them in the location where you are going to place the shed. Lay these rocks out in a two by three arrangement, making sure that the rocks are approximately five feet apart. Dig them about six inches into the ground and use your level to make sure they are even. Take some asphalt shingles and place them on top of each rock.
Step Four:
Take the front and back frames and lift them onto the flat rocks. This step is going to require another person to hold the pieces together until they can be permanently fixed into place.
Step Five:
Now we need to secure the sections together. This is where the two- by-four planks come into play. Use these planks to secure the beams of both sides of the structure. Attach these to the beams using galvanized nails. After you have finished securing the beam assemblies, you then need to attach bracing beams in the corners of the front and back beam assemblies using the two by fours and galvanized nails. Make sure everything is secured.
Step Six:
Now it’s time to begin the roof. Take your two-by-fours and run them across the back and front beams and secure them with galvanized nails. After you have secured it, take plywood to make the foundation for the roof and attach it to the framed using nails. Cover the plywood with the ashpalt roofing and nail it down.
Step Seven:
Now it’s time to make sure that the wood shed is going to leak-proof. Take your caulking and cover any spots where one piece of wood contacts another piece. This is especially important around the roof.
Step Eight:
You are most likely to have some extra wood left over after completing this project, You can use the extra wood to build planks to keep your wood off of the ground. This will ensure that it stays nice and dry. Now you are free to paint it.
<>