Finishing wood floors is an art. There’s no other way to put it; it takes a fine touch, an experienced hand, and an eye for detail. This is why finishing your wood floors may be a job you want to contract out. However, there are times when the contractor is not an option. If you are going to tackle this job yourself, here is what you need to know so you can do a great job and be left with floors you are proud of.
Contents
Tools Needed
- Drum Sander
- Edge Sander
- Broom/ dustpan and shopvac
- Heavy Duty sand paper in 20 grit, 36 grit and 100 grit
- Paint brushes and stain applicators
- Mineral spirits
Prepare for the Dust
Ever sanded a piece of furniture? Multiply the dust that kicked up by at least ten. Sanding a floor will create a ton of dust, there’s no way to avoid it. So you will have to prepare for it. First of all, remove everything from the room; including the floors and walls. Removing everything (and that includes pictures, curtains and any other wall hangings) from the room will be much faster than trying to clean it all afterward. Close off air vents and return air vents with plastic and tape. This will help to cut down on dust moving throughout the home. You also might want to rent an air cleaner that can be stuck in a doorway somewhere to filter airborne particles.
Pull the Baseboard
It’s tempting to finish the floors around the existing baseboard. But it’s not worth the time. The job will not look as complete, there will be rough areas around the baseboard, and chances are that the baseboard will get damaged in the process. Take the time to pull at least the shoe molding.
Working the Sander
Take care with drum sanders. This is where it takes that experienced hand and fine touch. Not being careful with it can leave your floors looking wavy, or heavily gouged. Set the sander down gently, work in the same direction as the wood grain, and don’t fight the sander. You may want to work the sander in one direction only, moving back to the starting wall and starting over for each row. You will sand the entire floor with the lowest grit paper first. Use the edge sander before to finish the edges, and to smooth out any gouges where the sander use began and ended.
Before the Second Round of Sanding
Once the entire floor is sanded, and edged, with the 20 grit paper; you will be ready to move to the 36 grit paper. Before making the switch you will sweep the floor thoroughly. Vacuum all dust and double check your edges. Stand in the room and view the floor from different angles to be sure it is smooth and ready for the next step. Repeat the sanding process using the 36 grit paper. Do not be stingy with your paper; as soon as it seems the paper is not working; put in a new sheet. Repeat again with 100 grit sandpaper.
Applying Stain
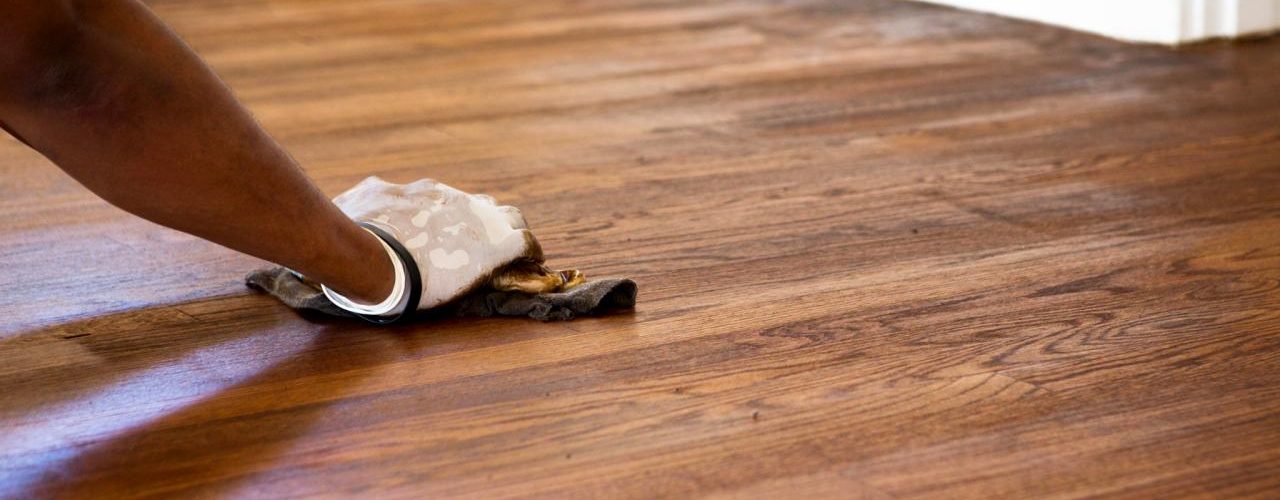
The first thing is to clean the floor. All traces of dust must be gone, the floor must be pristine. If there is dust on that floor when you start staining, the dust will get caught in the stain and you will forever have a tiny bump in the floor. You haven’t gone through all this work to have dust bumps; so take the time to really clean that floor. Mineral spirits and a clean rag can be used to get all the dust up. You can also use cheesecloth to clean up all traces of dust from the floor.
Get the Tools
Think about what tools you will need and have them handy. You don’t want to walk through the house retrieving things you forgot. You’ll bring dirt back into the room, and you also run the risk of tracking stain or poly throughout the house. Better yet, have one of your kids stay nearby to run and fetch things for you as you need them.
Thin Coats are Key
You may want to start by applying your stain to the outer edges by hand, and then finish up the centers with your roller or pad applicator. Take care when applying stain. What looks great wet can show brush marks and overlap marks when it’s dry. Apply thin coats and watch out for overlapping.
Sanding with 120 grit (or higher) sandpaper
Follow the manufacturer directions on your stain. If it says to sand between coats, then take the time to sand. Follow the directions above for both sanding and cleaning up afterwards. You can also rent a professional buffing machine. Or, you can hand sand it lightly.
Final Coat
Regardless of how you sand between coats, be sure to thoroughly clean all dust afterwards. Take your time with it, use the shop vacuum and cheese cloth. The last thing you want is to get to the final coat with a great looking floor only to have stray dust ruin it at the last minute.
One final note: With all the stain and polyurethane applications, be sure to allow plenty of time for drying. Floor finishing is not a job you will do in one day. But if the job is done well, you will be well rewarded with a fantastic looking floor.
References:
Extreme How To: How to Sand and Finish Wood Floors


