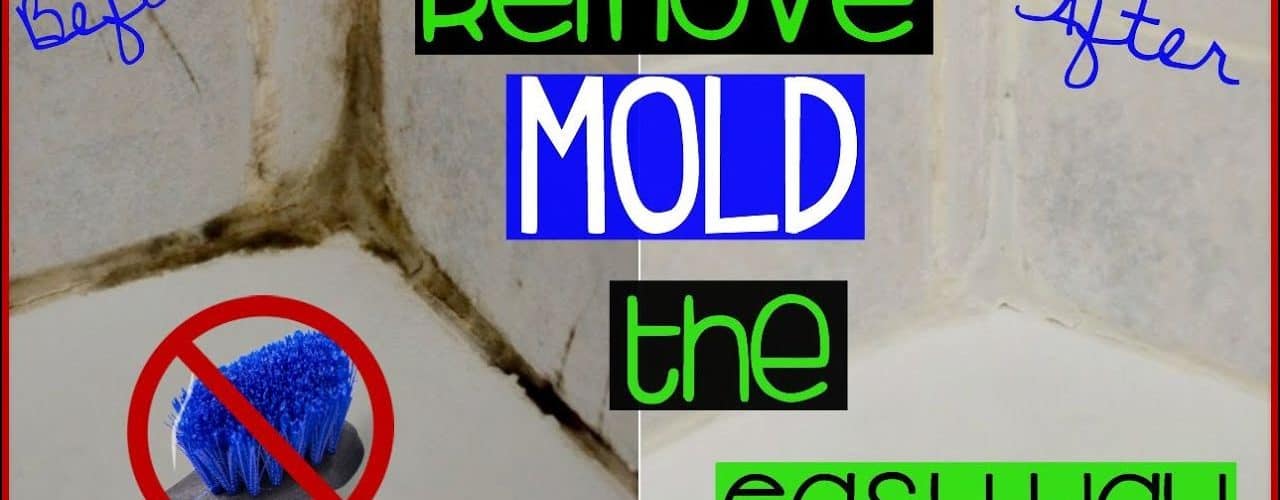
Grout in between the bathroom tiles is one of those hard to master cleaning problems that not everyone likes to tackle because it can be a bit like flossing a giant mouth of tiny teeth. The bathroom tile grout typically starts to grow mold and mildew because the bathroom is usually a wet and damp environment. The water droplets that are left behind on the counter after you brush your teeth or the beads of condensation that arise during a steamy bath or shower settle into the grooves between the tiles where the grout is and can give way to growing mold and mildew.
Though a brand new coat of grout looks beautiful and shining white it may only last just a few months before you start seeing the tell tale signs that the grout needs a good cleaning. It will become apparent when the grout begins to get dirty because it wil be spackled or stained with green, black or brown spots and stripes. There is no need to worry when this begins to appear on your bathroom grout because it happens to all grout when it is close to water. There are various ways that the grout in between the tiles can be cleaned but it must not be ignored. The longer the problem is put off, the worse it will get and it is much easier to do a light grout cleaning every month or so rather than waiting for several months before cleaning the grout. If you wait to clean it the problem can get out of control and almost impossible to clean.
For those who do not mind using household cleaners to get cleaning jobs done there are basic bathroom cleaners that can easily remove grout from in between the tiles. Check the back of the chemical bathroom cleaner labels to make sure that it is safe to use on porcelain tiles or whatever type of tile is in your bathroom. If it is safe to use on tile and the cleaner is made for removing “soap scum” it will usually effectively remove mildew stains on the grout as well.
A typical scrub brush with stiff bristles does a great job and removing grout stains but stay away from softer spongier materials that may just slide over the surface. When you are cleaning the grout with this type of cleaner it is important to always wear cleaning gloves to protect your skin and to keep all of the windows open in the room and a fan out the open window as well to keep fresh air circulating in and the chemical laden air flowing out of the room.
If you are the type who prefers to use a non chemical solution to clean the house the wonderful all purpose baking soda also does a great job at removing mildew and grime from the grout. All you have to do is mix a little bit of water with the baking soda until it forms a paste like texture.
Apply the paste to the scrub brush and work it into the grout using brisk circular motions to loosen up the grime. The dirt in the grout should loosen up right away and after it is loosened and lifted simply wash away the dirty paste with some hot water. It is better to work in smaller sections when using baking soda so that you can be sure each area has been thoroughly cleaned. Baking soda and water will not run and slide like many chemical cleaners so you really have to pay attention to specific small areas.
Sometimes the grout can be so dirty that it is hard to remove all of the grime with just one cleaner. If the grout is still not clean after you have tried to remove the dirt using either a chemical or natural cleaner the next best thing to use to complete the job is a household bleach. Bleach will usually kill any remaining bacteria and lift away the last of the dirt. Using some diluted household bleach willl also give the grout a bit of a protective layer so that it is harder for mildew and mold to immediately grow back.


