
Not only is a tile floor beautiful, it is durable and requires little maintenance. There are many choices for a bathroom floor, from inexpensive ceramic to high-end marble, and installation is relatively simple.
Before You Begin
The first step of any flooring job is to remove anything that the flooring will need to go under. This includes toilets, pedestal sinks, and shoe molding.
You will need to measure your room to get the square footage to be sure to buy the right amount of tile. The length of your room multiplied by the width of your room will give you its square footage. Packages of tiles generally give the number of square feet covered, so make sure to buy enough packages to fill the room.
Any flooring already installed, whether it is old tile or vinyl, will need to be removed. After this is done, lay out your new tiles on the floor to get an idea of how the tiles need to be arranged and to see how many tiles will need to be cut or if there are any strange angles you will need to deal with. You may find at this stage that you need to trim door casings with a flush-cut saw so that the tiles can fit under them.
Installation
Using a mixer attachment with a drill, mix powdered thinset with latex additive (not water) until it resembles mayonnaise. Let it rest for 10 minutes. You need to be able to use the amount you have mixed within 2 hours.
Starting with a 2-by-3 foot area, spread a thin layer of thinset using the flat side of a trowel. Before it dries, apply more thinset using the notched side of the trowel so that straight lines are combed into the thinset. You should press hard enough to hear a scraping noise. These grooves allow air to escape as you press in the tiles.
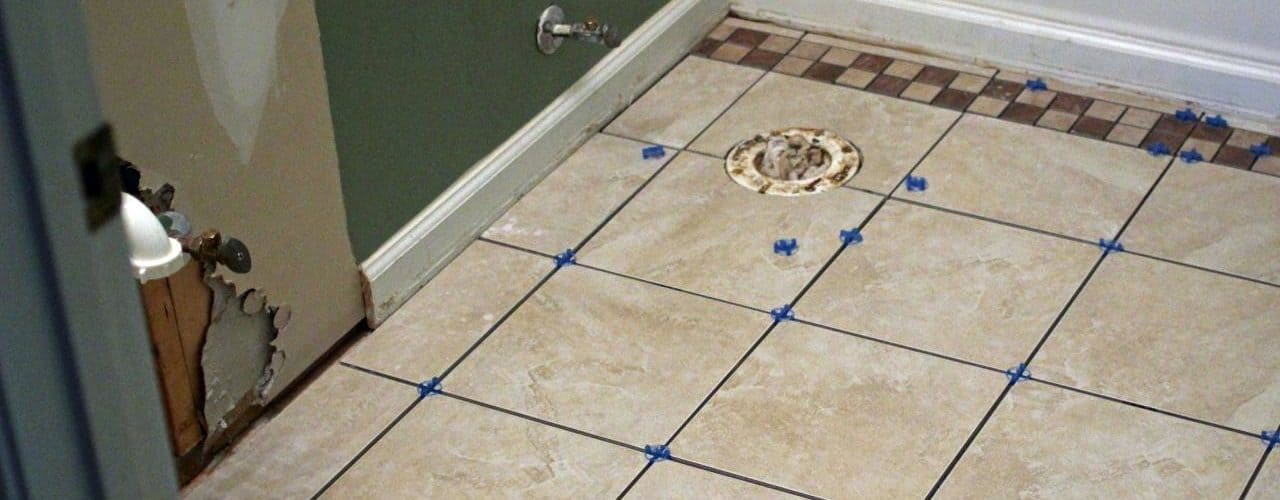
Lay a tile onto the thinset and press down with your fingers spread wide. Using this technique, install all of the whole tiles in rows, using tile spacers to ensure even joints. Every few rows, use a framing square or A-square along the edge of the tiles to be sure your rows are still square.
When all of the whole tiles have been laid, it is time to lay any tiles that need to be cut. Small cuts (less than an inch) can be made with a snap cutter or nibblers. Large cuts (greater than an inch) need to be made with a snap cutter or wet saw.
Finishing
Allow the tile to set overnight, then use a trowel to clean thinset from the joints and surfaces of the tiles.
Grout should be mixed to a consistency that is looser than mayonnaise. Starting with the edges of your installation, scoop some grout onto the floor and then push it into the joints using a rubber float held at a 45 degree angle to the floor. Move the float both in line with the tiles and in a diagonal motion to the tiles to ensure good coverage of the grout. Work your way into the middle of the room using this method.
After the grout has set for 30 minutes, wipe away any haze with a damp sponge. Rinse the sponge often and keep wiping until all haze is gone.
Reinstall any fixtures you removed prior to installation. You new tile floor is now ready for you to enjoy for years to come.

