
Having a ramp going into your shed can be a great asset and back saver. If you store heavy equipment in your shed, such as a lawnmower, it can be pushed or driven right up into its spot. Lawn and gardening items can be loaded into a wagon and pulled into your shed, eliminating the need for multiple trips and constant bending. A poorly put together ramp, however, could be dangerous if it isn’t up to supporting all this weight. Anything worth doing is worth doing right, so let’s learn the proper way to tackle this project.
Preparing to Build a Ramp for Your Shed
The first thing you should do is take measurement. Measure the doorway on your shed and the width of any equipment you intend to subject the ramp to. Also calculate how long the ramp needs to be to allow for a safe slope. You can do this by measuring the distance from the door to the ground and multiplying this number by 8. The result is how long in inches your ramp should be.
Purchase pressure treated lumber that will hold up against every type of weather. Go ahead and get a sealant for the wood to discourage rotting. You will apply this once your ramp is complete. You will need to have a way to securely anchor the ramp to the shed itself, so drill some holes (3 should be sufficient) into your shed about an inch below the door. Secure a properly measured 2×4 to the shed with bolts, taking great care to tighten them as much as possible.
The Construction of Your Ramp
From here you will lay the framework for your ramp. Install some 2×4 posts along the edges and secure with concrete. Make sure you keep a constant depth to make measuring the varying heights of the slope accurate. Stringers should then be installed between posts of the same height. You may use a couple of 2×6’s if you like on the outside of the ramp to add more support and give a more put together appearance.
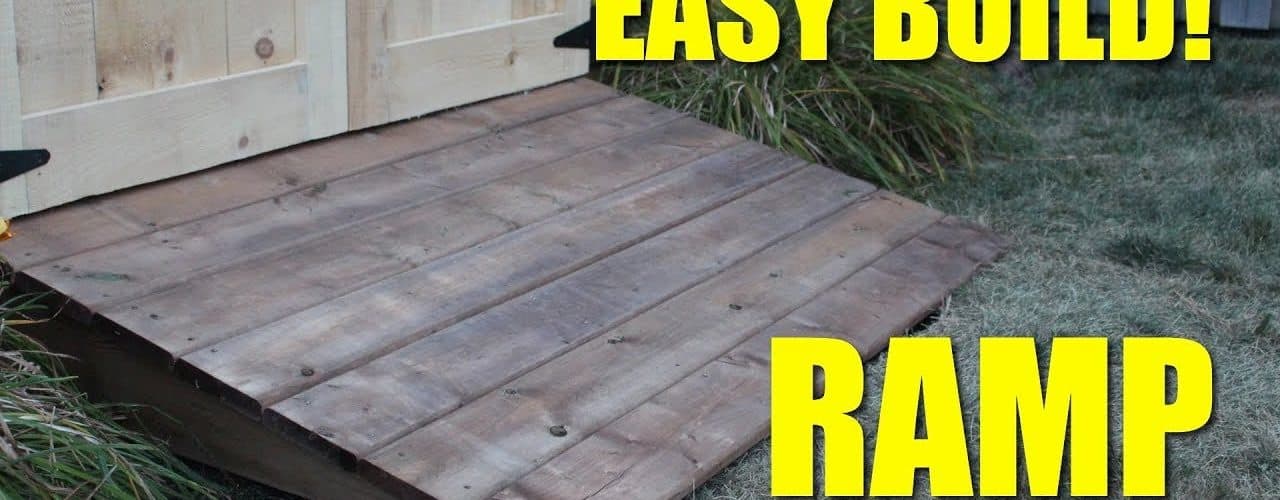
After your framework is complete, simply nail or screw down the top boards. As always, take great care in your measurements to avoid poorly fitting boards and prevent the need to buy more lumber. If a gap remains where the ramp joins the shed, install a beveled piece of wood for a smoother transition. Apply the polyurethane sealant and allow it to dry. A second coat may be helpful, but it should not require any more than that.
Enjoy Your New Shed Ramp
When you are certain the sealant is completely cured you may begin using your new ramp. The ramp should last as long as the shed and quite possibly longer provided you gave it ample support and sealed it well. Because the ramp will be exposed to the elements, care for it in the same way you would any uncovered deck. If it begins to show signs of wear and aging, consider sanding it down to reseal. Do not allow leaves to accumulate on the ramp as they will trap moisture and cause your creation to deteriorate prematurely.
Creating something with your own hands is very rewarding, especially when it provides you with a valuable service. Take pride in your shed’s ramp both during construction and afterward. When people admire your handiwork, let them know how easy it was to do and share your knowledge with them. Above all, be diligent in your labor and you will create something that will serve you for years and years.
<>

