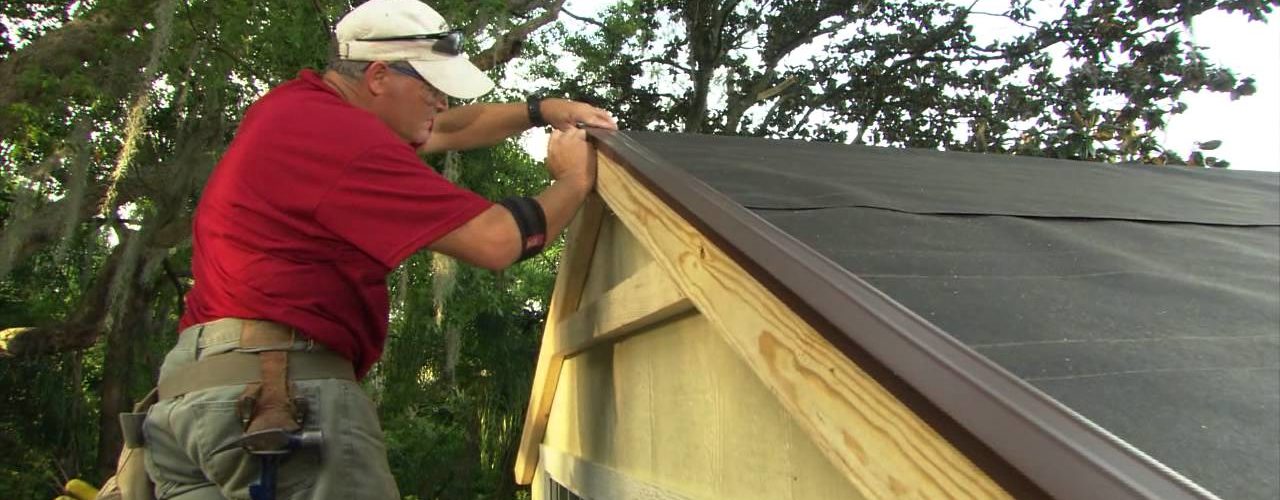
Construction companies build thousands of homes across the country with shingled roofs every year. Many homeowners assume incorrectly that shingling a roof is a process too complex for any non-professional to figure out. But the truth is, shingling a roof can be broken down into a few simple, repetitive processes. Whether a homeowner is installing his home’s first roof or replacing his home’s old roof, any homeowner can learn how to shingle in a few easy steps
First, you need to assess how much of your materials you will need to cover your roof. Usually, construction stores sell shingles in “squares,” and each square contains three or four shingles. To shingle an entire roof, first measure the length and width of your roof and multiply these measurements together. To figure out how many shingles you will need to cover the roof, divide your measurement (the total square footage of your roof) by 100 and purchase that many squares of shingles. If you want to plan ahead, you might want to buy additional squares for safe keeping. You never know when you might need to replace a few shingles in the future. To play it safe, buy an additional 10 percent of shingles.
You will also need at least two pounds of roofing nails for each square of shingles you buy. Try to buy roofing nails from a respected brand. The shingle manufacturer might recommend a specific type or brand of roofing nails in the instruction manual. If you don’t know what to buy, then use 1-1/4 inch nails for new roofs and 1-3/4 inch nails otherwise. In addition, buy plenty of roofing cement, flashings, and ridges. If you are installing a new roof, you will also need to buy plenty of roofing felt.
When you begin placing shingles onto a new roof, you must be very careful around the “roof valleys,” the areas where two sides of the roof collide to form an angle. If you do not lay out the shingles in this area correctly, your roof will leak in the future. Before you start to lay shingles, you should cover the roof valley with roof rolling paper. Apply roofing cement along the edge of the paper and then nail the paper in place. This will prevent water from leaking into the cracks of the roof valley.
Once you have protected the roof valley, you can begin to shingle the roof. First, install a starter strip at the bottom of the roof. The starter strip has exact measurements that will help ensure you properly align the first row of shingles. Center your first shingle in the center of the row and nail it in place with four nails. Then, continue to install additional shingles and always nail down each corner of every shingle. Remember, each shingle should “bump up” against the shingle preceding it.
After you’ve shingled the starter strip row, you’re ready to move along. First, you will want to use chalk to make additional measurements up your roof. Shingle manufacturers call these placement aids exposure marks. In most cases, you will want to draw straight horizontal chalk lines every five inches until you reach the top. Begin five inches from your first row of shingles.
To apply the second row of shingles, you want to make sure the top of each shingle is aligned with the chalk line. In addition, you want to center the shingle in between the two shingles below it. There should be some overlap between the shingles. Continue this process, row by row, until you reach the top of the roof. Follow the same instructions to shingle the other side of your roof.


