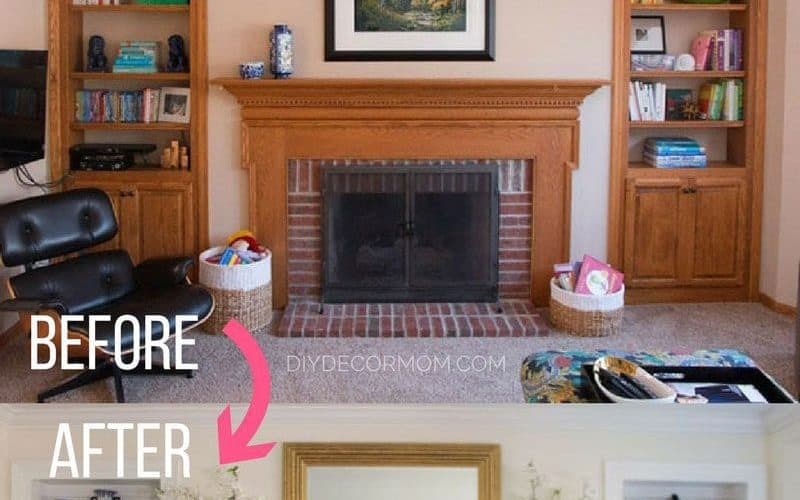
There may come a time where you are sitting in your living room taking a look at your windows. The trim around the windows, over time due to the environment of the room, can become dull and start cracking. If you are able to verify that the wood is still good and does not have to be replaced, here are some step by step instructions on how to restore some life to the trim around your windows.
CLEANING
The trim itself is going to have to be cleaned thoroughly to get the accumulations of dust and dirt out from within the wood. A towel and a wire brush are good for this project as well as some dishwashing soap. You would first rub the trim vigorously with a towel dipped in a dishwashing soap/water concoction. Once damp, you would then scrub it down with a wire brush to remove any extra paint chips or dirt within the cracks. After the scrubbing, rub down one again with just a water soaked towel to clean everything off and allow drying.
FIXING
Most hardware stores will have special kits for patching up cracks in trim or wood fixtures in your house. You would use the patching mixture to make the wood as even as possible. Fill in all chips and divots found within the wood and be extra generous for you can always wipe access away with a wet towel. Once everything is compact in the imperfections, let the finished product stand untouched for about a day or so. Once everything has hardened, take some course sand paper and gently go over the entire length of the trim so that the area is as smooth and course as possible for painting purposes. Having the area sanded down to a point where it feels like a new piece of wood is ideal so that the paint is able to interact deep into the wood and provide for a better painting experience.
PAINTING
The first step is to make sure that all walls and windows around the painting area are taped to about 5 inches out from the trim. This is done to avoid splatter or streaks on areas that do not require painting at this time. With a small brush, a couple of coats of primer need to be put on the wood. The amount of primer varies from project to project but it’s always best, in my opinion, to apply a coat, let it dry and then apply a second coat for a better finished product. Once the primer has completely dried, apply a couple of coats of paint on the trim with even strokes from one side to the other. My advice is never to go back and forth on the trim but rather choose a start and end side and always paint towards the ending point. This process is best to avoid streaks and imperfections on the trim once completed. The tape can then be removed and the trim will look in pristine condition.
Additional Resources: Superpages, Hometips.


