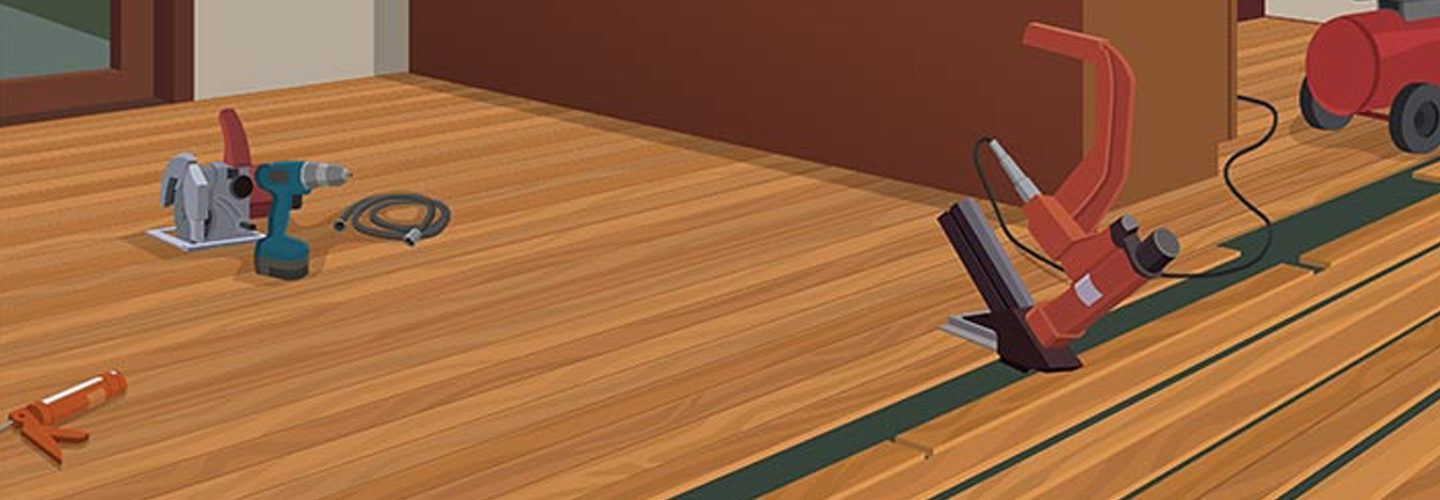
Hardwood flooring is a beautiful and inviting flooring to put any room of your house. The first important aspect to do is to place the flooring in your house a few days before you plan on installing it. This allows the wood to get use to the humidity in the house and will allow it to expand or constrict to what it will be in your house. There are many methods in which hardwood can be laid down, however one of the easiest is the glue down method which is described here.
The first step in the installation process is to remove all of your old flooring. Once this is complete check to make sure your floor is free of dips, bumps and debris so the wood will lay flat. After making sure the floor is thoroughly clean of all debris, its time to move to step two.
In this next step you will be laying the underlay down. This is used to keep the hardwood from slipping or sliding and also to provide a cushion between the sub-floor and the hardwood. Many people glue or nail this down. Remember to see what the manufacturer recommends and follow those directions for the best results.
Now it is time to install the first row of the floor. Most people will start on the wall and install from the left to the right, however do what is comfortable for you. But do start at the wall for the best results. The important thing to remember about the first row is that you want it completely straight. Many people use the wall as a guideline, however this is not suggested, as the walls may be slightly crooked. This first row is a dry run to make sure the floor is straight. Add spacers between the wall and the floor to allow for any expansion that the floor may experience. After and only after you know the first row is straight and as good as it can get, this is when you will begin the actual process of putting the hardwood down. Remove the planks of wood and lay them in the order that you put down initially. Apply the flooring adhesive. Then slowly and carefully replace the first row onto the floor. Make sure to use the spacers against the walls. After you have the first row down, carefully wipe away any glue that may be on the floor. Many people use finishing nails to securely hold the row in place, however it is not necessary. Now its time to wait for this row to complete set before you begin the next part of the floor. This can be anywhere from 8 hours up to 24 hours.
After the first row has set, you are ready to work on the main part of the floor. Follow the same steps as before, however you do not have to lay a test row each time unless you feel the need to. Remember that when applying hardwood, alternate short and long boards on each row, to create a better look. Follow the same procedure that you did in the first row across the floor. If you have areas that seem to not fit properly, weight them down and wait for the adhesive to set before you remove the weight.
When you are finished with the main part, its time to put down the last row. This row will need to have a dry run through to ensure that the floor is still straight. However, at this point, it should be since the main part followed along the first row. After you have seen that the wood is going to fit in the last row, you then glue it down.
To ensure that all the flooring is set, many manufacturers recommend rolling the floor with a 100 pound roller. You can also place heavy objects on the flooring throughout installation and get the same overall affect. Once all the floor is in place, and has been set, do not walk or bother it in any way for at least 24 hours.
Installing a hardwood floor requires patience, however it is not that difficult to do. In a matter of days you can add the beautiful look of hardwood to any floor in your home.
<>


