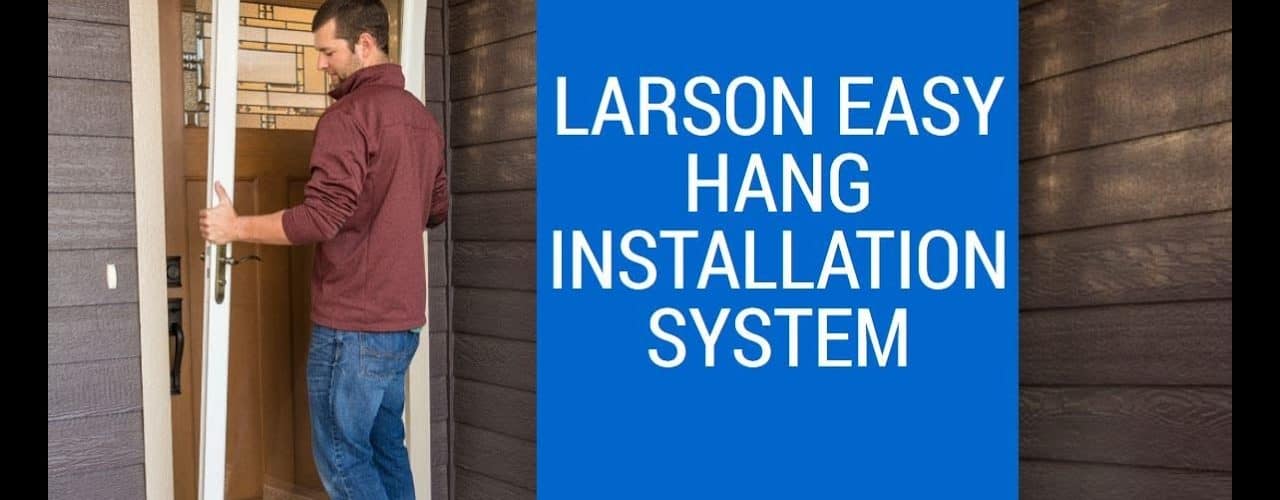
Storm doors add a nice, finished look to your home. They are attractive, and can help you get some fresh air into your home when the weather is nice. They are also not nearly as hard to install as you might think. All you need is the ability to take an accurate measurement, and some skill with hand tools.
The Proper Tools:
Drill
Center punch
Drill bits
Tape measure
Hacksaw
A friend to help you install the door
Read the Directions, Review the Parts
Sure it’s more fun to rip open the box and start drilling, but you’ve probably paid a good deal of money for your new storm door. You want to be sure it gets installed right. Taking the time to read the directions, look over the included parts and get a feel for exactly what you will be doing can prevent costly mistakes.
1. Attach the doors hinge to the door. Start by placing the door so the interior door is facing up. Next, position the hinge on the side it will go on. The top of the track should extend 3/32 inch beyond the door itself. The first mounting screw can be driven into the predrilled hole. Line the hinge up along the edge of the door and then use a center punch to create pilot holes for the rest of the screws. The screws can then be driven into place.
2. Measure the height of the door the storm door is going on. Check the height at the face of the jamb as well as at the door stop. These dimensions should be transferred carefully and exactly onto the hinge mounting frame. The bottom of the hinge mounting frame should be cut exactly along this angle for a proper fit. This can be done using a hacksaw. If your door has a sweep, that can also be installed at this point.
3. Have the friend stand in the opening and help you position the door and then screw the hinges in place. The top mounting frame can then be attached to the hinge mounting frame. The door should then be closed so the top frame can be adjusted and then screwed in place. The frame for the latch-side of the door can be mounted in the same manner. The sweep can also be adjusted at this time. It should just press against the sill.
4. Install the closer and the safety chain. The closer bracket will screw into the top of the door jamb, typically 1 inch below the top. It should sit ¼ inch back from hinges on the door. While holding it level, place it on the door and mark where the screws will go. Predrill the holes, attach the closer and then adjust it. Take care with your measurements for closer spacing as this will affect how well the door closes. The chain is vital to prevent the wind from grabbing the door and ripping it apart. It’s also important for preventing small children (and even older children) from barreling through the door and sending it flying against the house.
Your final step it to install your glass or screen inserts by following those very important manufacturer directions. You are now ready to enjoy your lovely new storm door.


