

Latest articles
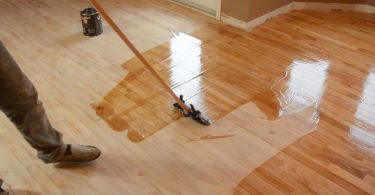
How to Finish a Hardwood Floor?

How to Finance New Home Construction?

How to Finance Home Improvements?

How to Enclose a Patio?

How to Design a Patio?
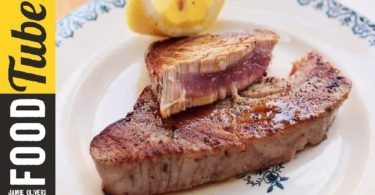
How to Cook a Tuna Steak?
How to Cook Top Round Roast?

How to Cook Tofu?
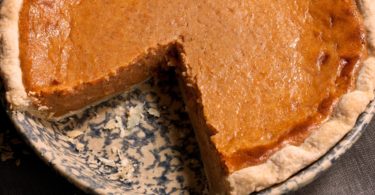
How to Cook Sweet Potato Pie?
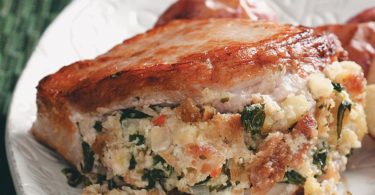
How to Cook Stuffed Pork Chops?
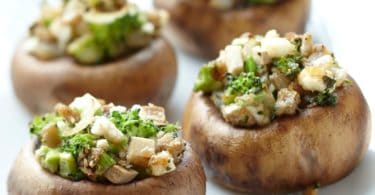
How to Cook Stuffed Mushrooms?
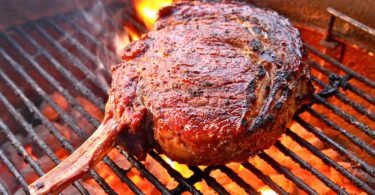
How to Cook Steak on the Grill?
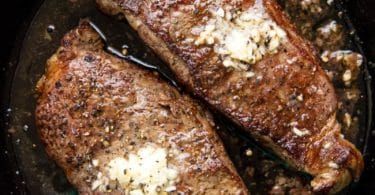
How to Cook Steak?
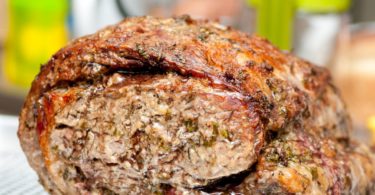
How to Cook Standing Rib Roast?
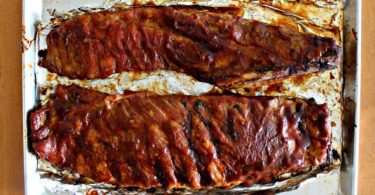
How to Cook Spare Ribs in the Oven?
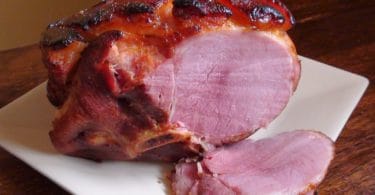
How to Cook Smoked Ham?

How to Cook Sausages?
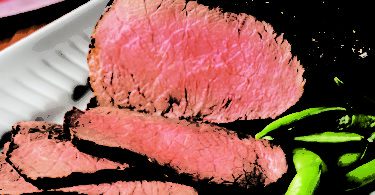
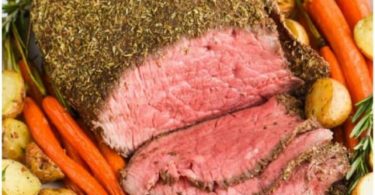
How to Cook Rump Roast?
