
One of the primary things that a homeowner can do to cut their heating bills in the winter is to make sure that their windows are properly weather-proofed.. Poorly sealed windows can not only cause annoying cold drafts but can also drastically increase the amount of time that your furnace has to run. This in turn creates a larger heating bill then normal. But this can be easily remedied by checking your windows for leaks and preparing it for winter. Unless you have just installed brand new windows, you should check your windows for leaks well before winter begins. In today’s article we are going to be discussing how to seal windows for winter, so that you can lower your bills and ultimately increase your home’s efficiency.
The first thing that you are going to need to do before you start this project is to gather all the materials and tools that you are going to need. Materials needed for winterizing your windows include:
- Caulk gun
- Silicone caulk
- Wet wash cloth
- Weather stripping
- Rubbing Alcohol
- Paper Towels
- Small putty knife
- Window Cleaner
- Double-sided tape
- window panes (if applicable)
Step One:
The first thing that you need to do is remove any of the ineffective caulk that is around your windows. Use the putty knife to remove it. There may be portions of caulk that may still look good to you and do not need to be removed. You can leave these portions, but I highly recommend removing it, so that the new caulk that you will be applying will be consistent all the way around. This is very important to create the tight seal that you will need to make to keep the cold air out.
Step Two:
After the old caulking has been removed, you have to make sure that the window is clean all the way around. If you don’t, then dirt will form a layer between the caulk and the window and will prevent a proper seal. Use your favorite window cleaner and make sure that you clean the glass all the way around. After the window has dried, it is now time for one additional cleaning method. Soak a paper towel in rubbing alcohol and go over the areas you have just cleaned. This will remove any residues or glues that are left from your commercial window cleaner and allow you to create a better seal.
Step Three:
If there were any cracked or broken panes of glass, now is the time to replace them. Many hardware stores are able to cut custom panes of glass according to your specifications, and they are cheaper then you would expect. Once a pane of glass has been cut is can be installed very easily and caulked into place.
Step Four:
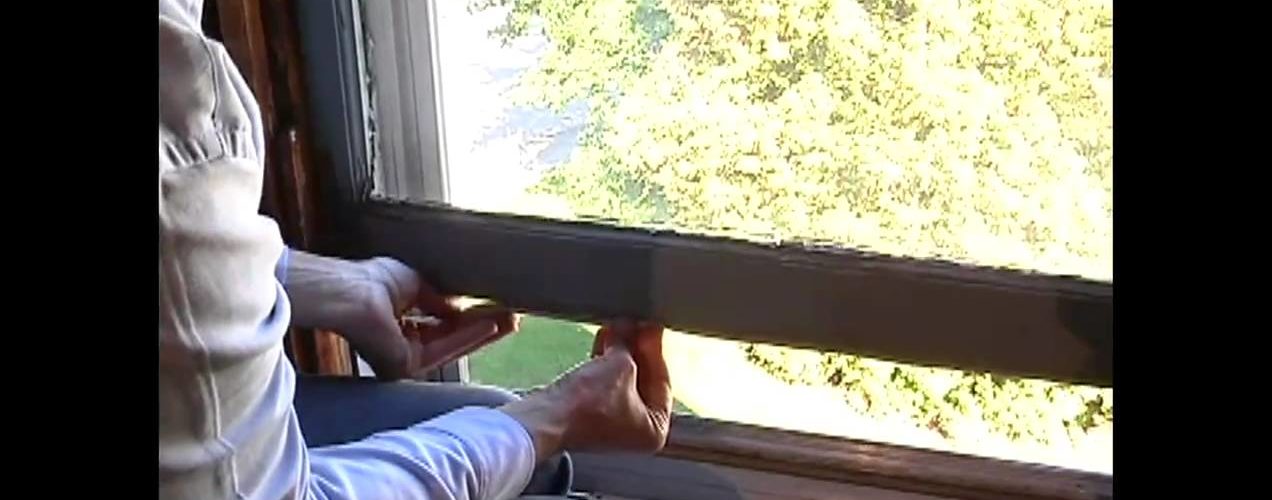
For the large gaps around the windows, weather stripping can be applied using double-sided tape. The weather stripping is applied at the bottom and the top of the window where it opens and closes.
Step Five:
Put the silicone caulk into your caulk gun and go over all the cracks around the window panes and the frame. You don’t have to worry about applying too much, because silicone caulk is easily removed. Make a continuous bead around the pane and the window frame and use your finger to smooth out any bubbles that may form to make sure that it’s all nice and even.
All that is left is to inspect the work that you have just completed. You should make sure that you didn’t miss any spots and that the drafts have been corrected. It is also a good time to apply a second coat of silicone caulk if necessary.
For additional tips on weather proofing your house and increasing the energy efficiency of your home, you can visit the websites below:
References:
DIY Network: Weather Stripping Tips
Elite Windows in AZ: Improve you home