
Anyone who owns a home containing tile, particularly in high foot traffic areas, will likely have contemplated the idea of sealing his or her tile floor. The truth is that since the majority of tiles utilized commonly in houses prove to be glazed, the tile glazing process itself makes an effective seal. For those whose tile is constructed employing more porous materials, like marble, terra cotta, slate, sandstone, flagstone, brick, saltillo, or concrete, they will be required to seal the tile surface in order to ensure that the surface of the tile keeps its attractive appearance, as well as to head off any surface stains on the tile which you personally picked out. Only a small spill can ruin the ultimate appearance of an entire tile floor, and it is noticeable from anywhere in the room once it happens. Sealing your tile not only proactively waterproofs your tile, it also extends the color and life of the tile that you put all the efforts and time into laying down in the first place. This article covers the step by step directions for properly sealing tile, a project which is only moderately challenging.
Contents
Materials and Items Necessary for the Project:
– A Pair of gloves
– A Sponge
– A Sealing product
– Tile
Preparing the Tile Sealer
Generally, a sealer specifically should be picked out based on the kind of tile which is being installed in the house. The tile maker’s directions should be carefully followed, pertaining to which kind of sealer is to be utilized. Some manufacturers actually recommend a topical sealer, which is then followed up by an acrylic floor polish. Still other manufacturers recommend going with a penetrating seal.
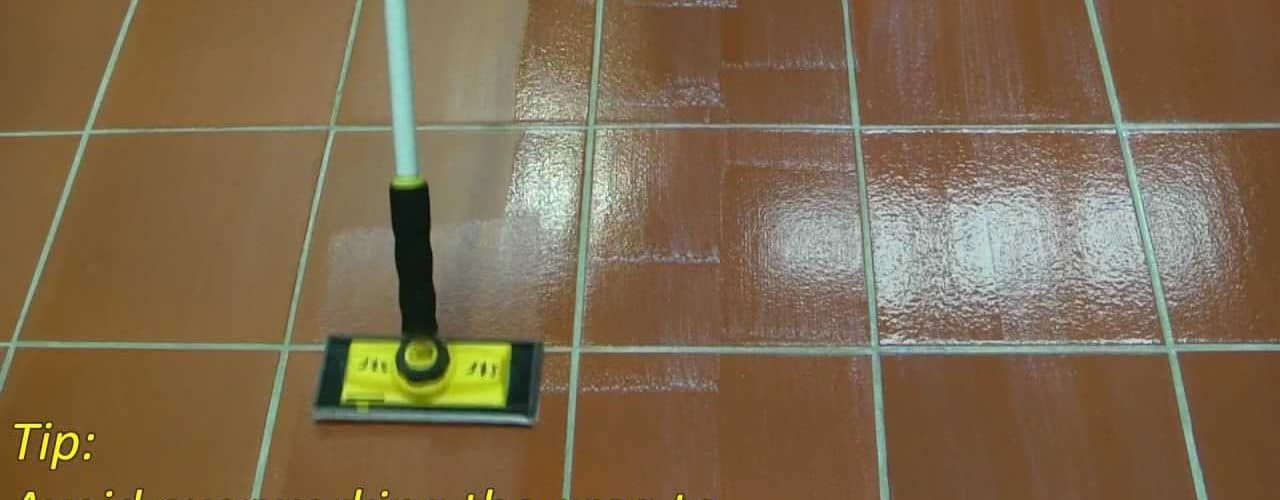
Applying the Tile Sealer
Utilizing a sponge, you will want to put down the sealer on the tile in advance of applying the grout to the tile. In putting down the seal first, your porous surface gains the protection from the powerful grout, which can penetrate directly into the tile stone itself, if you are not careful. Begin by applying a thin layer of sealer to start. Thick layers take significantly longer amounts of time to effectively dry. Should any darker material off of the tile’s crevices come off and get on the sponge, then you will have to thoroughly rinse the sponge before continuing. If you fail to get this colored material off of the sponge, then the darkly colored matter may stick to the other tiles’ surface as you keep working in the sealer.
Grouting and Re-Coating The Tile
Now you should allow the seal to properly dry. Once this has been accomplished, you will be ready, and you should be prepared, to grout the tile. Do not forget in the end of this task to get up any extra grout material off of the tile surface as soon as possible. Now, put down a second full coat of sealer on the tile in order to completely protect it.
Helpful Suggestions and Cautions
You will not have to worry too much about wearing through your sealer. This is as a result of the acrylic floor finish. It will keep you from getting through the sealer. In the extremely unlikely event that you did wear down through the sealer, then you would have to strip the entire surface and re-seal it. To prevent yourself from getting the powerful sealer on your hands while you are working on the project, we suggest that you wear good gloves.
Additional Resources:
Hamilton Parker: How To Clean And Seal Tile


