
Homeowners are constantly worried about potentially serious problems that could arise in different areas of the house, and few issues can be as troubling as water damage or leakage present in the bathroom. Rotten or damaged wood can cost thousands of dollars to replace and could require an extensive remodel or repair job. Mold and mildew are common factors present with such water damage, and health concerns only add to the stress of attempting to deal with the situation. As with many other fixes, the easiest way to cope with water damage and leaking problems is to prevent them before they ever have a chance to happen. By learning how to properly seal a bath, a homeowner can take the necessary steps to protect their house from future damage.
Contents
Gather Materials Prior to Starting
– Toothbrush (For Cleaning)
– Bathroom Cleaner
– Paper Painter’s Tape (Blue or Plain Masking Tape Will Work)
– Razor Blade
– Silicone Gel (Either in a Caulking Gun or Tube)
– Several Clean Rags
– Pointed Caulking Blade (Old Plastic Credit Card Will Work Too)
– Rubber Gloves (Optional)
Nothing is worse than beginning a job only to realize that all of the materials were not gathered, so an individual needs to make sure that they have everything close at hand. When working with any type of silicone or caulk, it is important to realize that time is of the essence and that it is not always possible to take a break and run to the hardware store.
Prepare The Surface
The area around the bathtub is often prone to dirt and other contaminants that must be removed prior to attempting to seal it. Any bathroom cleaner or bleach product can be used to clean the crevices, and a toothbrush will make it easy to get the hidden grime deep in the crack. The bath should be allowed to dry completely before the process is continued.
Apply Painter’s or Masking Tape
While some people may be confident that they can maintain a steady hand and don’t need to use any type of tape, the majority of individuals will only achieve a perfect finish by using painter’s or masking tape. Only a quarter inch of bare space should be revealed, and the top and bottom should be covered.
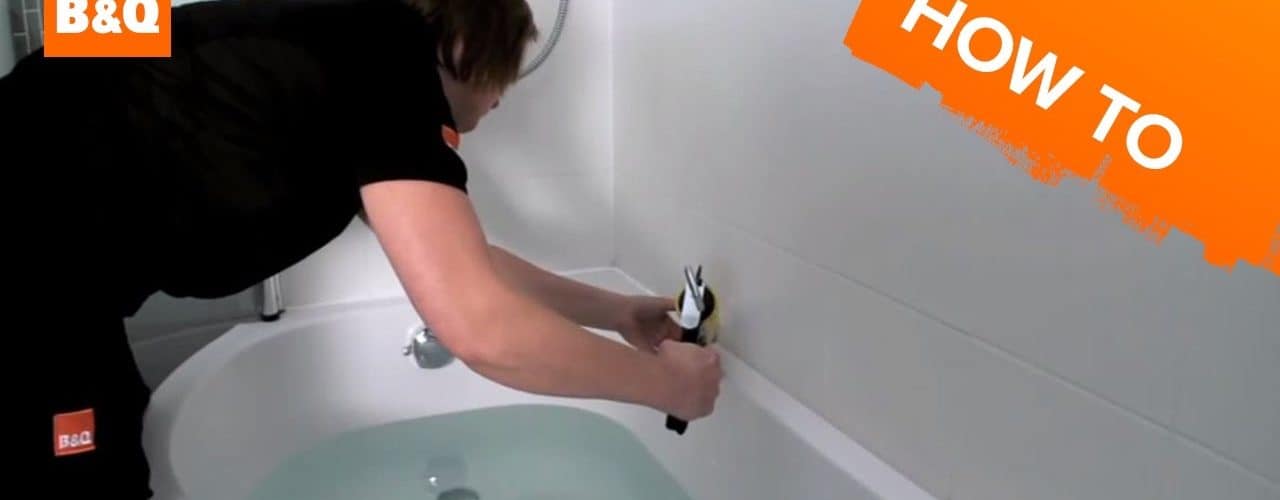
Seal Bath With Silicone
The silicone that is available on the market today comes in several different colors, but the most popular is either clear or white. It is important to note that the color will not have any effect on how well the compound works, so consumers are free to choose whichever one they prefer.
Either with the tube or a caulking gun, the silicone should be applied in a straight line directly in the middle of the crevice left exposed by the painter’s tape. A plastic caulking tool or an old plastic credit card can be used to smooth out the beaded line into a flush surface. The excess silicone will remain on the top of the painter’s tape and can easily be removed by simply peeling off the tape.
Clean Up And Trim if Necessary
There will occasionally be remnants of silicone that appear to be too wide in some areas, and a razor blade can be used for easy trimming. The silicone should be allowed to dry and harden, and the specific amount of time will depend on the actual product. The bath area should be cleaned and the tub will be properly sealed. The same method will work for sealing a sink or toilet in the bathroom as well.
Related Video:
Seal a Bath/Sink etc.
<>
<>
http://www.youtube.com/v/-7-FJXJlARk <>


