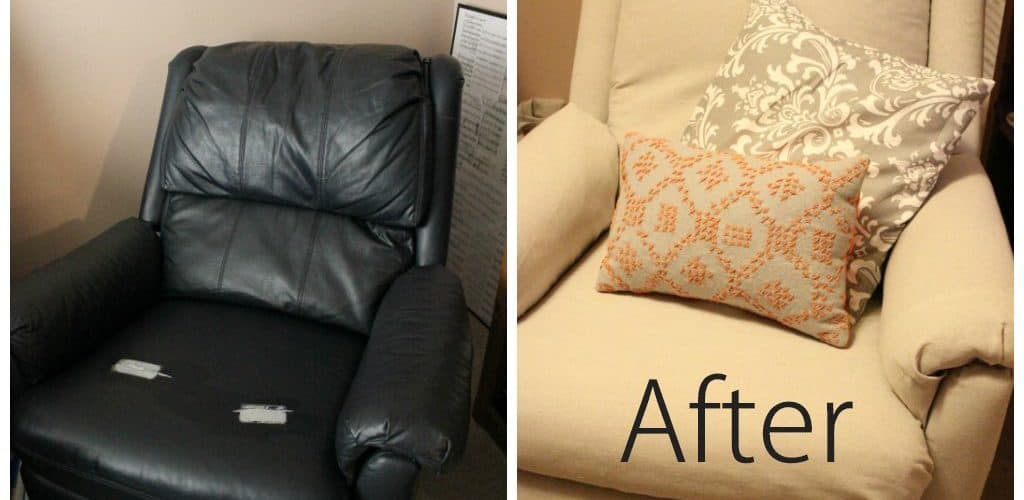

Recliners tend to be very popular additions to any living or sitting room in many homes. They are comfortable and are available in a variety of styles, fabrics and sizes. After a hard day of work or play, there is nothing more comforting than to relax in a recliner. As a matter of fact, recliners are so popular, they tend to take a lot of wear and tear and will usually need reupholstering more frequently than other chairs in your home.
If you’ve decided to reupholster your recliner on your own, it can be done. Recliners come in all shapes and sizes, but most recliners are basically the same when it comes to construction. Recliners have a seat, back and an arm and foot rest connected to a metal or wooden base. In order to reupholster the unit, each component must be removed from the base.
Contents
What Tools You Will Need To Reupholster A Recliner
* Screw driver with a flat blade
* Philips screw driver
* Wrench (adjustable)
* Heavy duty scissors
* Measuring tape
* Reupholstering staple gun with staples
* Straight pins
Selecting Fabric and Stuffing
1. Before you begin the job of reupholstering, you need to select a new fabric and determine how much of the fabric you will need. To do this, you will need to measure each piece that you are reupholstering. It is best to add a few inches to each piece to make sure you have enough fabric for tucking and seaming. Keep in mind that if you’ve chosen a fabric with a pattern, you must measure the size of the pattern repeat as well. Once you have all the measurements, add square inches together and translate into square yards. In most cases, recliners will require eight to twelve yards of fabric.
2. If stuffing needs replacement, purchase polyester batting or foam. If you choose foam, to create a smoother look, use some batting over the foam to add stability to the fabric you have chosen.
Disassembling Your Recliner
3. The recliner should be in the upright position. Find the clips that hold the back, which is attached at the base in the rear of each side of the recliner. There is a gap between the seat cushion and back of the chair. Reach in and rotate the the levers to an upward position. Remove the back from its base and set aside.
4. Turn the recliner with the bottom facing up, and locate clips holding seat cushion toward the front and on each side. You must now turn the screws from the clips counter clockwise using a Philips screw driver to remove them. After removing the screws, take out the clips that are located toward the seat’s center.
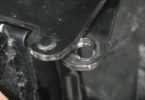
5. Place the recliner in an upright position and lift front chair cushion to find bolts that fasten the back of the seat to the arms of the recliner. Remove those bolts with an adjustable wrench. Take the seat cushion off the chair base.
6. Place the recliner with bottom facing up and find bolts holding arms of recliner. Remove those bolts using an adjustable wrench. Remove the arms using a flat blade screw driver.
Reupholstering Your Recliner
1. Cut your new pieces of fabric, using a bit more fabric than measured to leave room for tucking.
2. Attach the fabric with foam or batting to each disassembled piece or panel. Straight pins may help to keep the fabric in position before permanently attaching it. Fold the fabric over the edges to prevent unevenness and puckering.
3. When the fabric is properly aligned, staple it to the panels, making sure the fabric is taut.
4. Reattach your panels back on the frame of the chair following the reverse procedure of disassembling.
Tips
It sometimes helps to take pictures of each step as you begin the process of disassembling your recliner and remove fabric from the chair. If you remove the reclining mechanism when detaching fabric, you will find that photos are useful when you reinstall the mechanism.
When removing old fabric, save welting, tack strips and zippers. They can be reused if necessary.
Sit back, give yourself a pat on the back and enjoy your new chair!
<>