
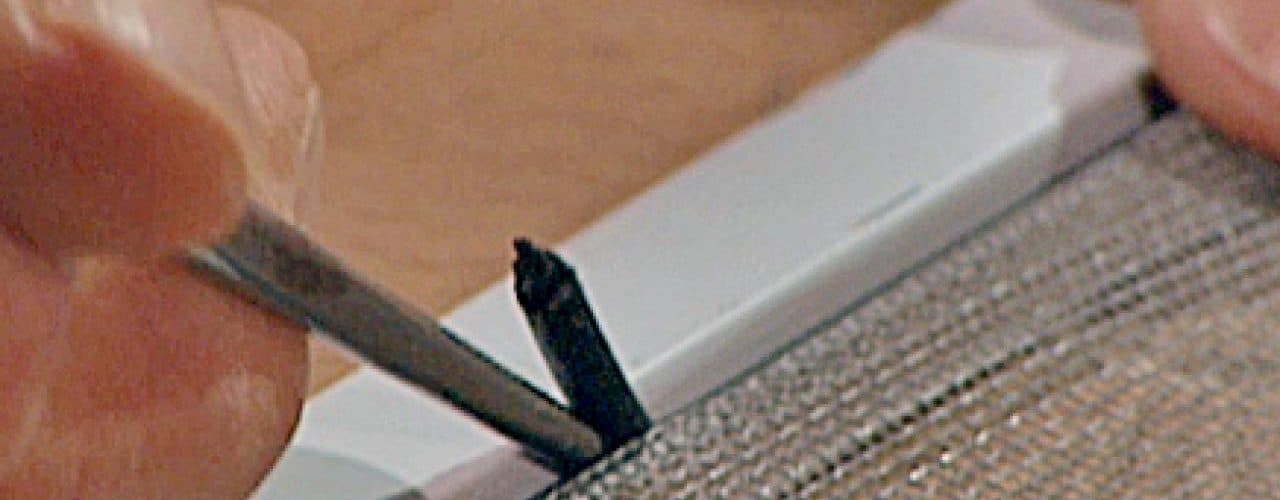
Replacing a screen door can be a simple weekend project. Often the most difficult part of the job is removing the old door. If screws have been damaged or are just to difficult to remove, consider using a small chisel to remove the head and then you can use a priers to remove the body of the screw. Repair any woodwork and replaces moldings that are damaged. Painting now is easier than after the new door has been installed. If hardware such as hinges, handles, or latches are still in good condition and you with to use them on your new door, take the time to polish them up and check for damage that might compromise your new installation.
Before you install your screen door, either wood framed (most common) or vinyl framed, you will want to gather together some tools. You will need: a power drill and bits, screw drivers, a circular saw or jig saw, a tape measure, a square, a level, a hammer, a pencil, sawhorses, a spline tool, and safety glasses. A basic screen does not come with hardware, in which case you will need to purchase hinges, and a handle and/or latch.
Begin by deciding which direction you want your new door to open, either to the left or to the right. Deciding factors include the opening direction of the interior door as well as the layout of your entry way. Screen doors are designed to allow for opening either from the left or the right. Doors are available a variety of sizes, but most need to be trimmed to fit exactly. Measure the inside of the door frame so that you can prepare the door to be cut for a perfect fit. In general, the doors are designed to be trimmed from the hinged side and the bottom.
Once you have determined how much needs to be trimmed from the door, use your pencil and square to scribe trim lines and remove the excess wearing your safety glasses and using a circular saw or jig saw. Be sure to stay withing all manufactures guidelines regarding the amounts of material that can be safely removed. Exceeding the limits will void any warranty as well as compromising the strength of the door. If only a small amount of material needs to be removed, use a block plane rather that the circular saw. All cuts should be lightly sanded to improve their appearance and make for a smoother fit.
Its now time to hang the door. Mount the hinges to the hinge side of the door by placing the hinges and using a pencil to mark were pilot holes should be drilled. Drill your pilot holes and attach the hinges. Use your spline tool to install the screen that came with your door (some doors will come screened, in which case you may move to the next step). You will need help mounting the door to the frame. Having a helper hold up the door, attach it to the frame checking that it fits properly. Now attach either the spring or hydraulic closing mechanism if applicable to your door. Now mount the handle, being sure it is placed in a location the does not interfere with the knob on your interior door. Install any latches now.
You have installed your replacement door!


