
Consider the energy wasted by a leaking hot water faucet. One popular hotel energy management resource team, states that a dripping faucet that loses only one gallon per hour will consume $30 to $120 in excess yearly energy. Repairing dripping faucets is considered an efficient method of reducing household expenses without reducing homeowner comfort.
Now consider the water wasted by a dripping faucet. A dripping that releases only one drop of water per second can waste as much as 2,700 gallons per year, increase sewer expenses, and may drive you batty from the noise.
This information, along with the ease of a faucet repair should spur homeowners into action. Fix that dripping faucet by replacing the cartridge. Here is how.
Start by shutting down the water supply. On most modern homes there will be a cutoff valve in the cabinet beneath the faucet. If so, be certain to turn off both supply lines, hot and cold.
Older homes may require that you turn the water off at a central location in the crawl space, or at the pump, or even at the street meter connection. If you must go further back than valves that are located directly beneath the damaged faucet, do not shut down the water supply before turning off the electric breaker that supplies current to the hot water heater. Some older heaters will permit water to backflow into the supply line and that may result in a burned out hot water heating element.
To release water pressure, open the handles at the troubled faucet. When drainage is completed, block the sink drain pipe so as to prevent accidental loss of removed components.
Two Basic Methods of Disassembly
There are four types of faucets (ball, cartridge, compression, and disc), but only two basic methods of disassembly. Both the compression based units and the cartridge-based units apply a stem centered control valve. Due to article length restrictions, we will focus only on the modern cartridge type faucet. Unit repair proceeds as follows:
1. To prevent loss of components, store all removed parts in a small bowl. If you are concerned about remembering the order of assembly lay the parts out in order on a flat baking pan rather than in a bowl;
2. Examine the faucet handle;
3. Remove any plastic cover caps;
4. For a crank-down handle, remove the small screw that is centered in the handle;
5. For a side mounted handle, first unscrew the handle from the unit body. Next, remove the set screw that retains the body cover to the stem. Identify these units by the baseball bat shape of the handle. It will be screwed small end first into the body of the faucet;
6. Remove the faucet body cover;
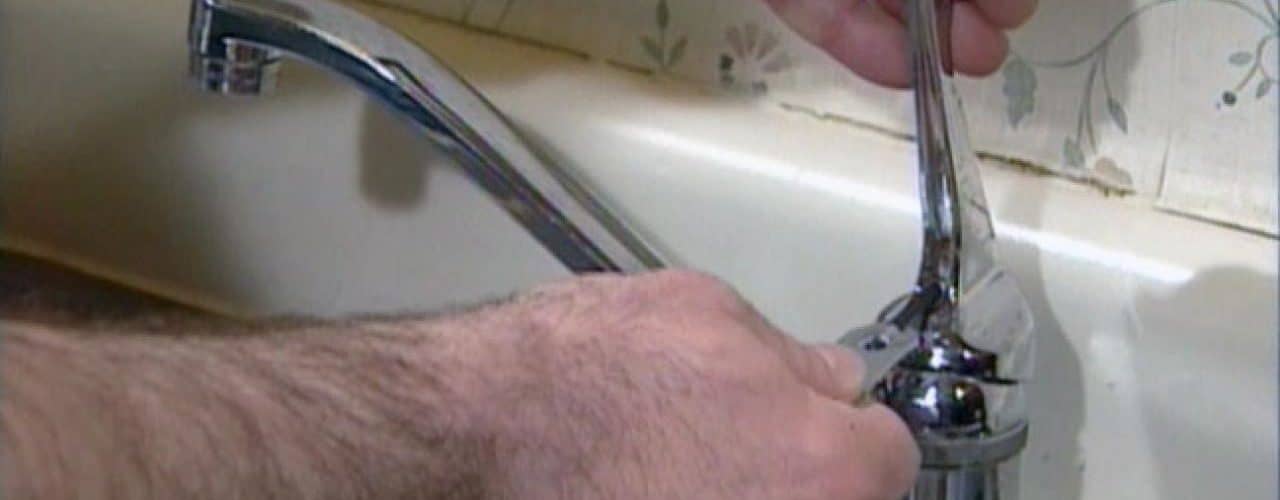
7. Using a Channel-Lock type pliers or a pipe wrench, remove the locking nut that retains the cartridge in place. Note that not all units will have a locking nut;
8. Extract the damaged cartridge from the faucet unit supply line;
9. Examine the hole to insure that no component waste remains behind;
10. Insert a new cartridge into the faucet unit;
11. Reassemble the faucet;
12. Activate the water flow;
13. Check for leaks;
14. If necessary, reengage power to the hot water heater.
As a final energy thought, consider installing a low-flow faucet aerator. This can cut your yearly water usage in half.
<>


