
It’s finally time to get out the power sander, scratch and scuff those floors up, and get them shining like new again. Refinishing your own floors can be a huge undertaking, but one that’s entirely manageable if you have time, willpower, and lots of patience. This simple how-to guide will provide you with all the tools you need to provide your old, dingy hardwood floors with a beautiful new finish.
Contents
Collect these items:
Floor sander (most hardwood stores will rent if you don’t own one yourself or know someone who has one)
Sandpaper (both 20 grit and 60 grit varieties)
Palm sander (for detail work)
Polyurethane (a standard room will generally require 1 gallon of polyurethane. Consult the representatives at your store of choice to get the correct amount)
Roller and a thick nap roller cover
If desired, wood stain of your choice.
The process:
Step 1. Move furniture
Move any furniture, rugs or other disruptions to another room. Make sure to move everything into a room that you won’t be using much for a few days.
Step 2: Prepare the floor
Sweep the floor twice: once to remove the obvious and twice to remove what you looked over. Mop the floor to remove any dust, dirt, or stains that the broom was incapable of cleaning. Remove any tacks or nails if you pulled up carpet to get to the hardwood.
Step 3: Sand the floor
Before beginning, open your windows and doors to allow proper ventilation. Sanding wood floors creates a lot of sawdust. If desired, purchase a filter mask to minimize inhalation of sawdust further.
Starting in the corner of the room, use the floor sander and 20 grit sandpaper to evenly and thoroughly sand the room. Be sure to go with the grain. When you have finished, go around the outside of the room with your hand sander to get the corners and edges you couldn’t hit with the larger sander. Sweep up or vacuum any dust left behind.
Follow up with the 60 grit sandpaper. Go over the room in the same manner, starting in the corner with the large sander and finishing with the hand sander. Sweep up the resulting dust again. You should never mop with water on freshly sanded, raw floor, but you can mop them with mineral spirits. This is not necessary unless you really want perfectly clean floors for the staining process.
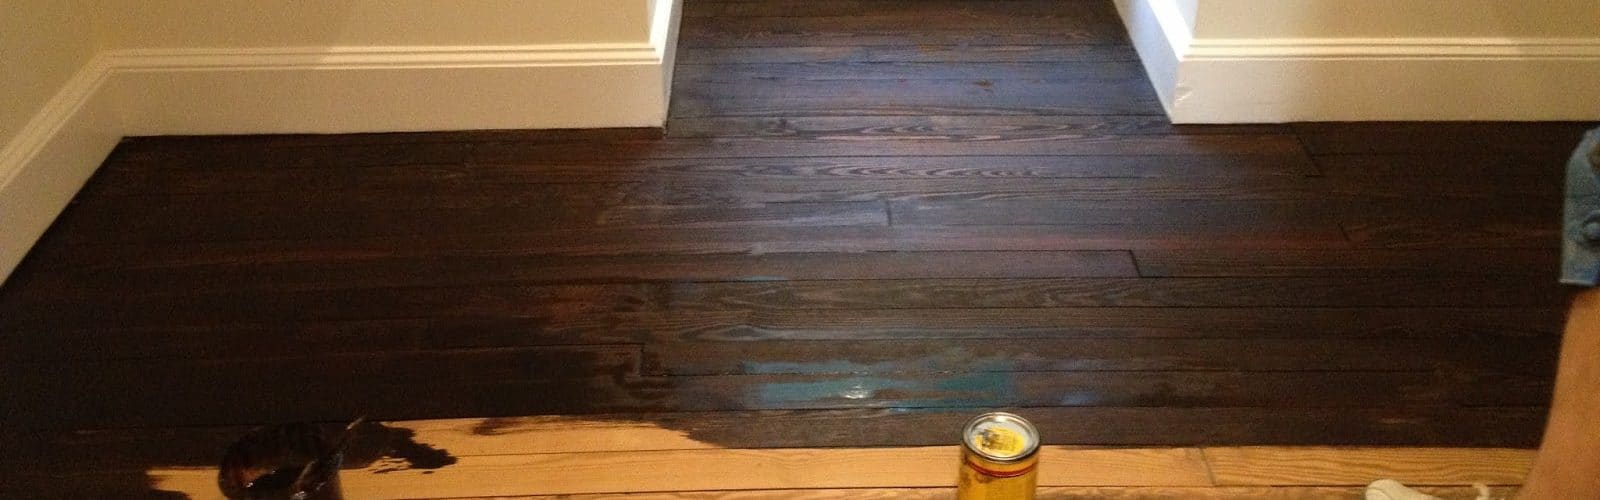
Step 4: Staining the wood
If you have chosen to stain the wood, you may do so now. Be sure to give it plenty of time to dry before coating and sealing it with polyurethane – about a day. Check the label to make sure.
Step 5: Sealing the wood
Make sure that your stain is entirely dry, and your windows and doors are open before starting this step. Proper ventilation is essential, as polyurethane fumes are highly dangerous if inhaled for extended periods of time. Using the thick nap roller, and starting again in the far corner of the room, work your way backwards out of the room. Be careful not to paint yourself into a corner. Apply a new coat of paint every 6-12 hours (be sure to consult the label. Some polyurethanes take longer to dry, and some don’t require quite as much time). For optimal results, 3-4 coats of polyurethane is suggested, but more can be used if you are not satisfied with the coverage.
After your final coat has been applied and has been given enough time to dry, you are done. Move your furniture back and enjoy your beautiful newly refinished hardwood floors.


