Gorgeous hardwood floors are considered to be a rare and valuable commodity to a number of different home owners throughout America. They have become a heavily sought out item by prospective home buyers, too. The truth is that hardwood floors do wear out over time and as a result of heavy utility, and they have to be refurbished or replaced when this happens. This article covers the step by step directions for refinishing a hardwood floor.
Contents
Materials and Items Which You Will Require for this Project:
– Sixty Grit Sandpaper (which you can procure from a floor sander rental company)
– Twenty Grit Sandpaper (also able to be procured from the rental company)
– A Floor sander (which you will rent)
– An Edger or Palm Sander
– A Roller and a roller cover with a thick nap or a push broom pole and push broom cover made from wool
– Polyurethane (for a medium sized room, you will need a solid gallon)
– Wood stain according to your personal preference (although this is optional)
Prep and Cleaning Work
It does take some time to refinish your hardwood floors. This is a moderately challenging project. With some patience, a sufficient amount of time, and the right strategies and tools for the task, the results will be truly breathtaking.
Before you begin the actual refinishing job, you will need to first sweep well and thoroughly mop the hardwood floor which has to be refinished. Look out for any tacks or nails which may have been left if a carpet was put in over the hardwood floor. Remove any that you come across.
Sanding Down The Hardwood Floor
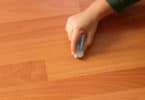
You must ensure that the room which you are working in stays well ventilated. Try opening a window or two. This is necessary to ensure that any dust which you create goes out of the room instead of back on the floor or in your lungs. Utilizing your twenty grit sandpaper, begin sanding in one corner of the room in question. Carefully and evenly sand down the whole floor, making sure that you precisely follow the grain of the wood in the task. This is accomplished employing the floor sander. When you have finished the process, take the edger or palm sander and go along all of the edges. Be sure to vacuum up or sweep up any dust which was inadvertently left behind.
Then you will repeat the process. This time you will be working with the sixty grit sandpaper. Again, utilize first the floor sander. Follow it up again with the edger or palm sander. Again, it is important to clear up all of the remaining dust. To more effectively do this task, you might mop up the floor utilizing mineral spirits. Do not put any water on the surface of the raw wood floor.
Optional Staining the Hardwood Floor
Perhaps you opted to go with the optional hardwood floor staining concept. Now is the time to do it if you decided that you will. You must put down your floor stain in advance of starting to apply polyurethane. Give the floor stain sufficient time to dry before you begin sealing.
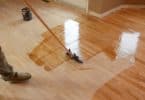
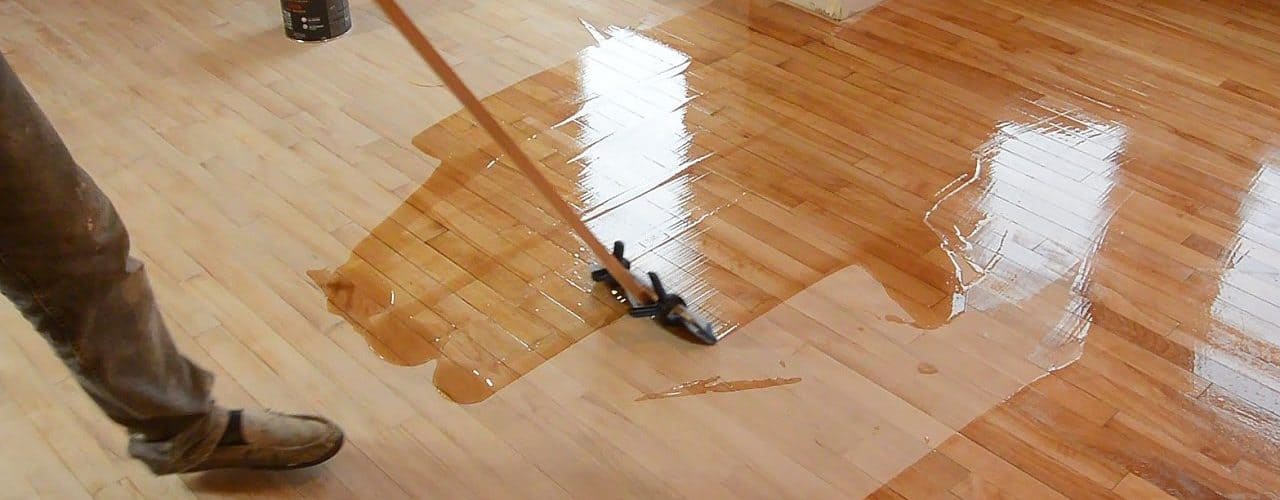
Sealing the Hardwood Floor
Utilizing the wool cover or thick nap roller, seal the floor well. Begin in the corner which is farthest away from the door. Work towards the door itself. Make sure that you put down a consistent coat of polyurethane. You must make certain that there are a full six to twelve hours of time for the sealant to dry in between every coat. Follow closely the recommended instructions for drying times as listed on the bottle’s label. For the very finest results, repeat the sealing process with an additional three to four coats more.