
There are several important steps to follow when painting a bathroom. To ensure the paint will last and not crack or peel, these steps should be followed thoroughly and in the right order:
Contents
1. Remove Old Paper Or Lead Paint
Those repainting old walls which contain lead paint are advised to contact a professional to remove the paint first. If wallpaper is present on the wall, it may be removed by renting a steaming tool and scraping with a paint scraper. Steaming tools are usually available to rent for less than $50.00 per day at locations where carpet shampooers are rented. If this option is not available, it is possible to use a clothing iron with a very low setting and steamer. This process is more difficult and must be done carefully so as not to burn the wallpaper.
2. Fill Holes & Wash The Walls
Chipped or cracked paint must be sanded down to a smooth texture; simply painting over these areas will create a rough look. Any nail holes should be filled with a mixture of sawdust and wood glue; this may be applied to holes with a toothpick or other small object. Make sure to wipe the surface clean to maintain a smooth look on the walls after filling. Once the filled holes have dried, mix one cup of trisodium phosphate powder with three gallons of hot water in a bucket. Use a squeegee mop to wash and scrub the walls well. Once this is done, the walls will need to be rinsed with hot water two times. It is important to place towels and plastic on the floor to avoid a large mess. After washing, walls should be allowed to dry thoroughly.
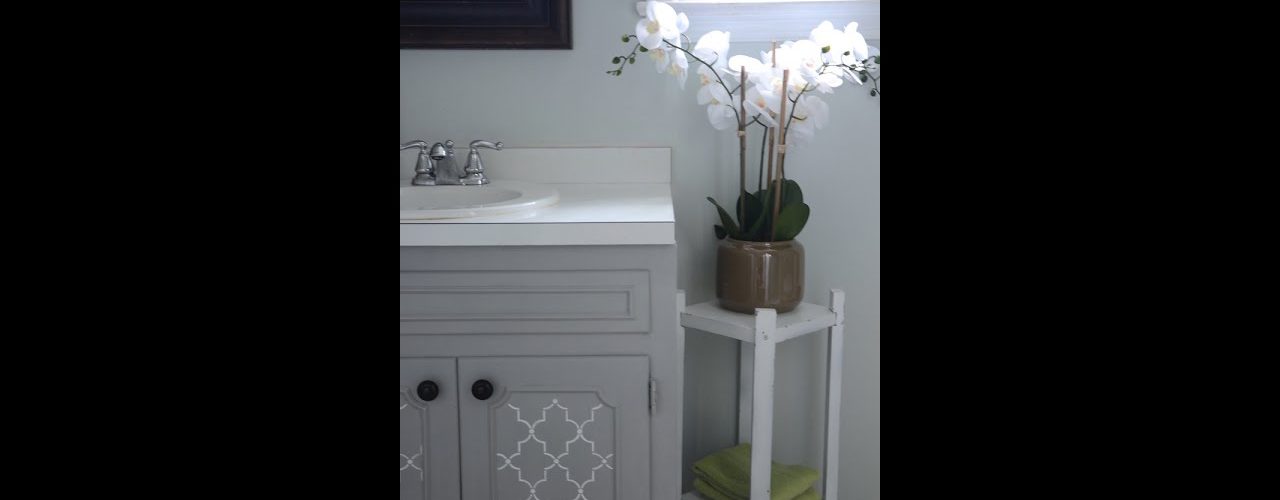
3. Cover Fixtures And Apply Painter’s Tape
Toilets, sinks, bathtubs and any other large fixtures remaining in the bathroom while painting should be covered with plastic. Smaller fixtures such as light switch or outlet plates should be lined around the edges with painter’s tape or removed to ensure that paint will avoid them. Floors should also be entirely covered with plastic. If painting any walls a separate color or omitting the ceiling from painting, those wall or ceiling edges should be covered generously with tape also.
4. Begin Painting The Outline
Using a paintbrush and liberal amount of paint, make long uniform strokes along all corners and edges of the walls. One of the most popular trends is painting one wall a different shade; when doing this, avoiding painting over the edge of the wall is difficult. To avoid doing this a large firm and thin piece of plastic may be used. Place the edge of the plastic at a 45-degree angle directly in the corner with one hand; with the other, use the paintbrush to carefully paint along the wall, barely touching the edge of the plastic. When painting the adjoining wall, this technique may be used again.
5. Use The Roller To Finish Up
The last step is the easiest: using the roller to paint the remaining area. Paint should be poured in a rectangular shallow painting pan. Dip the roller in the pan and generously roll it in the paint, then roll in long even strokes up and down the wall until the roller’s paint meets the outlines. The bathroom may need an additional 1-2 coats of paint to completely cover and give the walls a uniform color. About 30 minutes after the last coat has been applied, remove the tape from edges and fixtures, otherwise the paint will dry completely and may crack or peel when attempting to remove tape.


