
Hardwood flooring makes any room from a small entry hall to a large living area appear richer and filled with warmth. With the variety of home improvement centers located in most regions of the U.S., finding hardwood flooring that is ready to install is a simple task. The challenge becomes knowing which type of flooring to purchase and the proper installation method. Installation procedures vary depending on the sublevel flooring such as concrete or wood and the style of finished hardwood for example solid vs. engineered or laminate. In either case, the preparation required prior to installation must be thorough to achieve successful results.
Preparation Requirements
The most important step in hardwood flooring installation involves the preparation. The room should be cleared of any obstructions, molding strips or baseboards removed and any door casings cut if clearance is an issue. The temperature of the wood and the room should be moderate and if possible, the hardwood should be placed inside the room for a day or two to acclimatize before installation. Follow these basics to prepare the area:
1. Remove all furniture and old flooring elements such as carpeting or previous floor panels.
2. Remove any stray nails, debris and rough sections of the floor.
3. Clean the floor by vacuuming and remove all dust.
4. Check the surface for moisture retention and if the surface tends to hold moisture, consider installing a felt floor pad or other type of moisture barrier.
5. Gather the necessary tools including saws, tape measure, utility towels and all supplies needed for either gluing or nailing the flooring.
Glued Installation Method
The glue down method is often used to install solid hardwood flooring on a concrete surface. Solid hardwood flooring products require a flat concrete surface and are typically thicker than laminate and engineered products. The adhesive must be compatible and recommended for use with the hardwood product. After preparing the area and gathering the necessary tools, the hardwood may be installed by following a few steps:
1. Plan the layout first ensuring that the panels are parallel with the longest wall.
2. Carefully lay the first panel using spacers between the wall and the panel.
3. Follow with other panels ensuring that enough space is left to allow for expansion. Use a heavy object to weigh down any unattached areas until the adhesive is completely set.
4. Wait a minimum of 8 hours before walking on or placing any furniture on the floor.
The following video provides a guide for installing solid wood flooring using a polymer adhesive:
<>
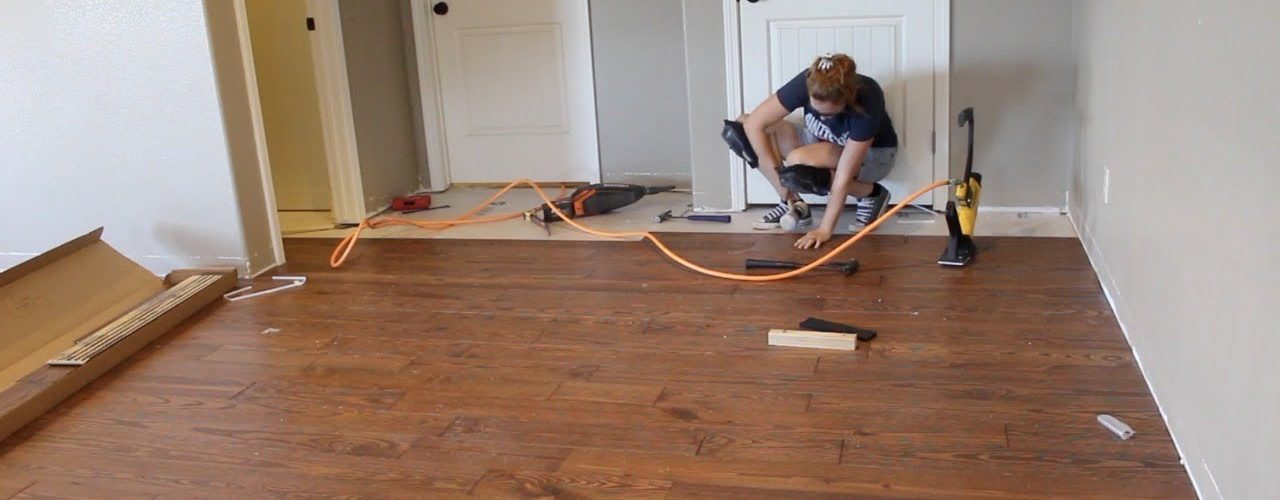
Nail or Staple Installation Method
This method of installation is normally used for engineered or laminated hardwood flooring and requires a plywood sub layer placed on a wood or concrete surface. Home installation may be easier using this method that is more forgiving than the adhesive technique, particular if panels need to removed or changed.
1. Create an overall plan or layout of the room before starting to consider the pattern of the wood and overlap areas.
2. Lay the first panel ending with the groove against the wall. Ensure that the panel is straight and flush before securing.
3. Nail the panel to the subfloor after it has been checked. Add additional fasteners as necessary.
4. Measure and cut each subsequent panel to fit the area and then proceed with laying and fastening after the pieces are locked and correctly aligned.
The video shown at the following website provides a helpful visual aid for installation with nail or staple method:
<>
Detailed written instructions for installing prefinished hardwood flooring are available at Find Any Floor: How to Install Hardwood Flooring.


