Most homeowners in today’s society have chosen linoleum for their floor coverings over other products available on the market. Their choice is centered on the fact that it is very eco-friendly, durable and quite light in the pocketbook. With vinyl flooring, a homeowner is looking at replacing this within 5-10 years while with linoleum they will not need to bother for over 20 years pending proper care and maintenance. With an easy to install process listed below, linoleum is a fine affordable choice for any home floor restoration
1. All baseboards and other floor coverings, such as vents, need to be removed from the floor to protect from any damage.
2. Take the time out to clean your subfloor accordingly. Removing any carpet nails, staples or debris from previous remnants of the old flooring is necessary. Any material left in place like this will more than likely cause havoc to the linoleum over time and replacement tiles will be needed costing you some unnecessary repair expenses.
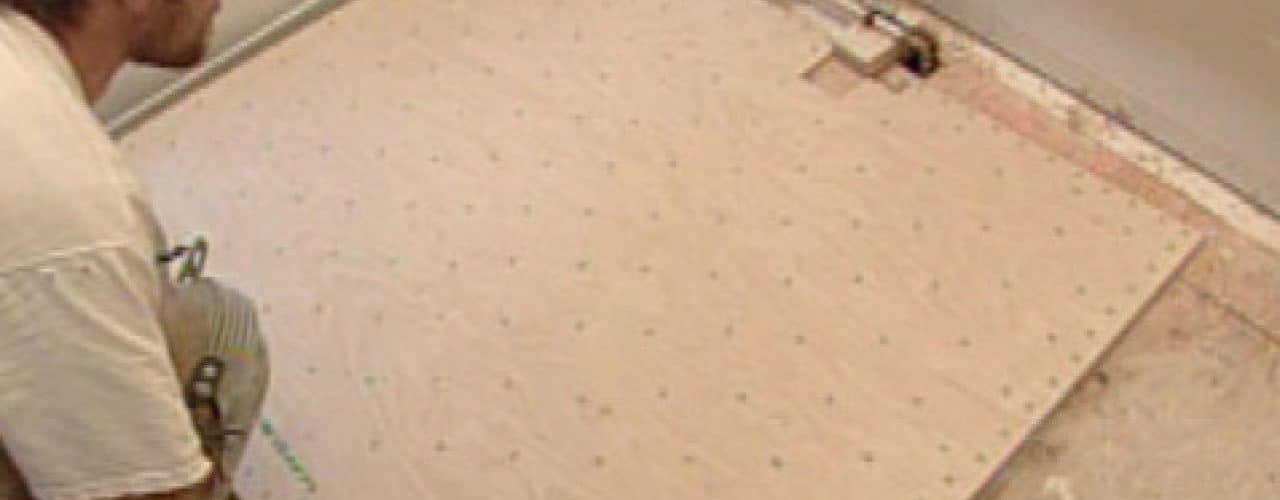
3. Once all debris has been completely removed, make sure that the subfloor where the linoleum will be placed is level. Using plywood boards or concrete filler will assist you in trying to get a level flooring base. Linoleum is very durable but not very flexible so therefore placing tiles on an uneven floor will no doubt lead to cracks down the road.
4. With the floor being leveled, it now has to be determined how much linoleum flooring you are going to need for your project. Measuring the length and width of the room will allow you to come up with an estimate as to how many tiles you will be purchasing for your project. As with all projects, always plan ahead for any mishaps that may come so therefore you should purchase extra linoleum tiles outside of the mandatory you need to complete the project.
5. Using a laser measure, determine the layout of the floor and begin your project at the center of the room. The tiles will be laid out accordingly starting from the middle of the room and working out towards the walls. You will not be adhering anything to the floor as of yet because you need to make measurements towards the edge and cut any existing tiles to fit.
6. Once all the tiles have been laid out, you will be using an epoxy adhesive on the floor for the tiles. You will begin in the center and place the epoxy on both the linoleum and the subfloor in adequate amounts.
7. Once the floor has been laid down accordingly, you will then need to rent a roller from your local hardware facility to complete the job. The rolled will be used on the floor to make sure that the tiles are secure in their places and adhere with the epoxy and the subfloor.
8. The floor is now complete and any baseboards and floor covering need to be placed back in their proper locations. Once that has been completed, a nice coat of scratch resistant formula as well as a nice shine compound would be the finishing touches on a completed installation of a linoleum floor for your room.
<>