Linoleum flooring is a practical, affordable, and economically friendly flooring surface for use in your home. Since it is constructed out of wood dust and linseed oil, it is completely natural, easily renewable, and a totally recycle-able product. It also turns out to be highly durable. So long as you properly install it, you can anticipate getting a full thirty years or even more from a linoleum floor. It will only require a small amount of precise maintenance. Perhaps the best thing about Linoleum flooring lies in its extreme ease of installation. This article covers the step by step instructions to properly install that linoleum floor.
Contents
Materials and Items Required for this Project:
– A Tape Measure
– A Plywood Floor Stapler
– A Chalk Line
– A Utility Knife
– Linoleum Tiles
– Flooring Adhesive
– A Floor Roller
– A Trowel
Preparation Work
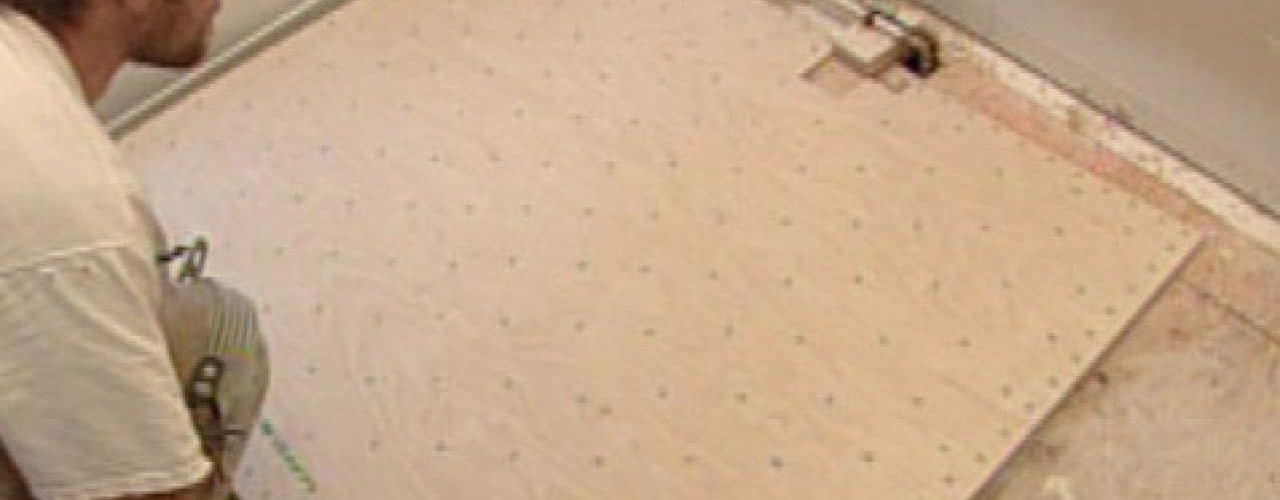
In advance of putting in a linoleum floor, there is some important prep work which must be completed before you get started. You have to be certain that you take out all baseboards first. Thoroughly inspect your sub-floor material to make certain that it is both level, as well as sturdy. If you find any staples or nails in the sub-floor, then you must remove each and every one of these. If you do not, then you can count on these sticking up and through your beautiful linoleum floor, creating an unsightly danger. Should the sub-floor surface look to be excessively rough or uneven, then cover it over with a quarter inch of plywood sheeting. Simply staple or even nail down the plywood, one nail in each eight inches centered, so that you have a nice smooth and level base on which to put down your new linoleum flooring.
Purchasing Your Materials
You will have to take good measurements of the room in question’s floor before you head down to the hardware or home improvement store. Figure in a good ten percent extra on the width and length of the room measurements. Additional materials remaining following the completed installation will prove to be extremely useful later on after the project is finished, in case you need to replace potentially damaged tiles, or to make any necessary repairs to the flooring down the road.
Performing a Dry Run
From the middle of all walls, snap a chalk line where they intersect in the center of your room. Lay down the dry tiles. Work out from the center on towards a wall in order to ascertain your ultimate layout plan. Do not put on any adhesive to the tiles yet.
Preparing the Tiles
Cut down the tiles to the appropriate size to fit in against the walls. You will need to use your utility knife to do this. Be sure to figure in any pipes which might protrude through the sub-floor itself.
Applying the Adhesive
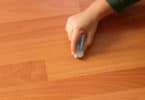
Begin applying your adhesive to the tiles. Then start putting down tiles in smaller five foot square sized areas once you have pre-determined your final desired layout. Go in a circular motion when applying the adhesive utilizing the trowel. Be sure to only pick up tiles one by one. Once you put on the adhesive to the one tile, push it securely into place before moving on to the next linoleum tile. You will repeat this process again and again until you have completely put down the entire floor.
Finishing up the Linoleum Floor
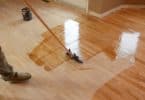
You will need to rent a one hundred pound floor roller from a tool rental retail location. Utilizing this one hundred pound floor roller, roll the entire floor thoroughly to make sure that you have both a securely and firmly installed floor. Finish up the job by reattaching all trim and baseboards which you removed at the beginning of the project.
<>