
Wood fences are attractive, they can increase the value of your home, and they can offer you a great deal of privacy. This is provided that they are built properly. While a proper wood fence that’s done right looks great; a leaning, uneven fence is an eyesore and an embarrassment. Here’s everything you need to know to do it right the first time, so you can be left with a fence you’re proud of.
Contents
Pre-Built Panels or Individual Picket
The first thing you have to do is decide which you will use. Pre-manufactured panels are convenient and go up fast. But they will not follow the slope of the land, and your post spacing must be exact. Individual pickets will take longer to install, but you can follow the slope of the land gradually, you can decide on the spacing, and they are less expensive.
Materials Needed
Boards or pre-built panels
Posts
Power Saw
Post Hole Digger
Steel Tape
Marking Pencil
Gravel or sand
Nails
Hand Saw
Hammer
Level
Ready-Mix Concrete
Wood Chisel
Tamping Rod
Wood Preservative
String or line
#1 – Spacing Your Posts and Digging the Holes
With individual pickets, your posts can be spaced between six and eight feet apart. When you are using pre-built panels, your spacing must be eight feet exactly. Set each of the end posts. Run a line between the posts to help align all the posts in between. If you are installing pre-built panels, take the time to make this line level. This will help you get the posts spaced properly. Using the line to measure, drive stakes into the ground to mark where your posts will go. Remember that if you are using pre-built panels, your posts will have to be exactly 8 feet apart.
#2 – Set the Fence Post
Your fence posts should be driven to a certain depth. At minimum, that depth is a third of the total length of the pole. If you are building a 6 foot tall fence, you should ideally buy 10 foot poles, bury the lower 3 feet, and then cut off the extra foot after you are done. If you are installing a 4 foot fence, you would only need to bury two feet of a 6 foot pole. However, if you live in colder climates, be sure that the pole will extend below the frost line to prevent heaving.
Ideally, your holes should flare out at the bottom to create additional stability. Place a few inches of gravel in the bottom for drainage. Treat the section of post that will be underground with the wood preservative. Allow the post to soak in the preservative overnight.
#3 – Packing and Aligning the posts
The posts can be secured with dirt or concrete, but be sure that you have your gravel in the bottom for drainage. Use a level to confirm that the posts are upright and plumb. Use your line as a guide. You can also go to the end of the row and look down the row of posts to be sure they are all perfectly aligned. Brace the post by attaching 2×4 braces until it is set firmly in place. Continue checking the posts to be sure none have shifted, and make the necessary adjustments.
#4 – Set the Posts
Mound the dirt around the posts so water will drain away from it. The corners should receive additional bracing until they are permanently set. Round off or cap the tops of the posts to prevent water from entering the wood through them.
#5 – Attaching the Rails
For pre-built panels, you will not require rails. Once the posts are set, you are ready to call your friend over and screw in the panels. Pickets will require rails. There are many ways to attach rails. You can do a mortise and tenon joint for a hidden connection. You can simply screw the rails into the back of the post. You can set your rail on top of the post. The main thing is to be consistent with your choice. Use the level to keep everything straight and attractive. Measure down from the top rail to install your bottom rail.
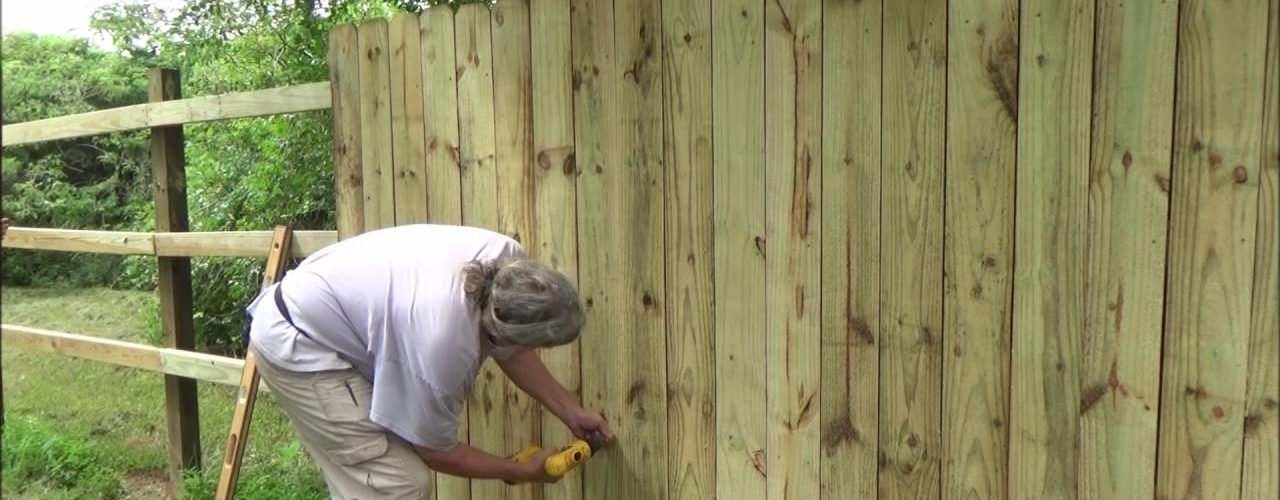
#6 – Attaching the pickets
Decide on the spacing for your pickets. You can place them with just a small gap for expansion, or you can leave a larger gap. If you are leaving larger gaps, it’s a good idea to use a scrap of wood as your spacer for consistent, attractive spacing.
#7 – Stain or Weatherproof your Fence
<>


